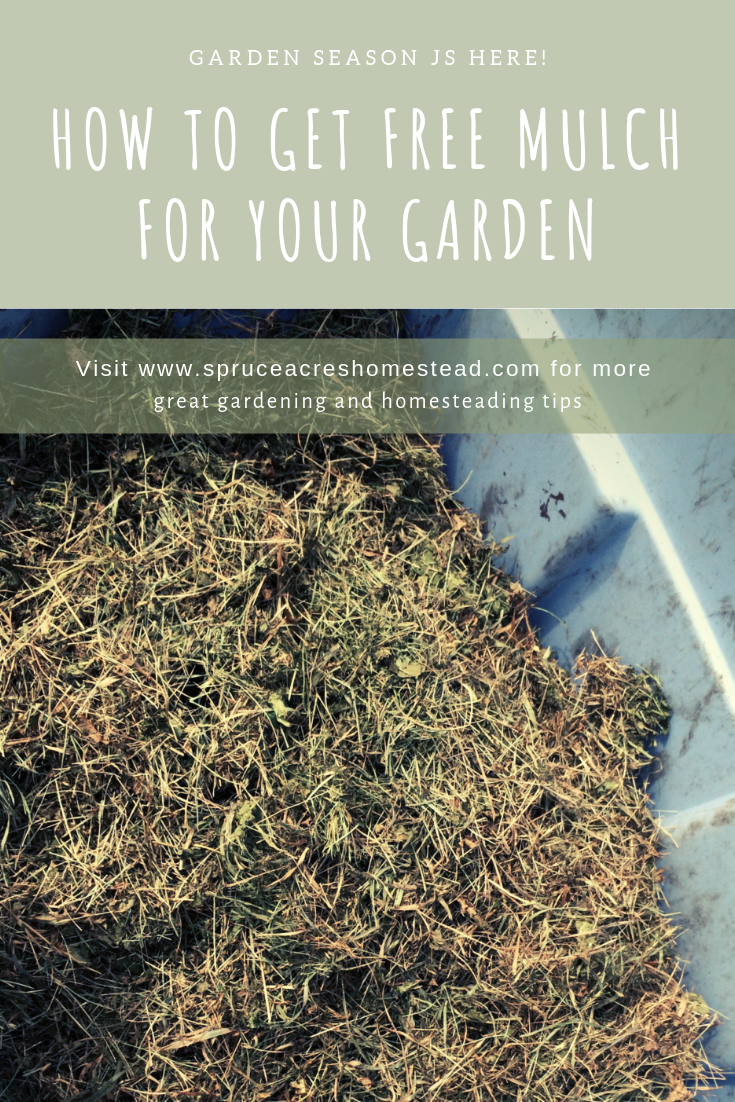
Mulch for FREE!
Mary, Mary, quite contrary, how does your garden grow! No seriously, how did she get it to grow??
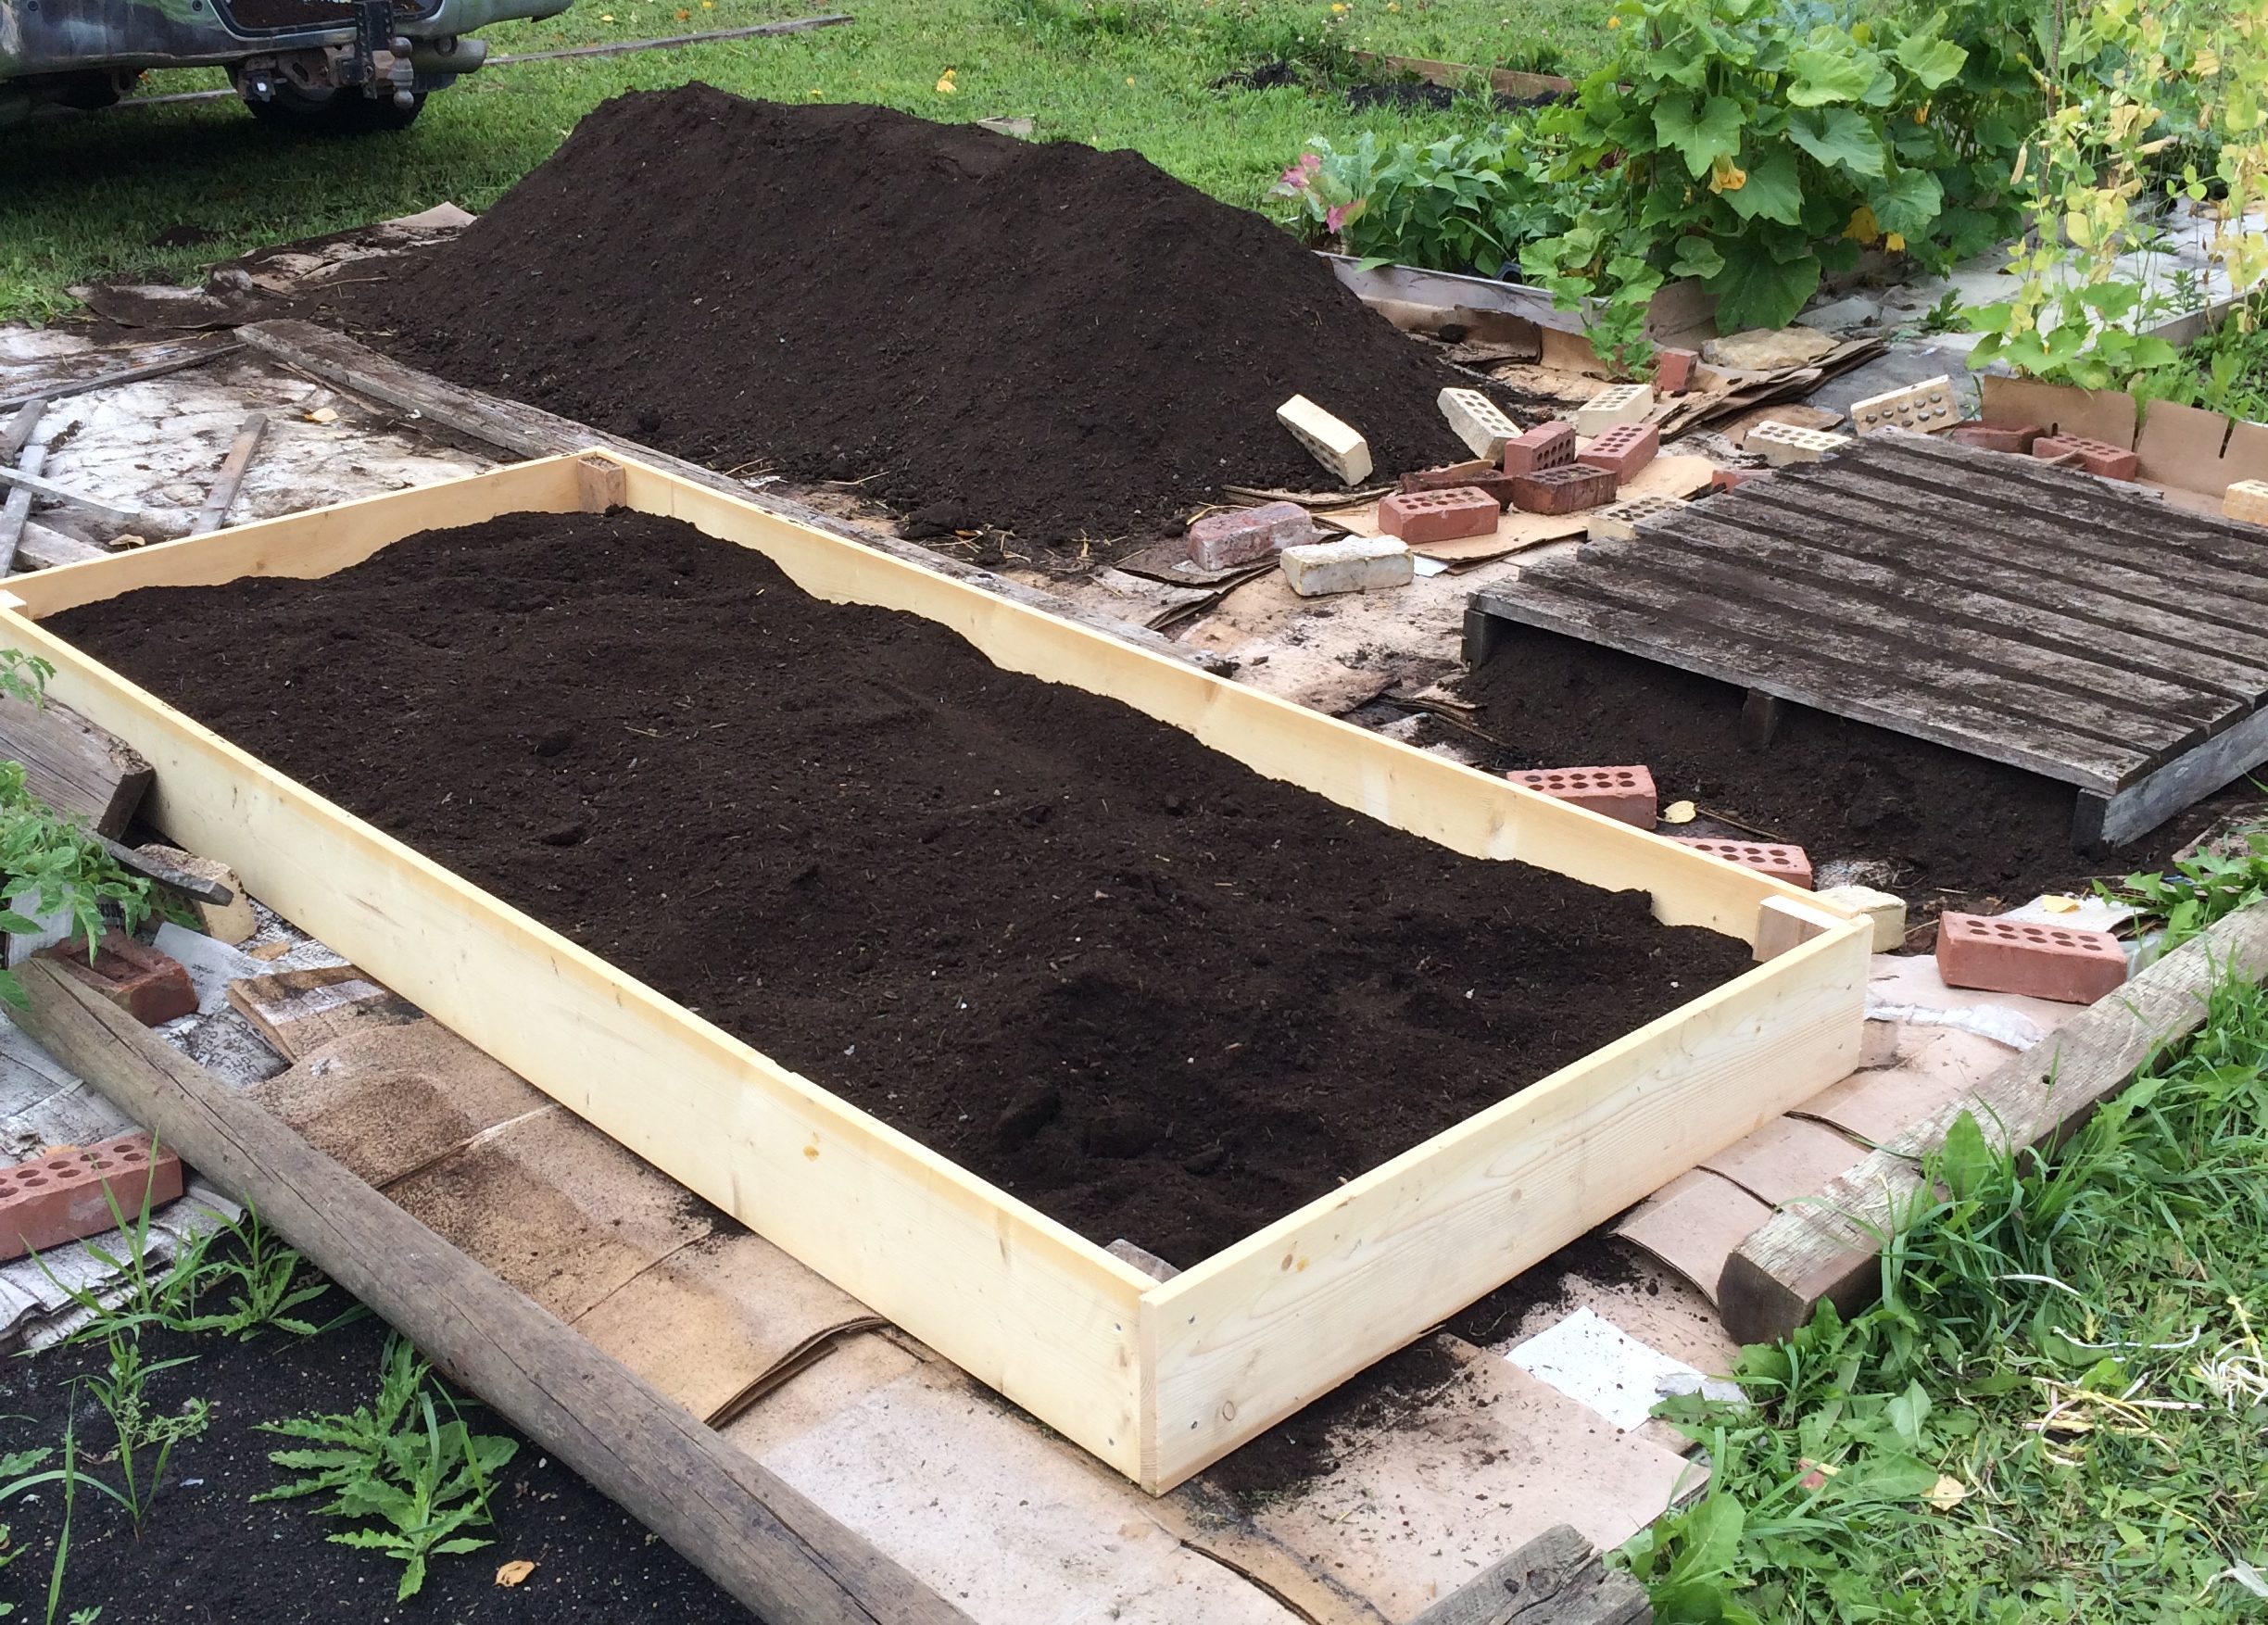
The last two years we’ve lived here my big garden has spewed and sputtered along, producing just a few meals worth of produce. Nothing like the bountiful shelves I had envisioned. The only thing it’s good for is an overproduction of weeds!
I’m great at growing weeds and killing cacti!
My dad, the soil guy, came over one day and said, “Stephanie, your soil is too dry and all of the nutrients are gone. You need to get some compost and use mulch!”
Queue the face palm. Of course!
So I started researching mulch and what to use. You know I’m not going to go straight to the store because:
a) that can get expensive
b) I want to know what’s in it and
c) can I somehow make my own
Benefits of Mulch
- Mulching helps to build up your garden soil by adding organic matter.
- It increases the microorganisms and increases nutrient uptake by the plants.
- Mulches help to suppress garden weeds by blocking out the sun and reducing germination rate.
- Less weeds also creates healthier plants – more nutrients available and space for root expansion.
- Mulching reduces the need for watering as there’s less soil evaporation happening and better water retention. This is great for areas of drought.
Different Types of Mulch
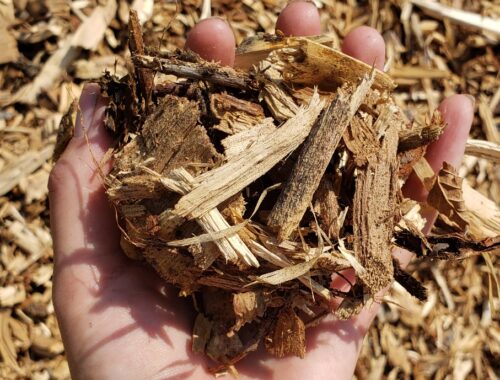
Bark and wood mulch: They are heavier than straw or hay and less likely to have slugs. It also compacts down better. Some wood chips can be toxic to your garden depending on where you get them from. Many arborists will sell or offer wood chip mulch but not guarantee it’s free of toxic wood that’s poisonous to other plants. It *may* also increase the acidity of the soil. Many wood chips are dyed with toxins or treated and those chemicals will go into your garden and plants.
Quality wood chips are great for garden paths and around fruit trees.
Straw: Straw is great because it decomposes faster than wood chips. It comes from cereal grain crops (wheat, rye, barley, etc.) and unless organic, must be sprayed with toxic chemicals like Round-Up! They’re even sprayed to speed up the drying process, and not just for weed control.) As the straw decomposes, it will bring all those toxic chemicals into the soil with it. You’ll need to find straw which hasn’t been sprayed.
Hay: Hay is also great because it decomposes quickly. Hay is essentially very tall grass and weeds. It quite often has seeds in it so in order to keep hay from propagating grass throughout the garden, it must be thickly applied a minimum of 5-6 inches. That means MORE hay and more money.
You can also make your own ‘hay’ from grass clippings. Grass is nothing more than immature hay. Why not use it before the seed heads form?
Grass clippings are free – we all mow our lawns, readily available, and unless you spray or use chemical fertilizers, are an organic mulch and even a compost for your soil! I’m going to be adding grass clippings to our compost to the green ratio.
There’s one important thing about grass that you have to do before it can be used for mulch. It MUST be dry, dry like hay. Wet clippings get hot as they decompose and may burn your tender young seedlings. Great for the compost as you want compost to get really hot, but not so good around plants you want to live. Also, freshly cut grass, if thickly layered makes a slimy mess as it breaks down.
Bare feet and slime don’t work for me.
How to Make Your Own Grass Mulch
It’s SO EASY!! Little man and I have so much fun collecting our mulch and it’s free!
We let the grass grow a few inches extra (2-4 inches) at the beginning of the year (or longer in some areas), and then mow it down.
Now, if you have a small yard and a bagger, you might find that useful. Just dump out the bag onto the grass and spread the clippings out so they’re about 1-2″ deep. They need to dry out so they don’t root when you put them in your garden.
If you don’t have a bagger or don’t want to use one, then mow in the same direction and keep blowing the clippings onto the freshly cut grass. They’ll pile on top of each other so that the clippings build up.
Again, you want them in a layer so that they dry out, AND so that you can pick them up! If you don’t bulk them, they’ll become part of your grass and just mulch your lawn.
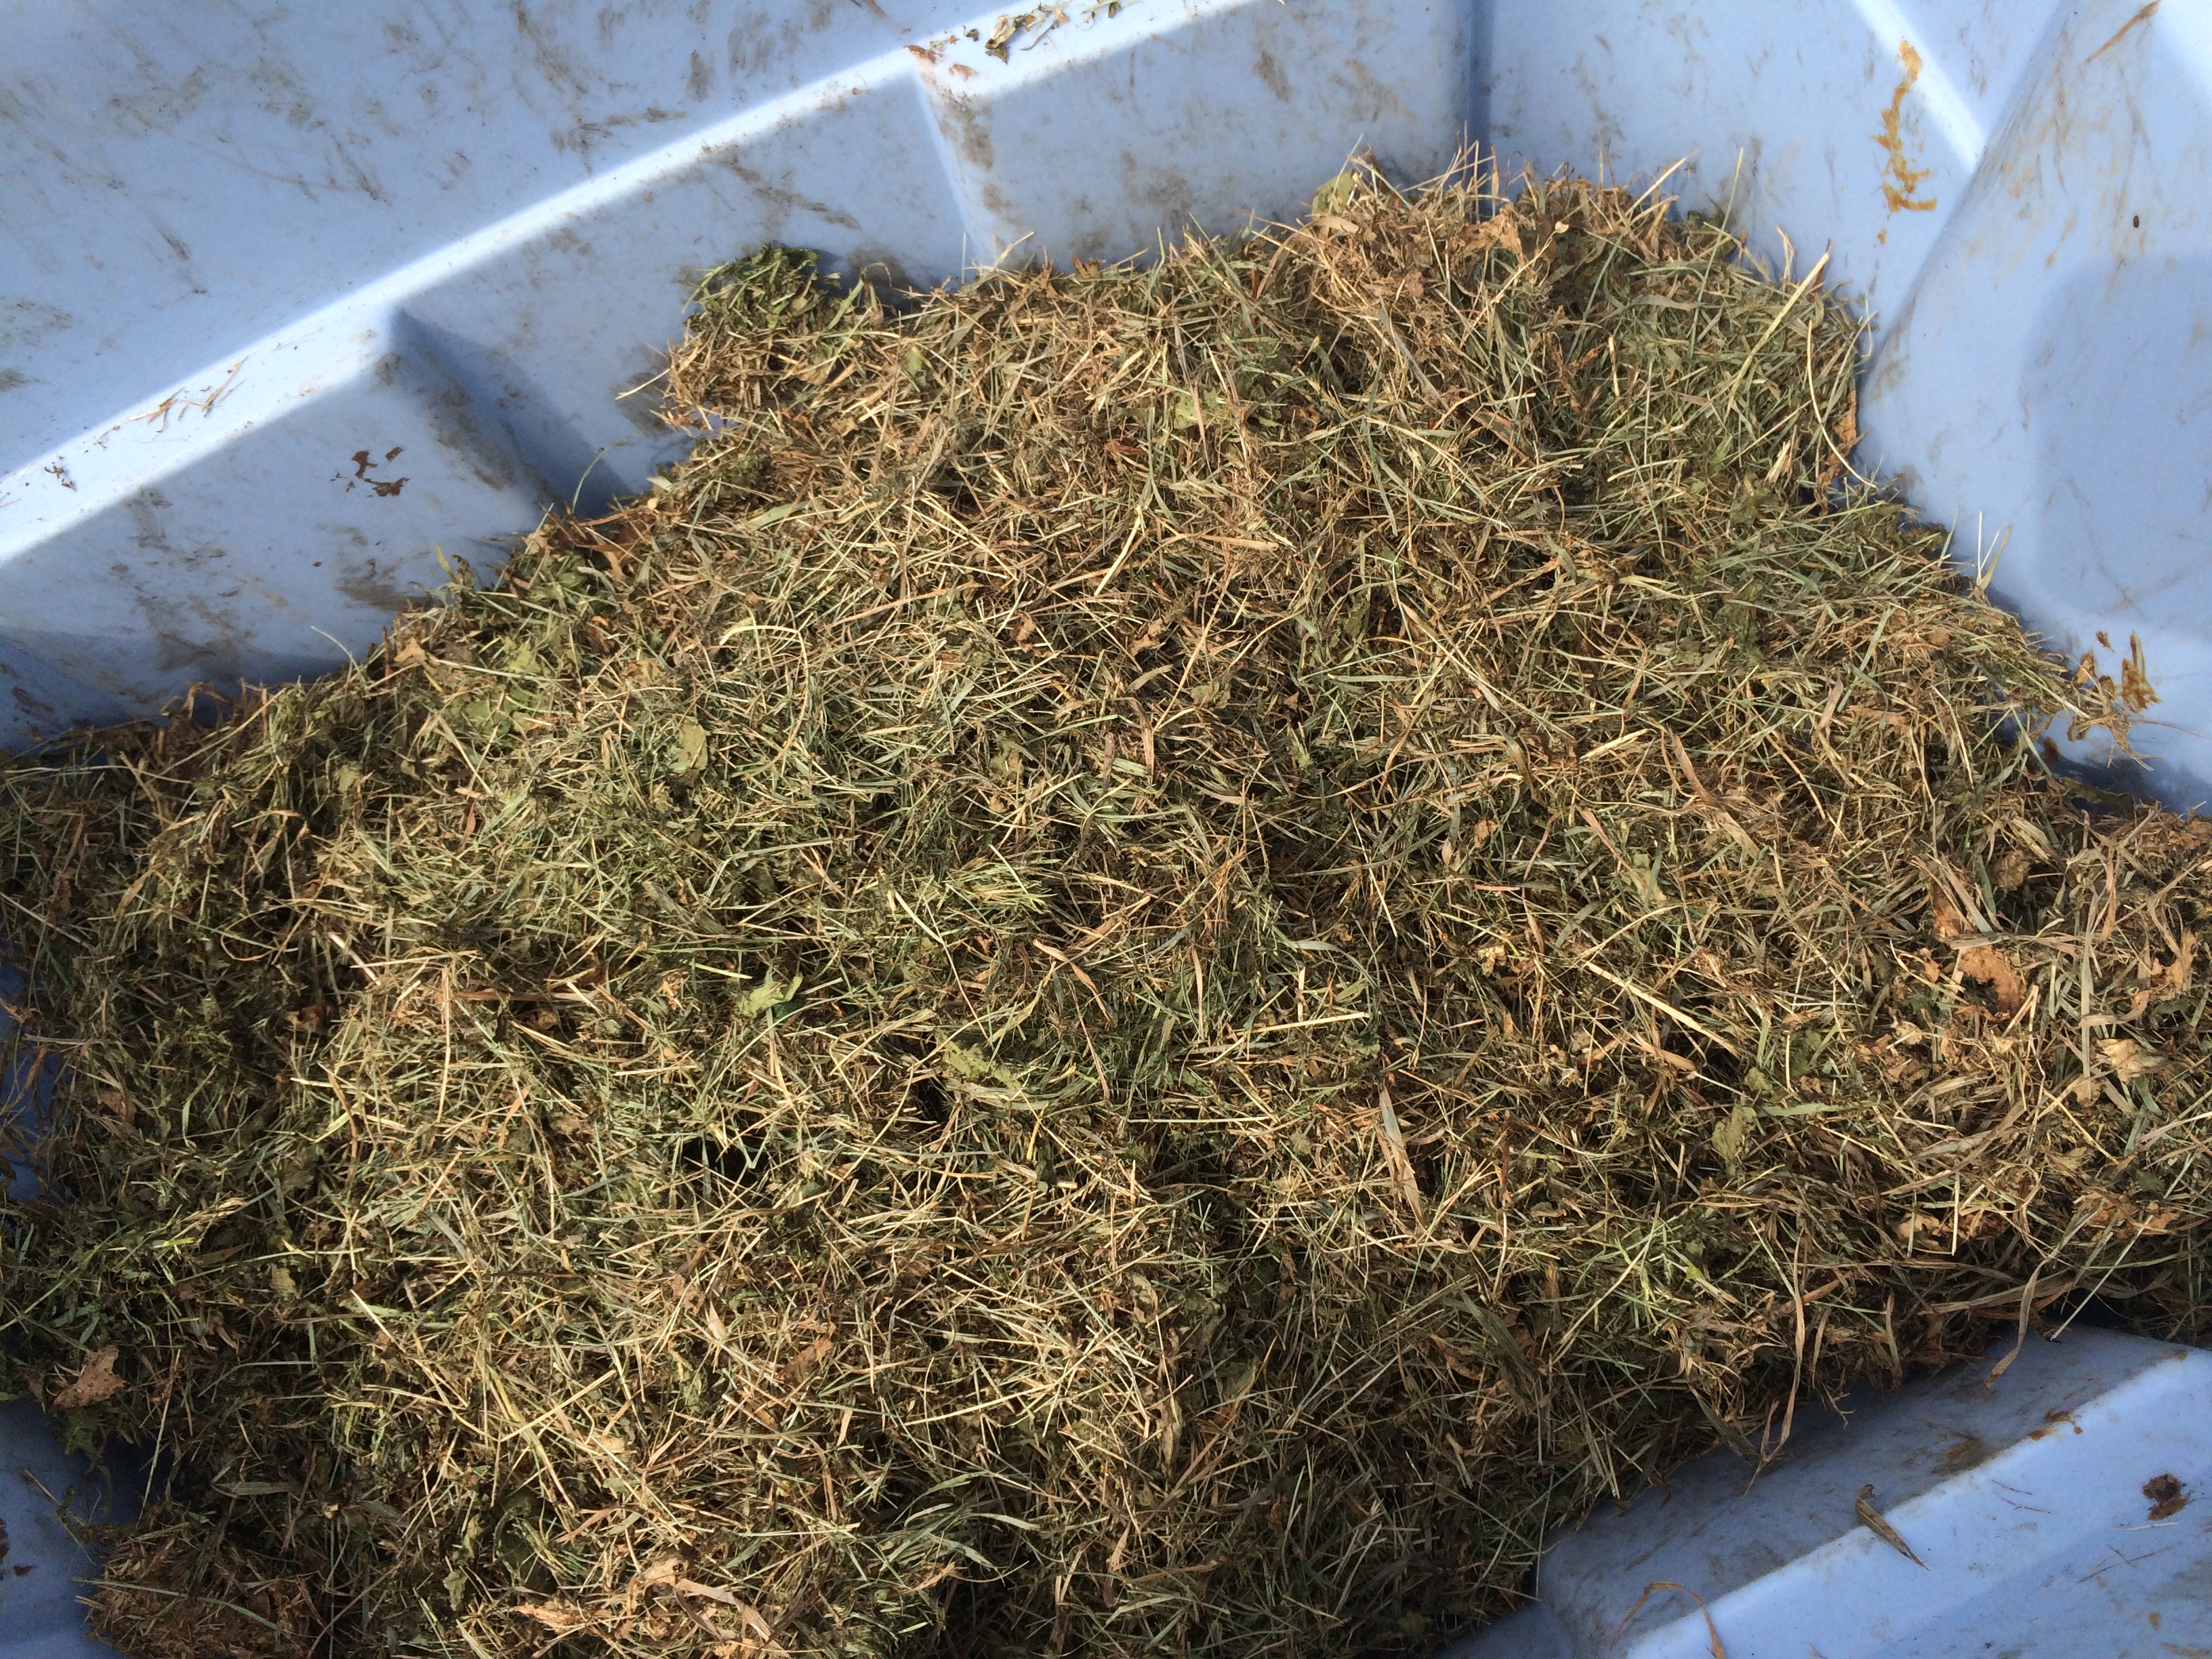
After they’ve dried out in the sun for a day or two you can go and collect them. They can be kept in a bag or bucket in a shaded area (so they don’t compost) for later use.
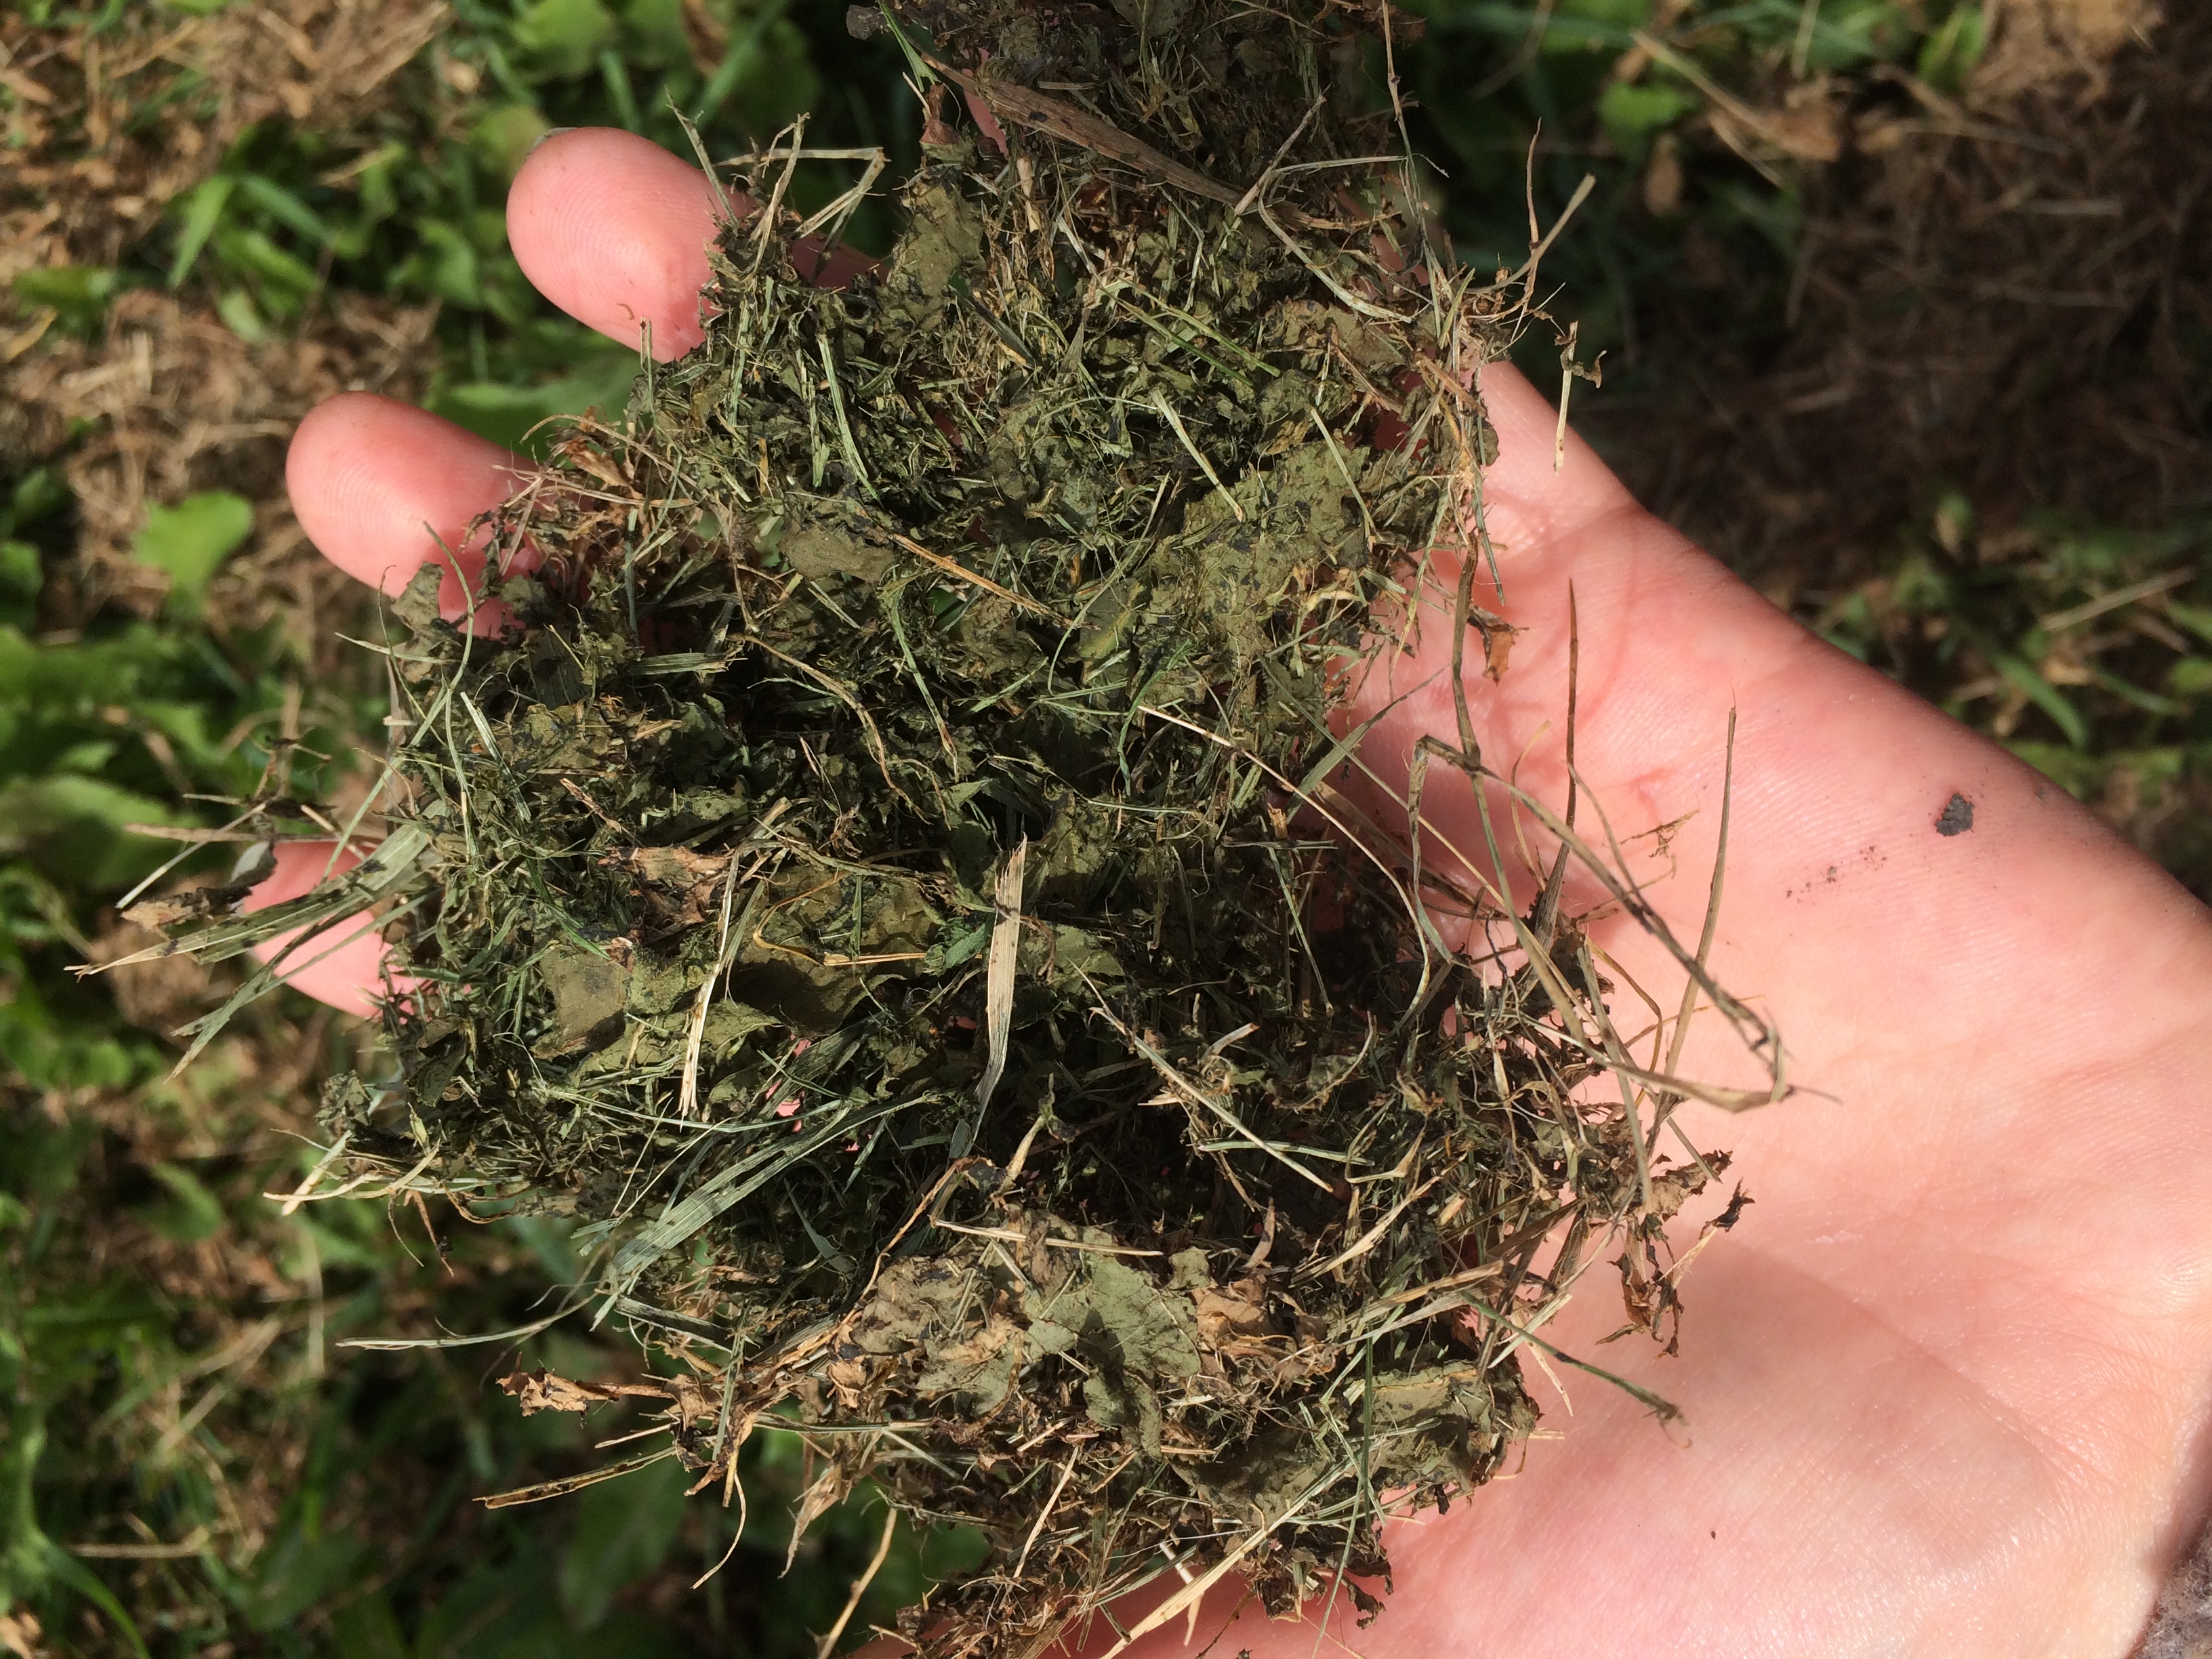
To Use Your Grass Mulch
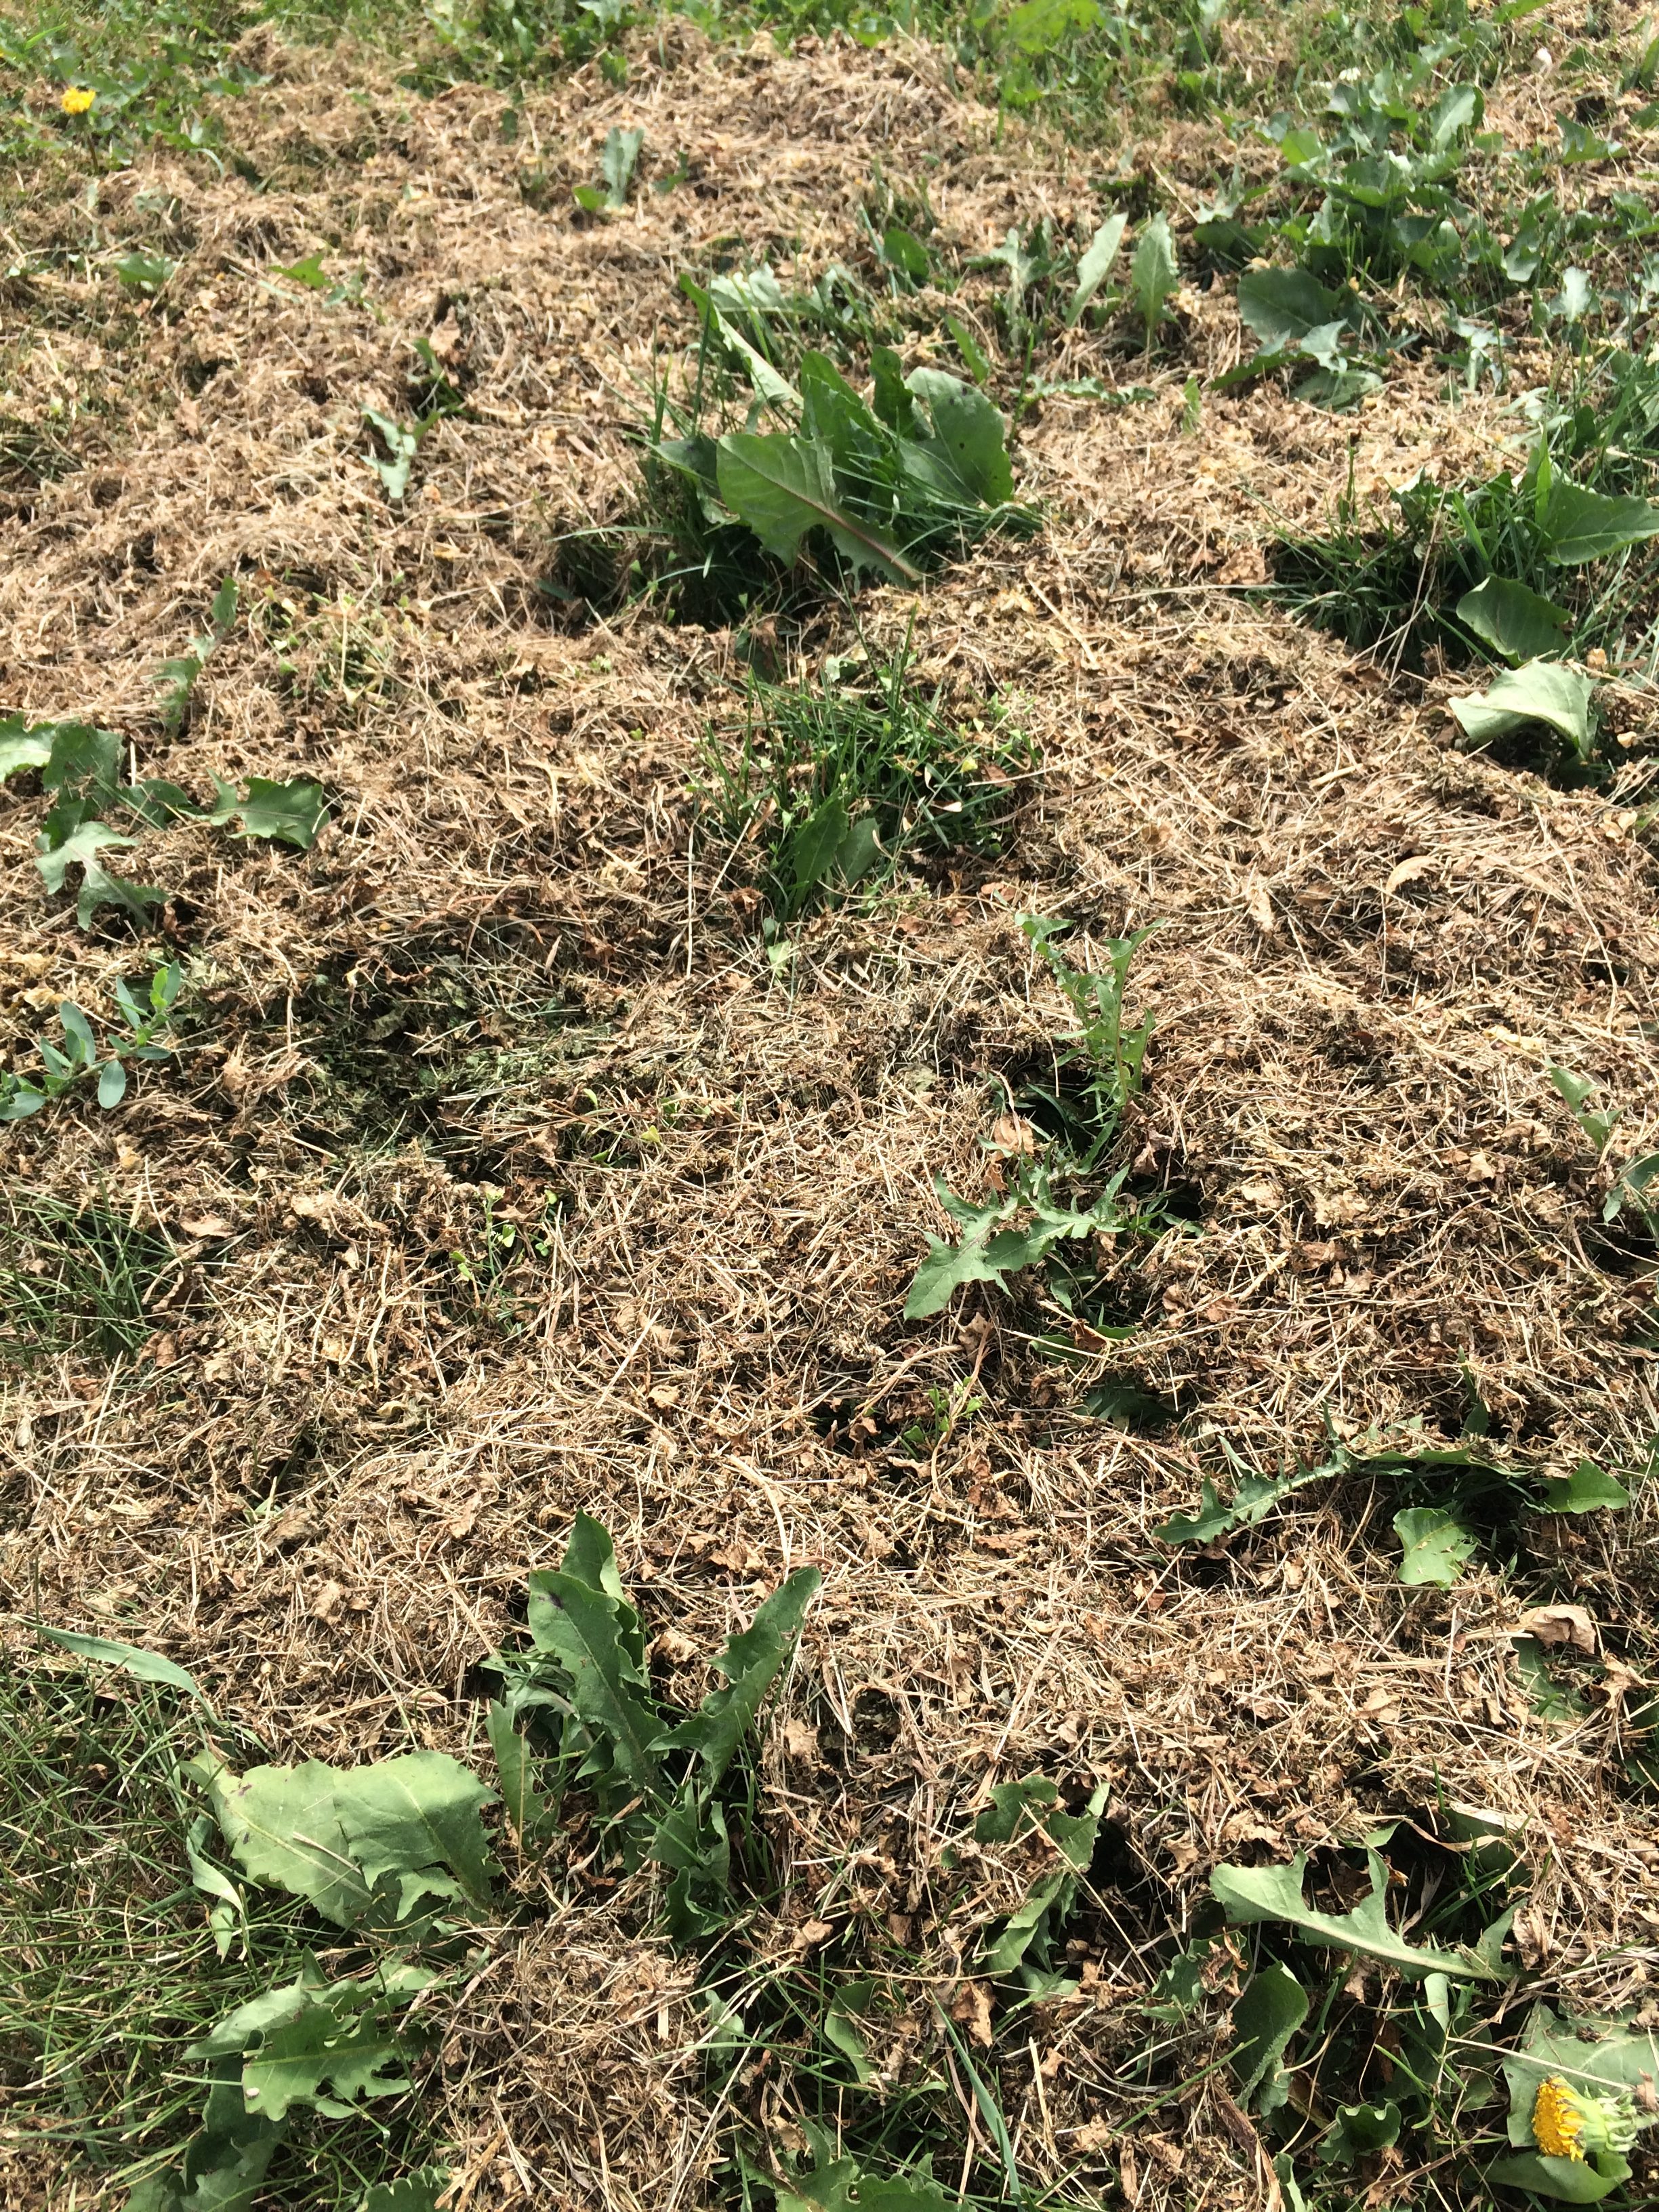
Simply place 1-2″ of mulch around your plants and add more as necessary.
Keep them away (1″) from tender shoots as grass gets hot when it decomposes and can burn the plant.
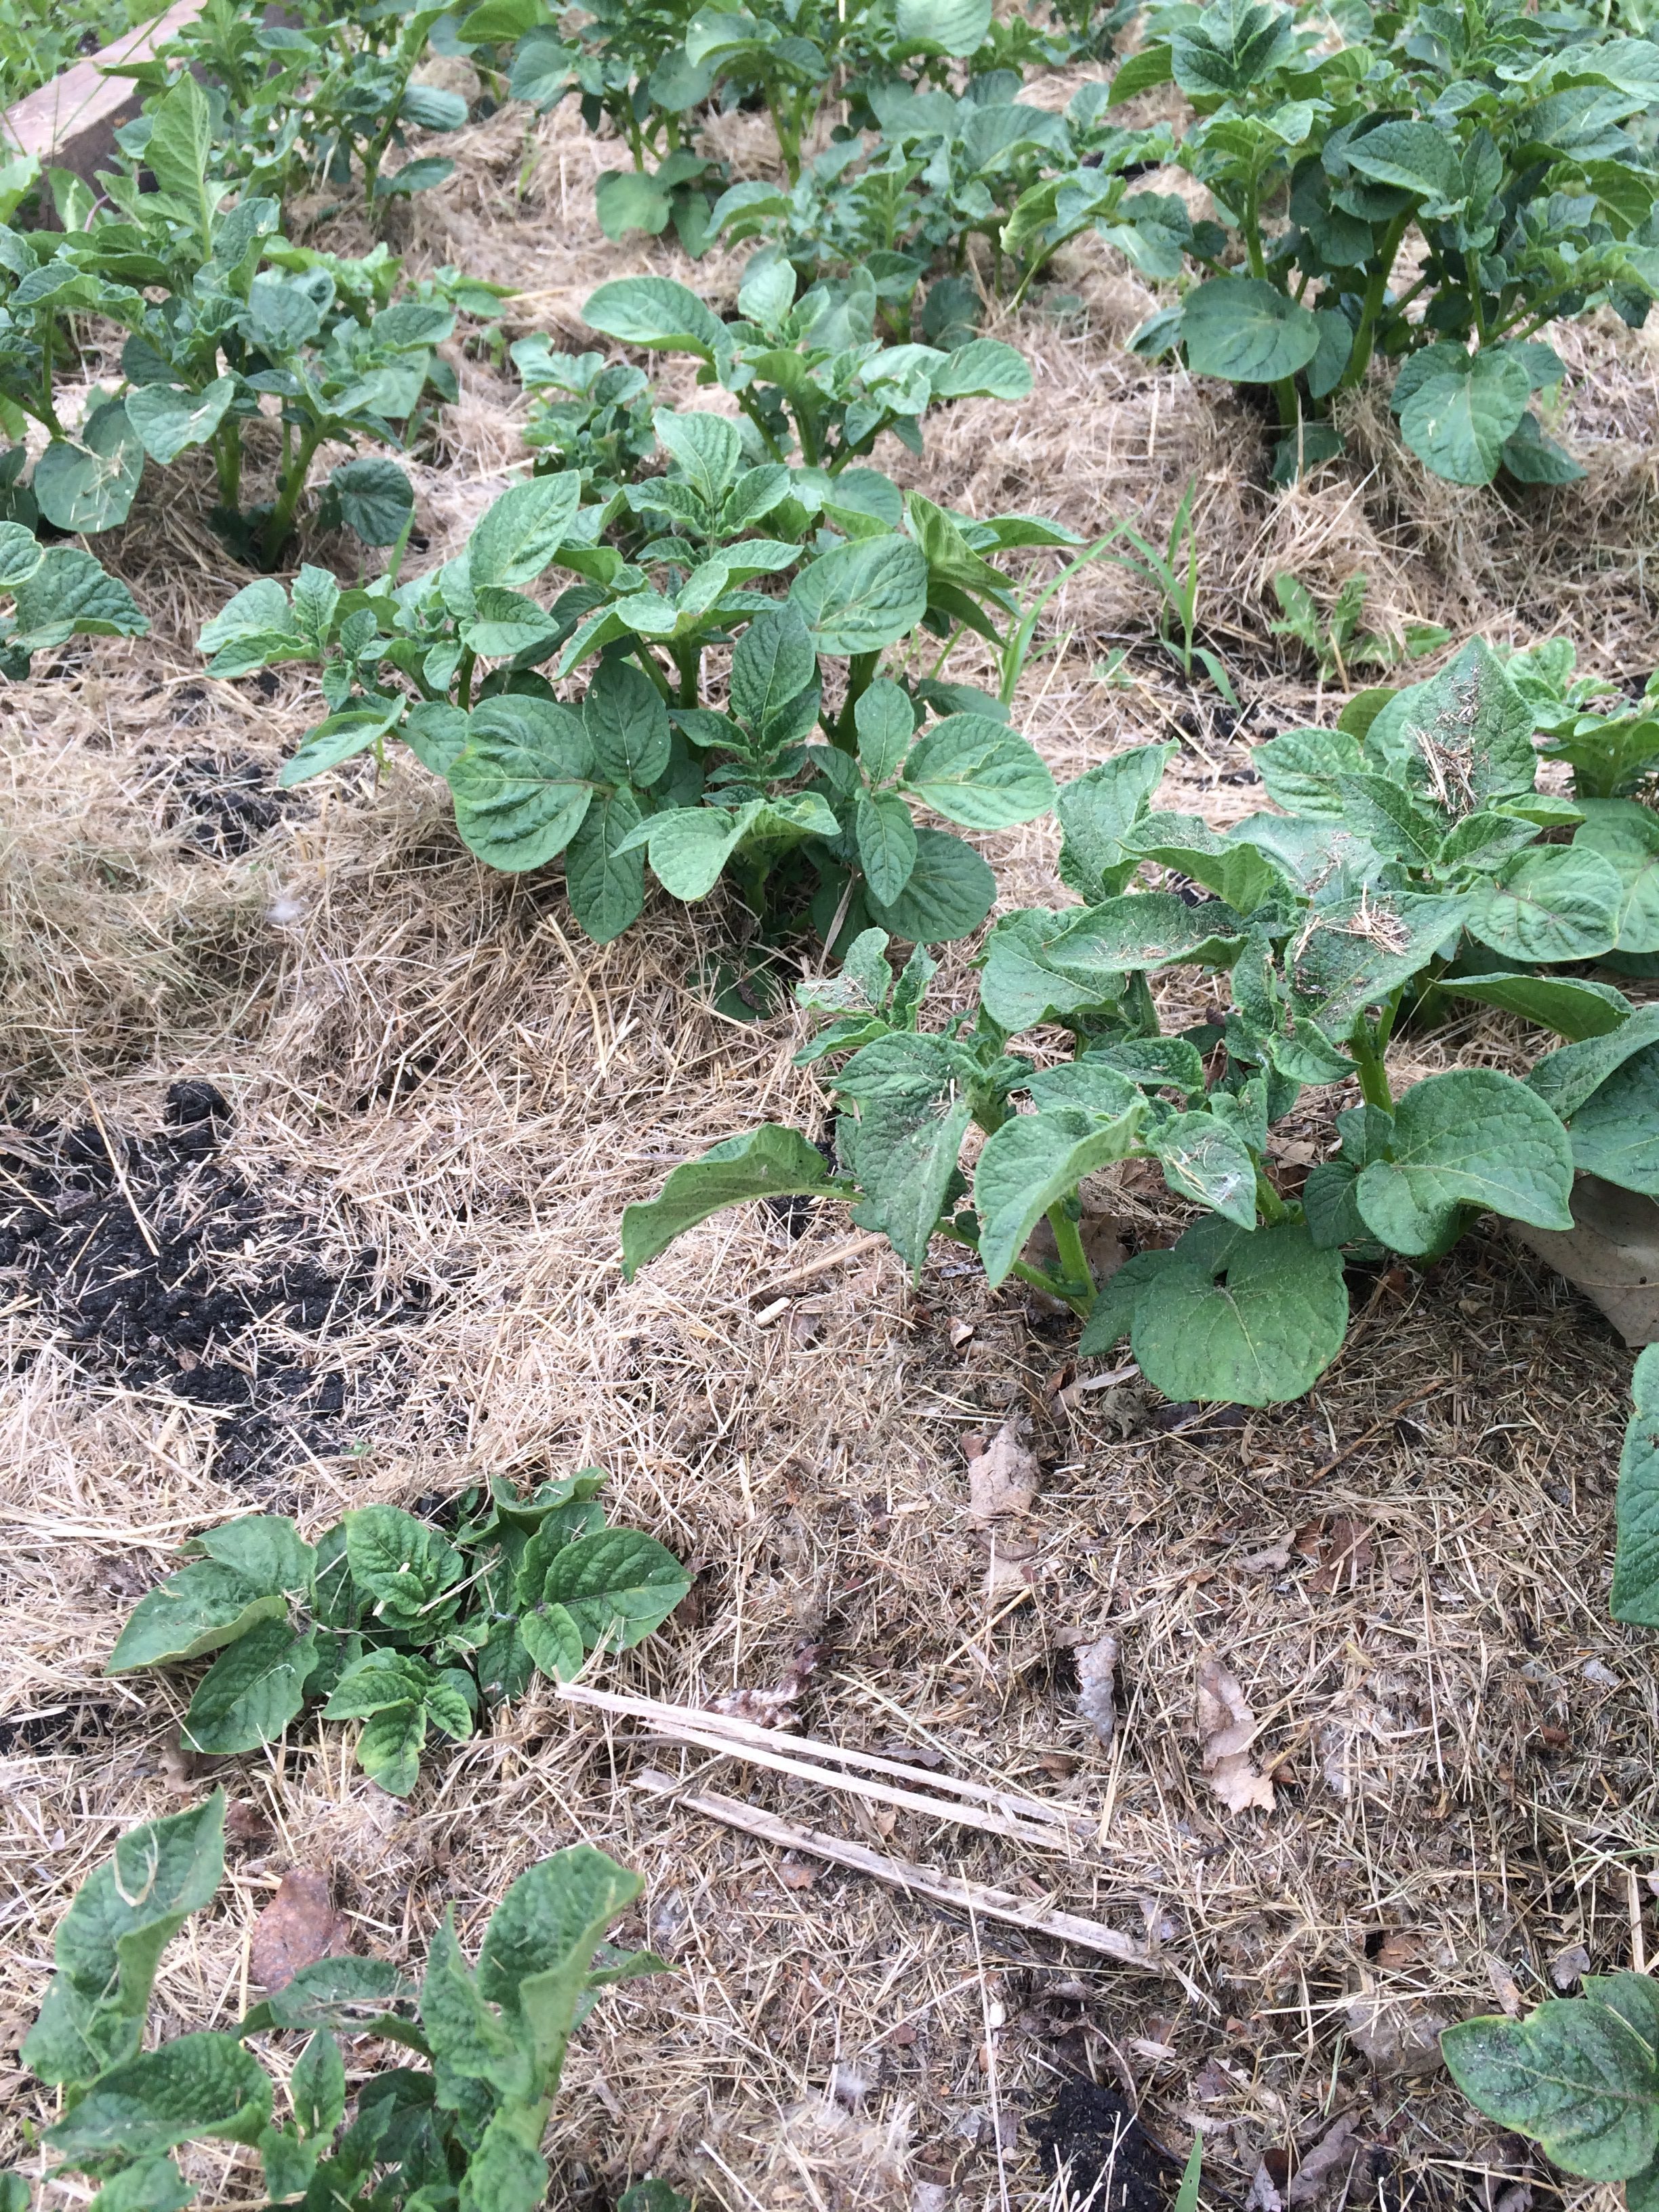
You can add mulch to existing plants, or allow a small space for seeds to grow up. I didn’t do this and my seeds were just fine growing through 1″ of mulch.
You can even use this mulch to build up potatoes rather than hilling them!
At the end of the season you can just mix it into the soil.
Results of the Mulch
I say it’s a win! The weeds are definitely less in the areas I’ve mulched and they’re much easier to remove as the soil beneath is soft and moist.
I don’t have to worry about watering as frequently.
When I cut the grass around the garden, any grass clippings just land on top of the mulch and dry out – adding to my mulch pile!
Any extras I add to my giant tub (or you can bag them) for when I need them for my compost or garden. I’m saving some for next year’s early garden too.
My plants are much happier with the addition of the nitrogen from the clippings.
Cheers to free and sustainable!
Share in the comments, what’s your favourite mulch to use?


You May Also Like
Mulch 101: Everything You Need To Know About Mulch
How To Build a Garden Planter in 10 Minutes