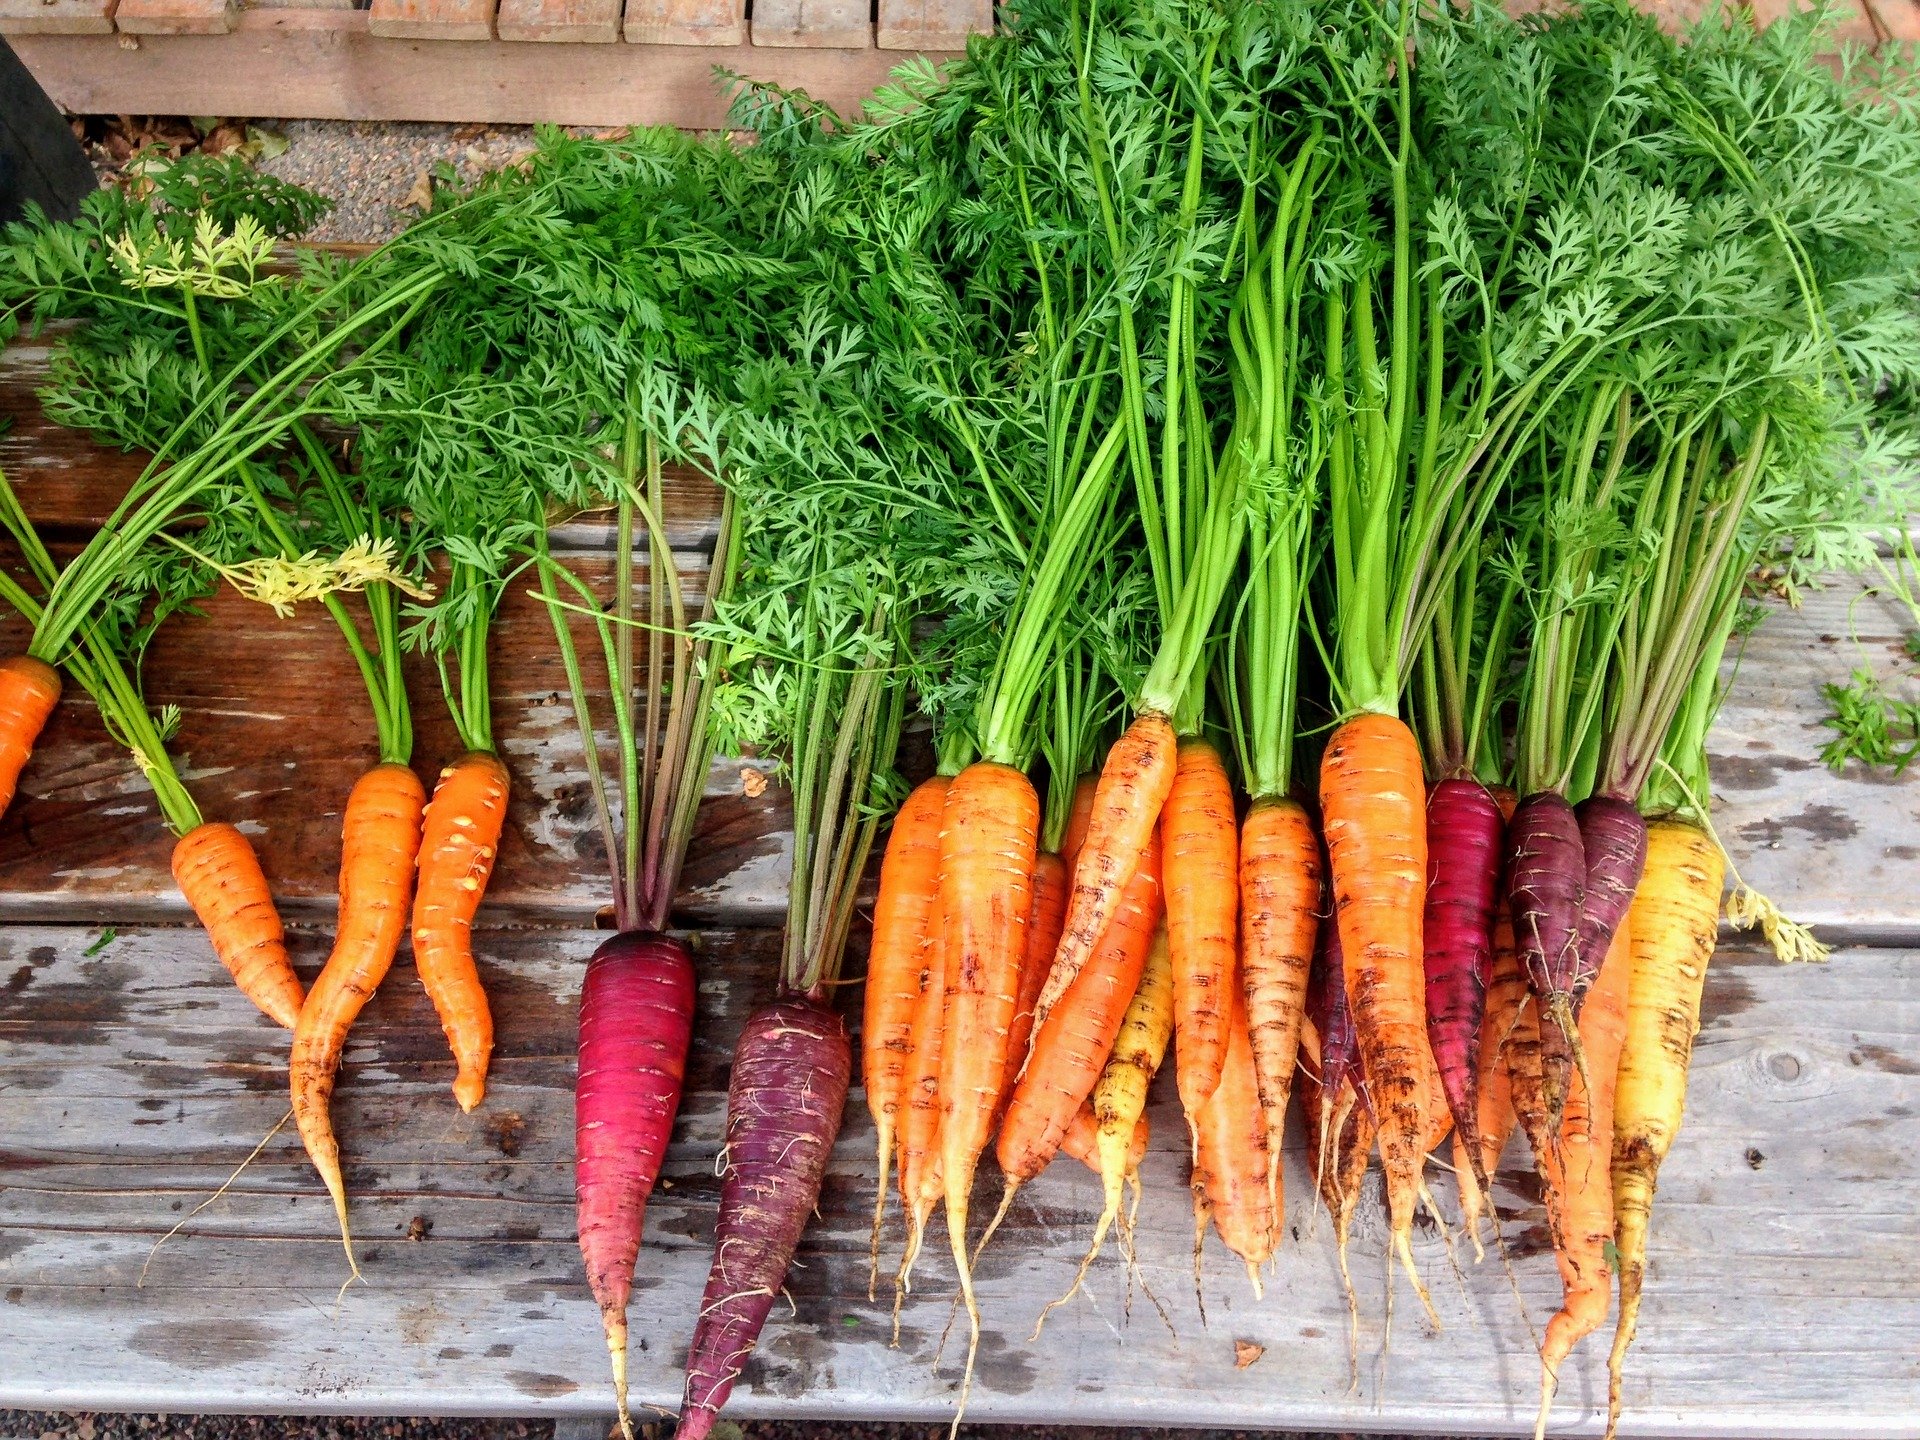
How to Grow Garlic in Zone 3/4
I have vivid memories from my childhood of my uncle eating toast with whole raw garlic cloves on it. Ewwww.
Little did I know I would end up as an adult trying to out garlic in and on everything! Garlic is amazing for your immune system, raw garlic is even better. It’s pretty easy to grow so if you have even some space, grow garlic!
What Kind of Garlic to Use
If you live in colder climates like zone 3 gardening or zone 4 you will need to plant over winter. In this case, use hardneck garlic varieties.
Hard neck garlic is found to be much more flavourable; ranging from mild to hot and spicy flavour.
Hard neck garlic also gives garlic scapes which are curled parts of the stock which can be used in cooking. Try it, they pack a nice flavour punch!
If you live in a warmer climate, use softneck varieties. Softneck garlic is what you find in the grocery store due to its mild flavour and lone shelf life.
The “neck” is referring to the centre stalk. Softneck is papery at maturity and easily braided, hardneck is stiff and must be tied.
Where to Buy Garlic
In the late 1990’s, China flooded the market with under-priced garlic and put many Canadian growers out of business, knocking the number of acres planted in garlic down from 4,500 in the year 2000, to just 300 in the year 2002. Small farms and independent gardeners, like you, have become key players in bringing Canadian garlic back to life.
In 2016, the tides began to turn and less imports were being brought in. Not by much but enough to show that Canadians wanted to buy and grow their own garlic.
Its homegrown gardeners, like you, that are helping keep the local farmers and economy going.
Plus, the flavour of garlic grown in our climate is so unique and delicious,. You won’t want to buy from the store again!
A quick search online can find you a smattering of farms growing organic, heirloom varieties of garlic that can be shipped directly to your door.
Canadian Organic Garlic Seed Growers
John Boy Farms – established in 1879 in the Red River Valley in Manotoba, these guys grow many different varieties of garlic in the extreme winters, hot summers and everything in between meaning the garlic seeds are hardy for anywhere across Canada. They use natural and organic practices. No spray.
Rasa (Rah’-sa) Creek Farm – Rasa Creek Farm is your supplier of quality organic and non-organic (grown naturally) seed garlic. Committee to teaching others how to grow garlic and decrease increase Canadian grown garlic in the domestic market.
SaskGarlic – an amazing family committed to regenerative farming practices. They take great care to grow the garlic from bulbis (the seed pods) in order to get the smaller garlic bulbs to send to you. This process allows for stronger crops on your end, although much more handcrafted work on their end!
How Many Garlic Cloves Do You Need
Each person will need about 30-40 cloves to grow enough to feed them for a year.
One clove makes a bulb. Each bulb will have about 5-10 cloves, depending on your variety.
You only need about 12 bulbs to get started growing enough for your whole family (4 people) for the year.
Your first year’s harvest will become seed for the following year.
This first year will get your feet wet for growing and you’ll be set for all future years with your own garlic seed!
Garkic self-sufficiency in a year!
When To Plant Your Garlic
Garlic is a slow growing food that needs to be planted in the fall.
You also cannot plant by the seeds it produces. Instead, you break the clove apart and plant the cloves about a month before the ground freezes.
That’s about early October in Manitoba but don’t fret. I’ve heard of people planting in early November and getting a successful crop.
If your garlic bulbs have already started growing, you might be able to cheat a little and plant them in spring.
Where Best to Plant Your Garlic
Garlic loves well drained, loaming soil, and lots of sun.
Prepare your soil by loosening it and adding a good compost layer.
Plant your garlic with the flat end down and the tip pointed up. Don’t worry about removing the papery bits. Space your cloves about 6 inches apart and 2-3″ deep.
Water to settle the soil around the cloves. Reminder,they like well drained soil so only water if it gets really dry.
Cover the cloves with 4 to 6″ of mulch if you’re planting over winter. If you live in a warm climate with a long growing season, still keep the mulch as it will keep the soil moist and cooler in the hot sun.
When to Harvest Your Garlic
The garlic will grow stalks and one will turn into a spiral. When the spiral does a full turn, you can cut it off and use it in cooking. These are called garlic scapes and have an abundance of flavour.
In order to know when the bulbs are ready, you’re going to be looking at the leaves on the stalk.
When the two lower ones dry out and die off. That’s a sign it’s almost time!
When you have about half of the leaves yellow or starting to yellow, that’s when your garlic is ready to harvest. Leave off watering about a week prior to harvest.
The longer you wait to harvest the less wrappers you have holding the cloves together.
Think of the leaves representing the wrappers. If you wait until they all turn yellow and die off, you’ll have nothing left.
The wrappers increase the shelf life of the garlic so you want to find that balance between shelf life and size.
If in doubt, dig up a few bulbs to check the size. Garlic is pretty easy to grow as long as you get it in the ground on time.
How to Harvest Your Garlic
Oddly enough, actually getting the bulbs out of the ground can be quite tricky!
You run the risk of puncturing them if you use a pitchfork so the better way (I’ve found) is to use a small trowel or weeding shovel. This allows for better control as you work to get under the bulb and pry it up.
Whatever you do, don’t just pull on the stalk or it’ll break and you’ll be digging blind (ok not really) for your bulb!
How to Store Your Garlic
Garlic needs to cure in order to be stored properly. Curing is basically letting it dry out so it gains a tougher skin. It’s quite simple to do.
You want the air to be able to flow around your stalks so its nest to lay them out on a rack or some buckets. Keep them covered from the sun.
If you are using softneck garlic, braid the stalks together before they’re fully cured. They should be limp but not so papery it crumbs.
Hardneck garlic you can tie together once they’ve fully cured.
I like to do my curing in the garage. It’s cool and not too humid, even with rainstorms.
Dry them for about 2-3 weeks. You want the necks and stem to be dry and papery. After that you can cut the tops off and roots and store them in your home.
Braided or tied garlic is ideal for storing as it allows for air flow around the bulbs.
Store your garlic in just above freezing, or quite cool. A basement or uninsulated room or closet works well. If you can keep it above freezing, your garage.
Remember that the warmer the room, the shorter the shelf life.
Plan Ahead to Grow Enough Garlic
You can prepare for the following year by planting enough cloves so that you have garlic to eat and garlic to seed for the next crop.
You can also give them as gifts, use them in canning recipes, or sell/trade/gift your leftover crop to others.
Happy growing!
PIN FOR LATER

How to Make a Sourdough Starter

You May Also Like
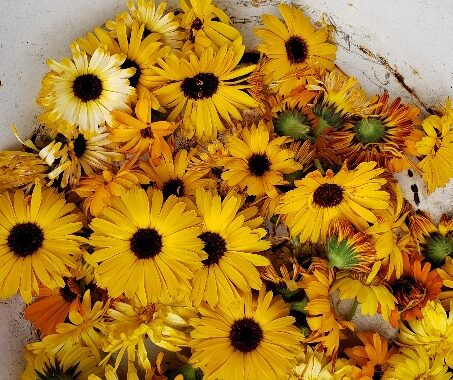
How to Grow Calendula: From Seed to Harvest & Use
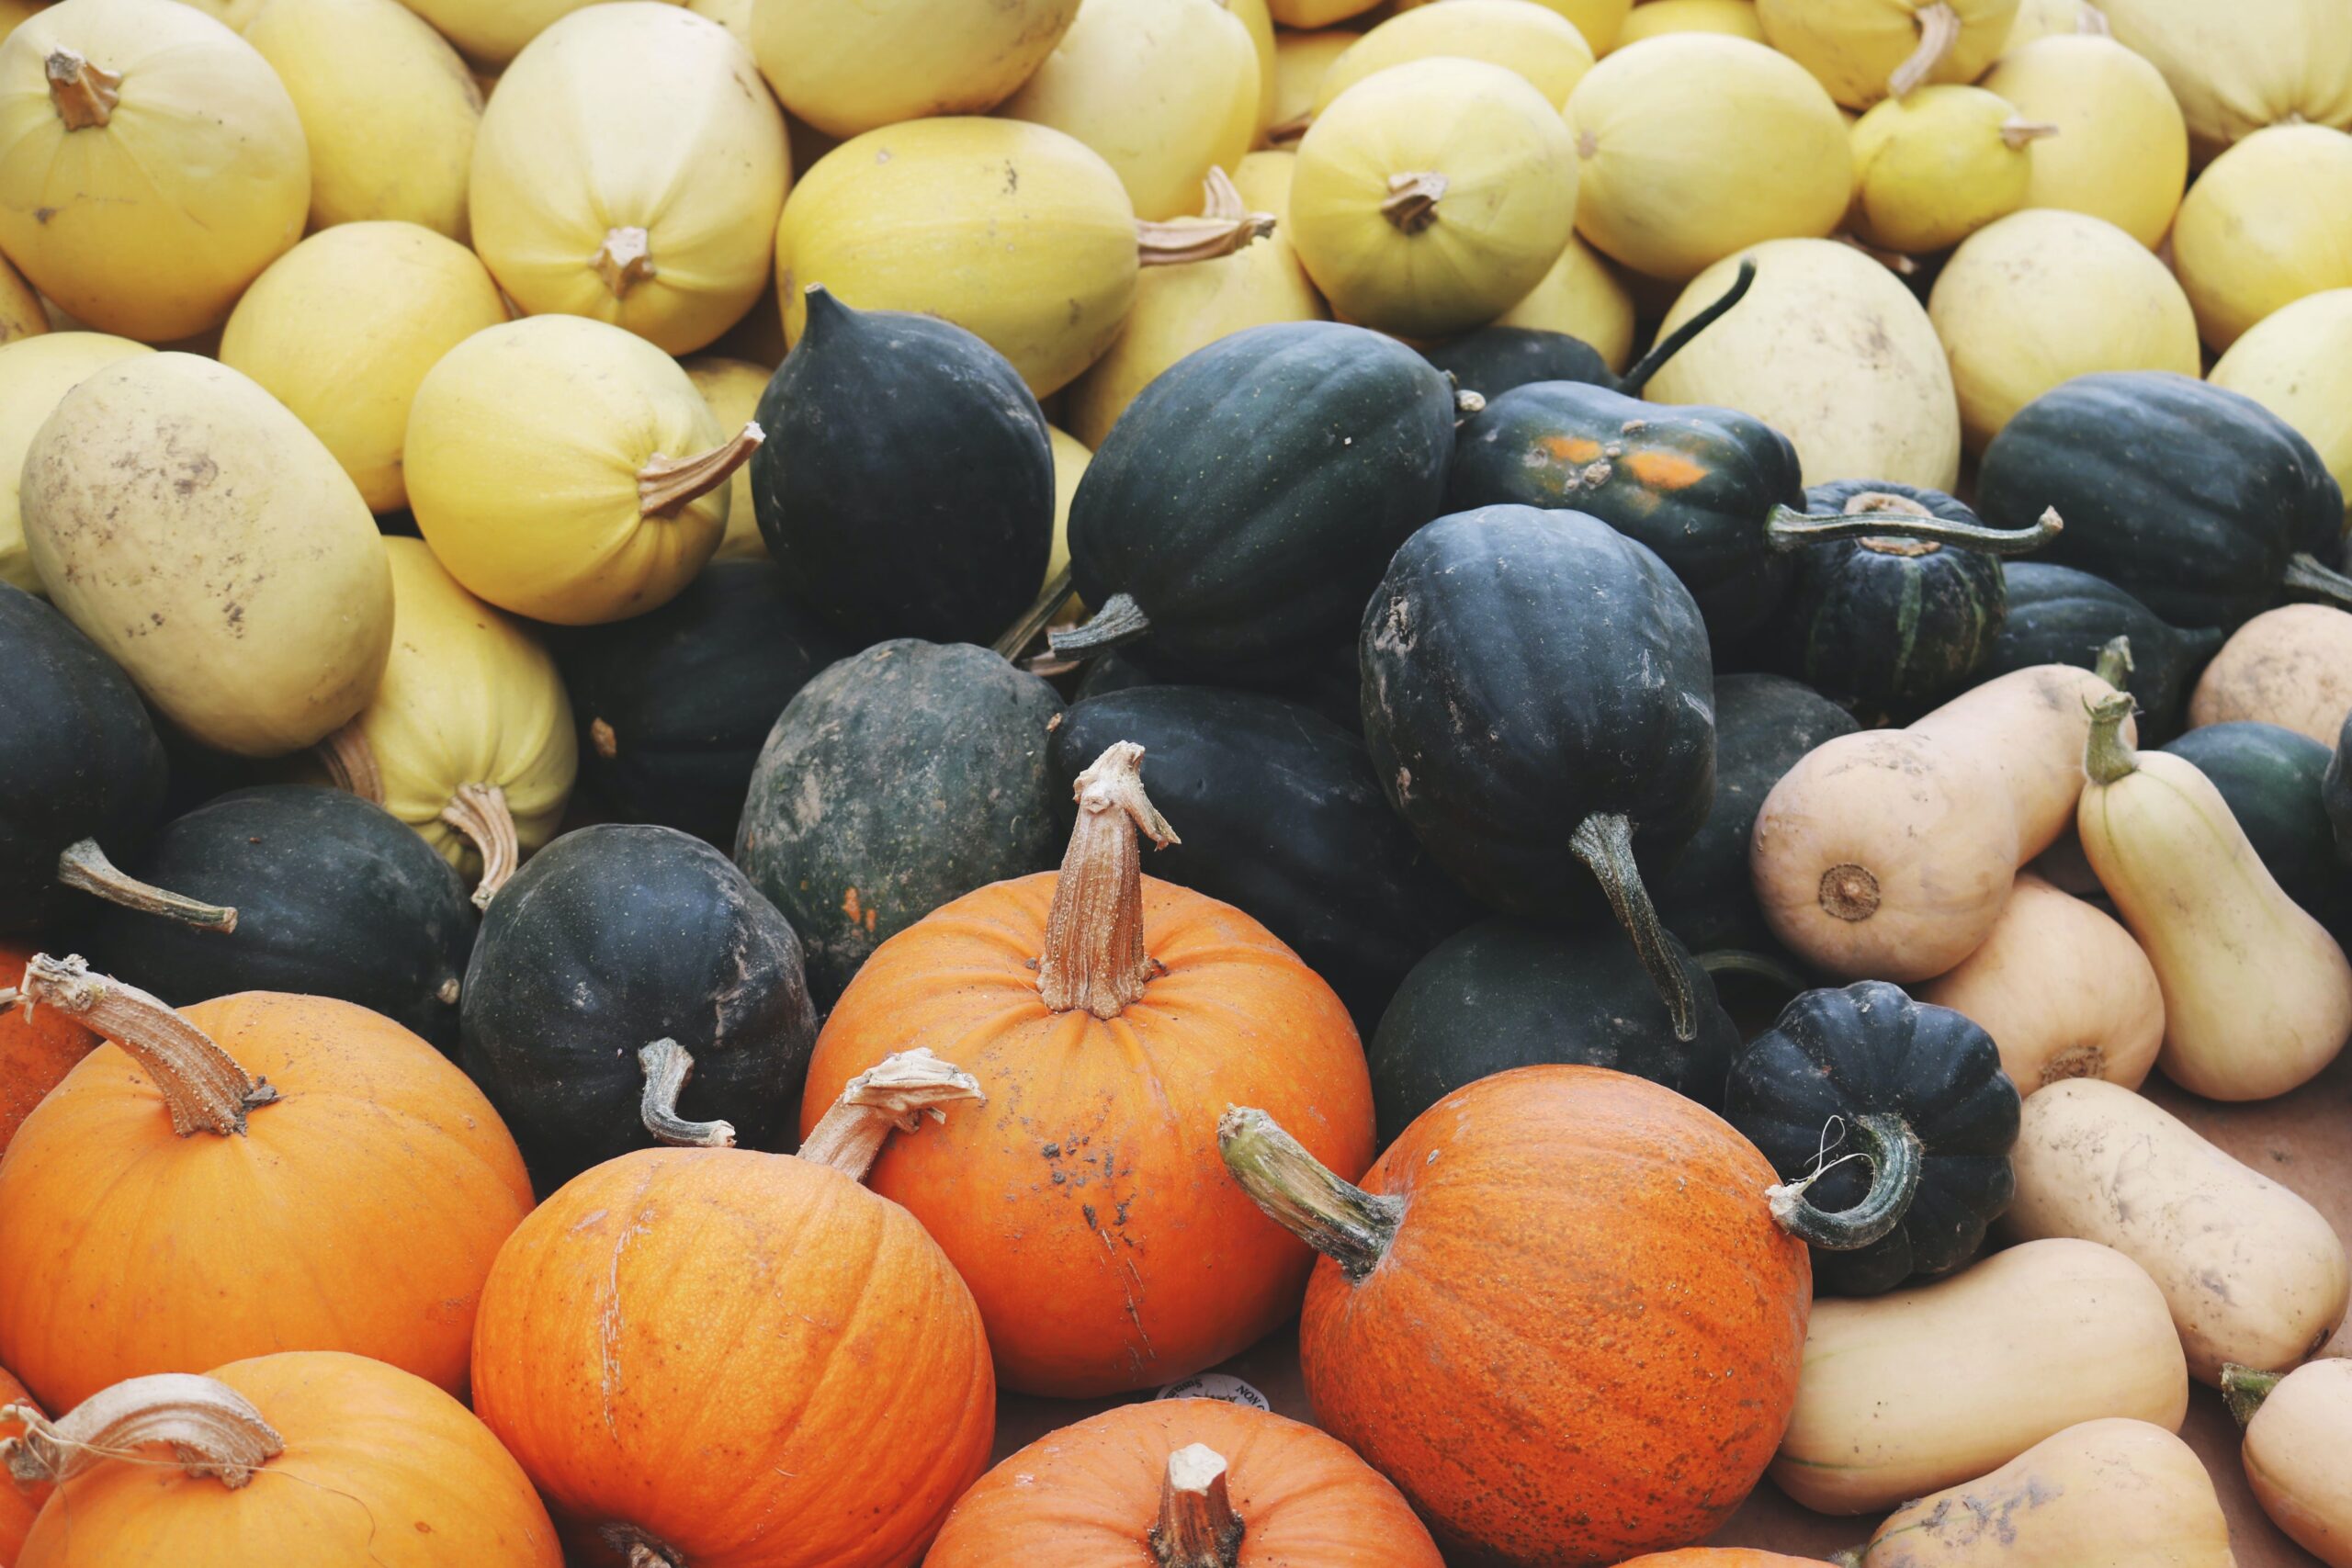
How to Grow Guide: Squash