How to Make Cold Process Soap
Soap making can seem so confusing and intimidating. I remember when I first wanted to try it.
I read instructions after instructions all the while becoming more and more confused.
The good news is that its actually really simple and easy. It only takes about an hour to physically make cold process soap. The rest is hands-off waiting!
Read More: DIY Foaming Hand Soap and 11 Toxins to Avoid
Traditional Soap Making
Historically, cold process soap has been the process of choice. You mix it and let it sit. Nowadays we have the luxury of hot process soap-making which uses a crockpot or double boiler.
Traditional soap used wood ash to make the lye, and added lard as the fat and oil. If you’re up for the challenge of making your own lye, you can check out Primal Suvivor.
Cold Process Soap Versus Hot Process Soap
There are two different methods you can use to make soap: cold process and hot process.
Cold process uses the internal heat from the chemical reaction to “cook” the soap. Hot process soap making uses an external heat source, like a slow cooker, to “cook” the soap.
Hot process is thereby faster and you can have your soap ready to use, yesterday. Cols process allows you to do more intricate designs and personally, I just like the ease of cold process soap all together!
Your beginning steps to making soap are the same, regardless of if you’re using the hot process or cold process soap making method. It’s what you do after you hit trace that differs.
Trace is basically a texture you’re looking for during the blending of the lye and fats.
A word of caution:
Soap making should not be done with children or pets present. Always remain focused during it and although there are spots where you can easily pause, don’t if you can because if you let things cool or cook too much you can wreck your soap.
Supplies for Making Cold Process Soap
Step 1: Prepare Area and Supplies
Prepare a sink with water and vinegar. The vinegar will neutralize the lye. When you are finished with your lye materials, add them to your sink or bucket.
Lay out your surface area protector.
Have all of your materials handy and ready to go.
Prepare your soap mould.
Step 2: Measure Your Ingredients
Zero out your scale with a large bowl on it. Start adding your first solid oil (ie. Coconut oil). Once done, zero out the scale and add the next oil. You can measure them out in separate bowls but this way is less clean up.
Measure out your liquid oils into a separate bowl using the same zero-ing method.
Step 3: Prepare the Lye Mixture
Ensure you have all of your protective gear on.
Place your mason jar on the scale and zero it out.
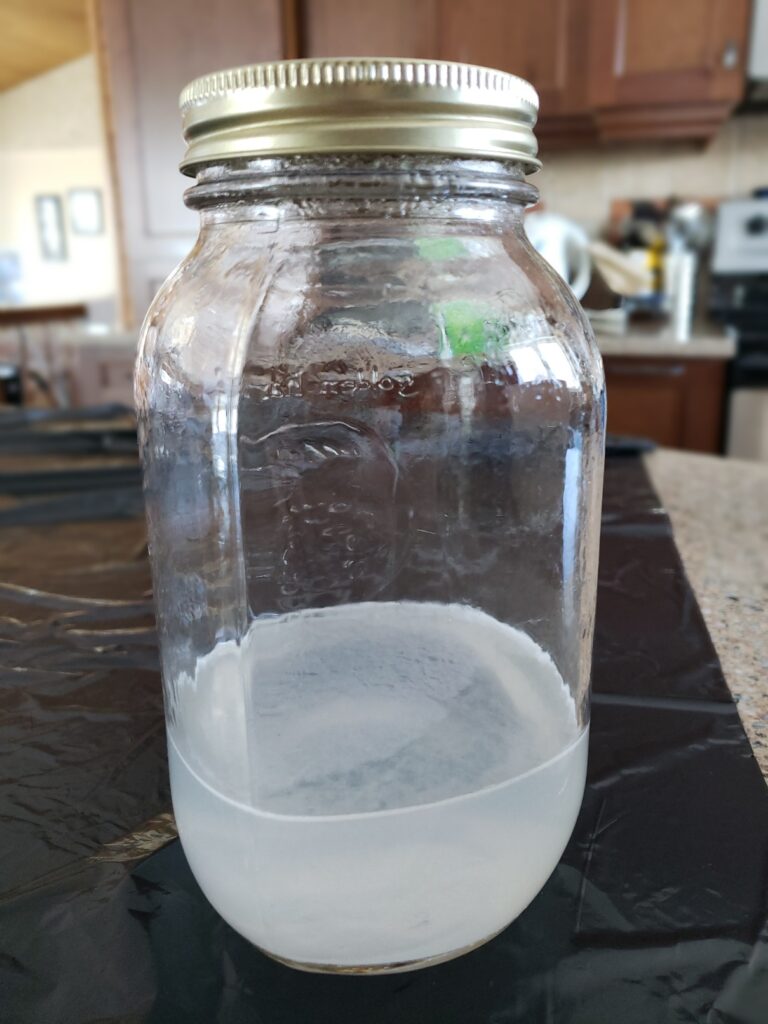
Measure out your water into your quart mason jar.
Remove the water jar from the scale. Place your pint mason jar on and zero it out. Carefully measure your lye crystals into it.
Once measured, SLOWLY pour the lye crystals INTO the water. NEVER add the water to the lye or you will have an explosion gone very, very wrong.
Remember this handy phrase used by soap makers: snow floats on water.
Stir the crystals into the water with your wooden spoon, as you pour, (or stop and stir) until they’ve fully dissolved. You’ll notice the jar heating up. It’s going to stay quite hot which is why we mix it up first, to give it a chance to cool down.
Now put your lid on the lye mixture and set it somewhere safe while you tend to the rest of the oils.
Step 4: Melt Your Fat(s)
Add your solid oils to your crock and turn it on high to melt them together.
As they melt, measure out your liquid oils (olive oil, caster oil, etc.)
The solid oils will generally melt completely around 130F. When they’re just about melted, turn your pot off and add your liquid oils.
You’re looking for about 120-130F to be able to add your lye.

Step 5: Mix the Lye and Fats
When you’re ready (PROTECTIVE GEAR!), slowly add the lye mixture to your oils. They will instantly turn cloudy.
Put your lye dishes into the vinegar and water bucket.
Using your immersion blender, WITHOUT turning it on, swirl the oils and lye together.
After they’ve mixed a bit, you can pulse for 3-5 seconds. Very short bursts or you risk overmixing.
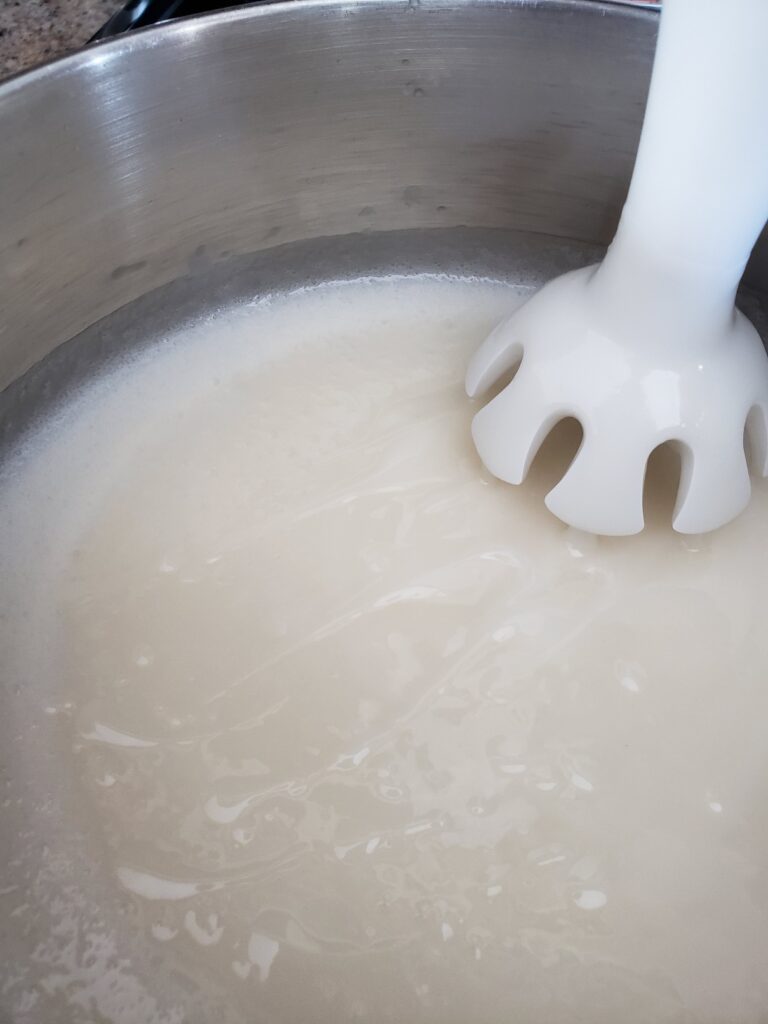
Step 6: Blend to Trace
Keep doing short pulses with 5-10 second breaks in between, until you hit your desired trace state.
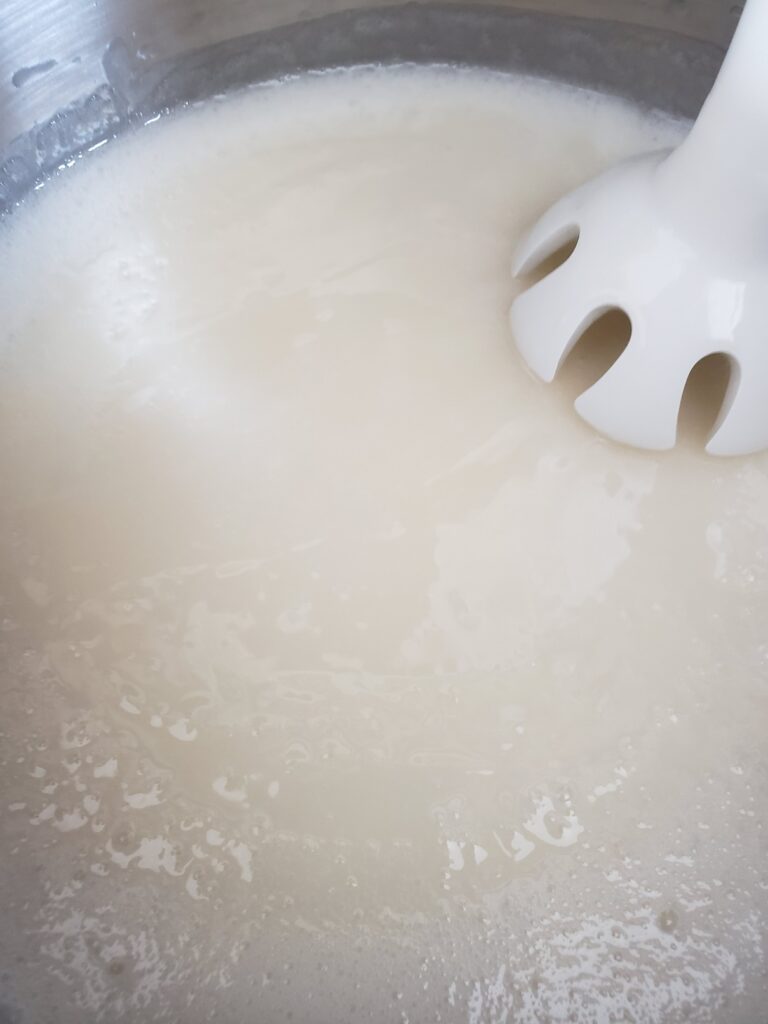
Light Trace
Unraised, light path. Light trace is great for making swirls that sink down to the middle of the soap, and for giving you time to add herbs and other ingredients like coffee grounds or oats before it sets up.
Medium Trace
Raised light path. Medium trace gives you more options for suspending colors and herbs in the top layer of your soap without them lying above the soap (the top is still flat). You can see that it is nearing a more pudding consistency.
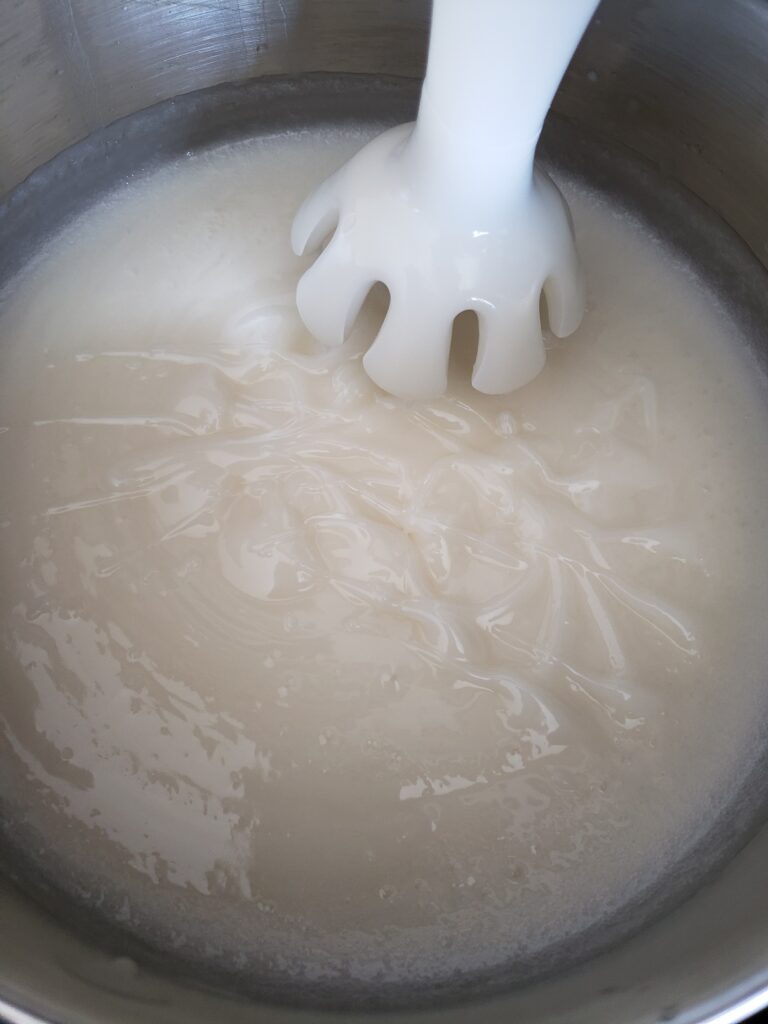
Thick Trace
Thick trace is a thick pudding consistency and great for layering colors within soap, because it is thick enough that they won’t sink and blend into one another.
Once you reach your desired trace state, you can add your colorant, exfoliants, and aromas.
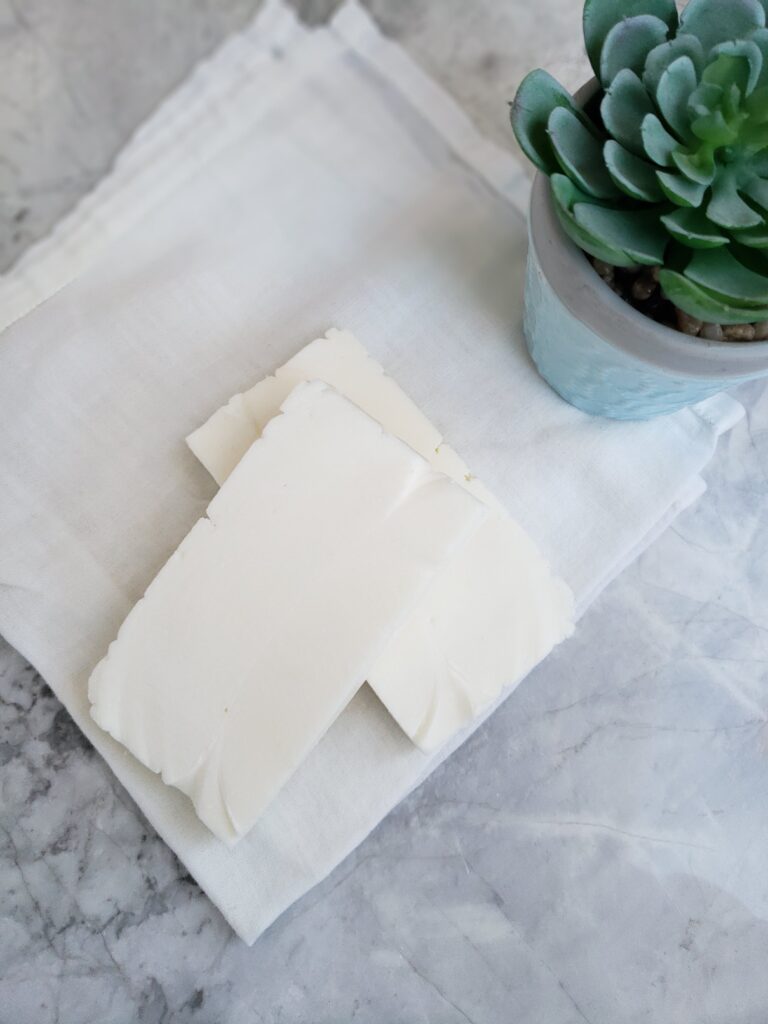
Pour your soap into your mould. Wrap it in a towel to insulate and let it sit for 24 hours.
Step 7: Cutting + Curing Your Soap
Once the soap has sat in the mould for 24 hours it is ready to be removed and cut.
Cut your soap using a soap cutter or thin wire, or even a piece of thread. It should be slightly soft and cut easily. Use protective gloves like work gloves if using a straight wire (like a guitar wire).
Cure Times and Storage for Cold Process Soap
Curing your cold process soap allows for the lye to be fully removed from the soap, and allows additional moisture to evaporate. Your bar will become harder and last longer, the longer its left to cure.
Cold process soap takes 4-6 weeks to cure, or as little as 10 days for 100% lard recipe. *times will vary based on curing conditions.
Keep your cut bars in a dark, dry space. You can experiment for good locations in your house. Make sure they are kept out of the way of young children and pets.
Turn your soap every few days to allow even airflow and align them apart on a tray or plate.
You can check your bars for lye by using the “zap test”. Simply touch a bar with the tip of your tongue. If you feel any “zap”, there is still lye present in the bar and can cause irritation to your skin if used.
That’s it! If it still seems clear as mud or you would like a closer look at the process step-by-step, then this easy Good Ol’ Fashioned Soap-Making course will have you feeling comfortable in no time!
Soap making is a simple skill that everyone should learn how to make. Not only is it cost effective but you can actually turn it into an income too!


You May Also Like
3 Wildcrafted Spruce Tips Recipes That Your Great-Grandmother Ate

The Empowered Community