How to Make an Herb Drying Rack (that won’t break the bank!)
Preserving your harvest is one of the most important parts of the work. Your preservation technique can truly make or break your harvest. Whether drying vegetables, flowers, or wildcrafted goodies, having a good drying rack is essential. Thankfully there are many different methods to create your herb and flower drying rack, and they won’t break the bank!
First off, thank you so much for exploring the use of herbs and plants! It is a very important piece of ancient wisdom and knowledge that has been systematically removed from the Western world, and our lack of it has resulted in severe rise of chronic health issues, cancer, mental health crisis, and drug reliance.
Prior to the industrial revolution and the ascendence of modern medicine, we lived and flourished living in harmony with the earth and her plant and natural wonders. Reviving that innate connection within yourself leaves you with feelings of peace and calm. You are centered, you are whole, you are healed.
There’s a reason plants and natural remedies were villified, and doctors, herbal women, midwives, and other such traditional healers were restricted or killed for providing herbal remedies (remember the witch hunts?). They worked.
They had kept people alive amd thriving for centuries. Sure, modern medicine and surgery has its place – for emergencies. But our daily Healthcare and more can be treated using the plants around us.
Even more simply put, you are what you consume.
So taking this step to learn and practice herbal remedies is considered an act of defiance, and with that, you are now one of the strong ones. You are empowered.
How to Stock a Natural Remedies Cabinet
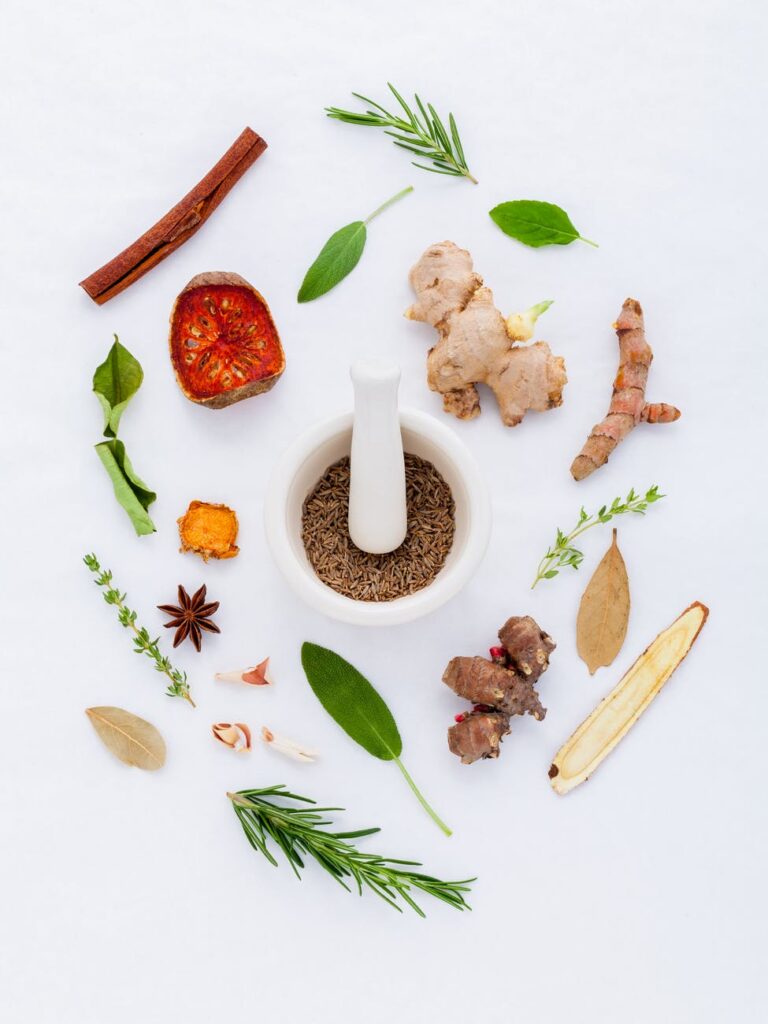
Air Drying Herbs and Plants
Air drying of herbs and medicinal plants has strong roots in culinary and medicinal history. You wouldn’t have walked into any home 100+ years ago without finding an area with plants laid out to dry.
A well-stocked apothecary and pantry could be the difference between life and death of human or animal.
Whether you are building your own home apothecary or are delving into your roots of a whole-food homegrown chef, drying herbs and plants will be an enjoyable and empowering part of the process.
Why Dry Your Herbs?
Dried herbs and plants last longer. Its really as simple as that. There are some that you can, and should use fresh such as dandelion flowers.
There’s a difference between air drying and dehydrating. Air drying does take a few days, but it saves the plants from that extra heat. Plants like Calendula are sensitive to heat and require ar drying.
Unless you can get your dehydrator set very low (<95F), you’re better off using traditional air drying methods. They’re also simple, and easy to DIY for next to nothing!
Dried herbs can last months to a year although they do lose their potency beyond that. From store bought herbs, you cannot guarantee they are even fresh versus sitting in a store room for months or years before being sold to you.
You can used dried herbs and flowers in salves, teas, body oils, or cooking to give you a boost of beneficial nutrients and a taste of the warmer months in the middle of winter.
Drying is the perfect remedy for an abundance of plants that you’re not able to keep up with eating fresh.
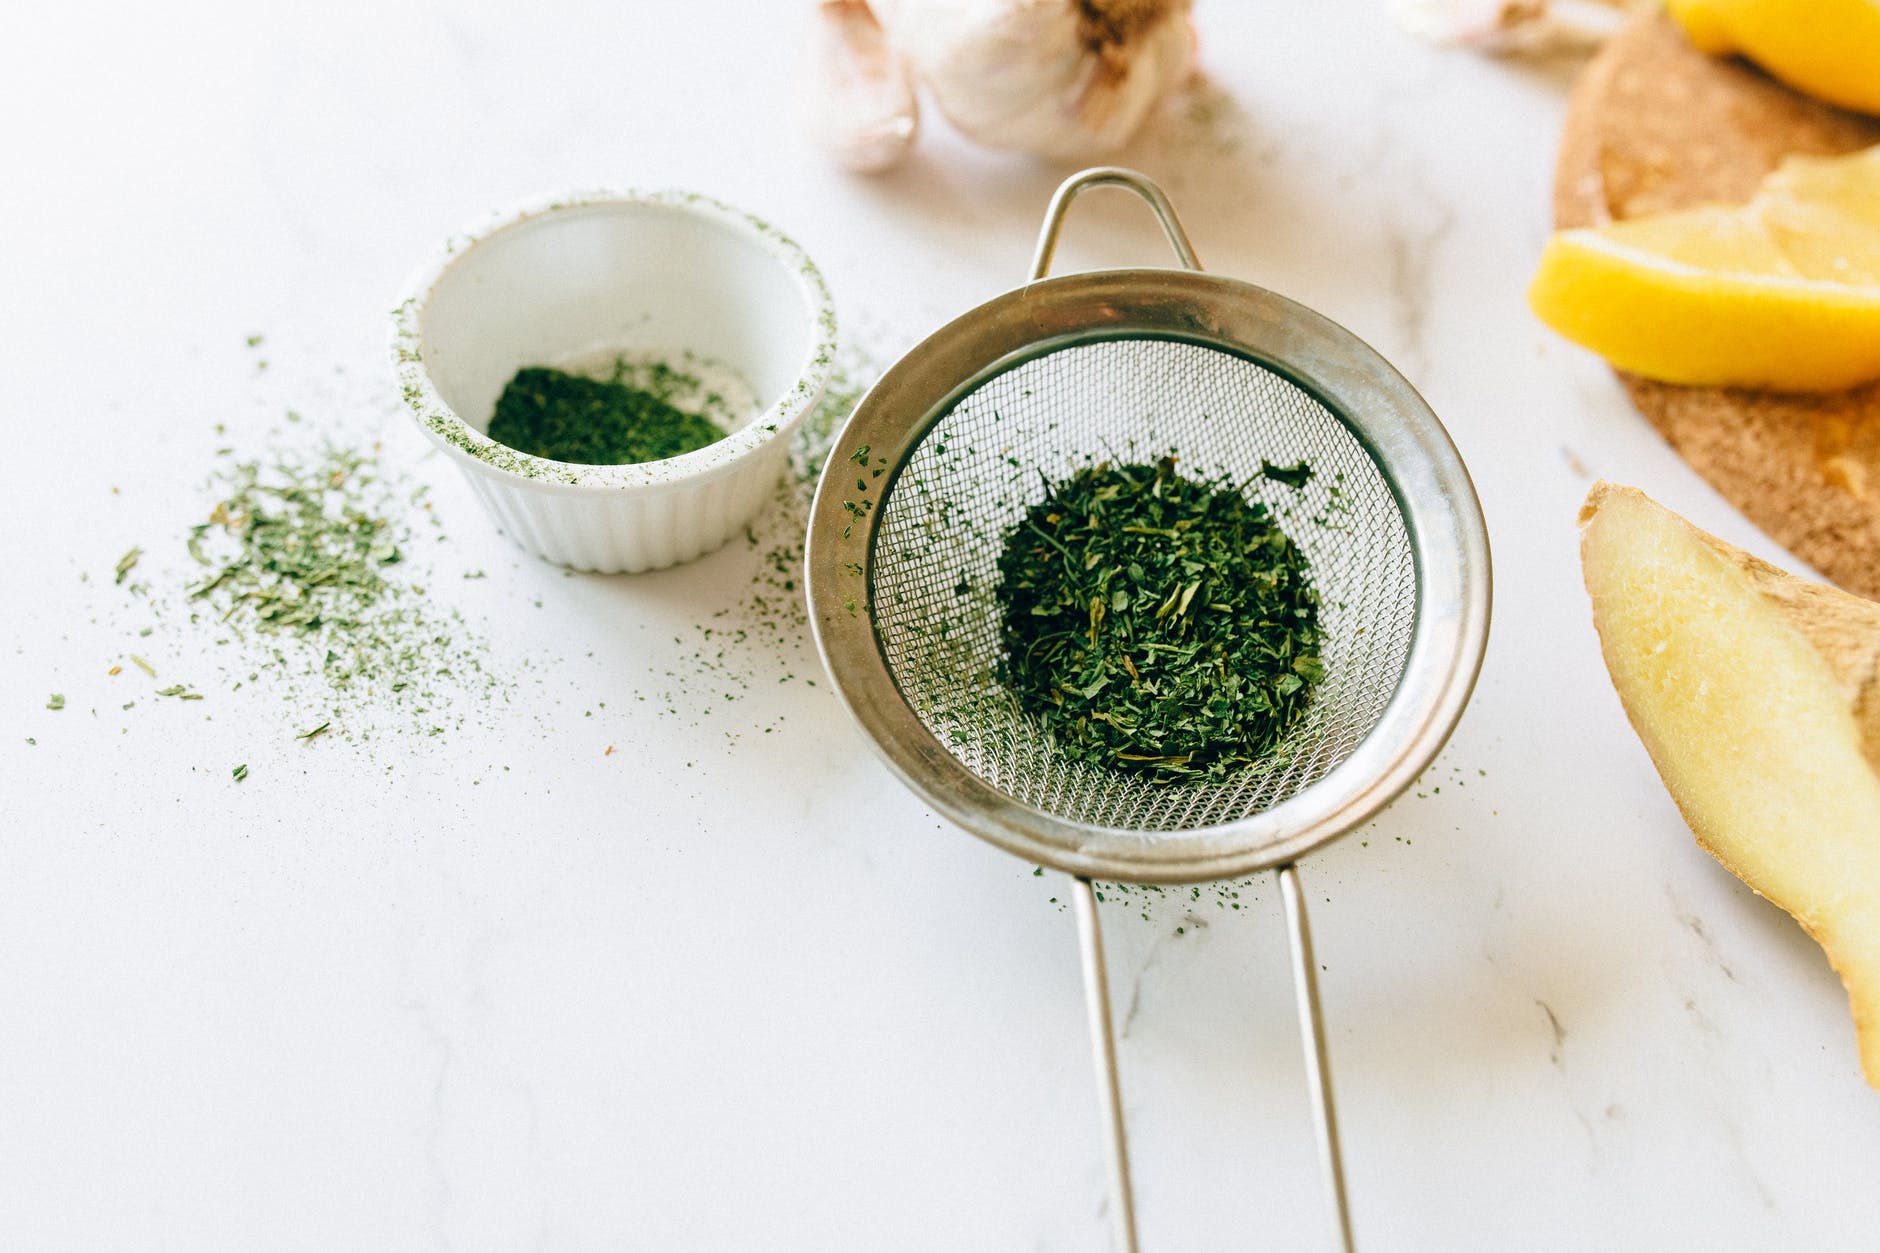
You can even make your own Homemade Superfood Green Powder to pop into baking, smoothies, soups, Popsicles, and whatever else you fancy!
Whatever way you choose to use them, drying your own herbs and plants that you grew or foraged saves you money, and guarantees a better, higher quality product without chemicals, fillers, or questionable ingredients. You know what’s in it because you grew it and made it!
There’s just something about a shelf or a room of dried or drying plants that just feels right, you know?
Which Plants Should Be Dried on a Rack
Most herbs like oregano, thyme, Peppermint, etc. are traditionally tied in a bundle (1” in diameter with an elastic band) and hung upside down to dry. These can easily be hung on your drying rack.
Your drying rack would be used for the smaller herbs and plants or leaves such as chickweed, calendula, roses, any other plant that is too difficult to string up, or you don’t want to lose any precious flower buds.
Herbs such as Sage, Oregano and basil are easy to string up as they have bigger leaves whereas dill and thyme have smaller ones.
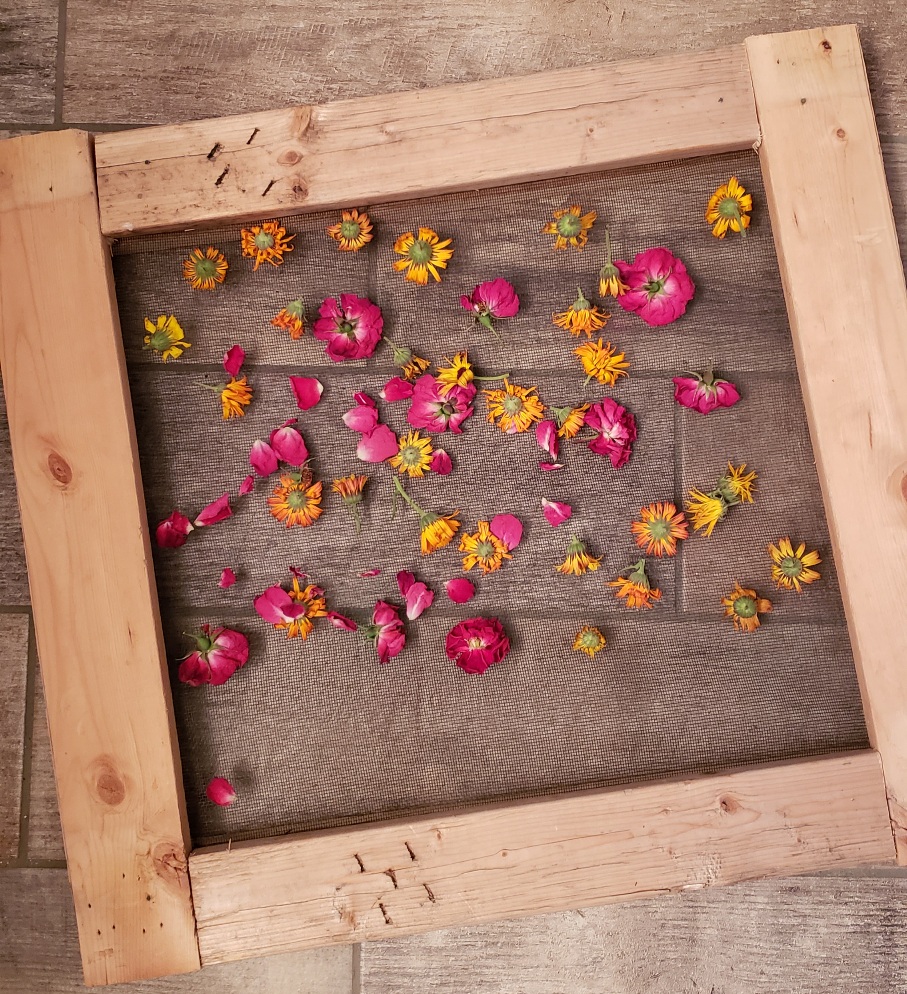
How To Make an Herb Drying Rack
The supplies are pretty straight forward. You can source this project for $0 or spend a couple bucks. Because I like to be creative, I opted to DIY my herbal drying rack for free!
Supplies
- Boards or branches (branches ¾-1” thick for herbal harvest, 3-5” thick for veggie harvest)
- Twine or screws
- Staples or twist ties
- Window screening
- Or, just an old window screen – and you’re done!
Directions
- Cut your boards or branches to suit. I would recommend making a rectangle no more than 24″ (2ft) wide and 48″ (4ft) long.
- Screw your boards or thicker branches together at the corners. Drill pilot holes first, especially for branches.
- For smaller branches, overlap the branches at the corners and tie with twine.
- Wrap your window screening around your frame.
- Staple on if using boards or tie on with rope or twist ties if using branches.
Build a Drying Tower
To build a drying tower you can stand 2 2x4s (or thick branches to support the weight) at each corner and screw your frames into them at varying levels.
For smaller, lightweight harvest such as herbs and flowers, simple stack bricks in between your frames, at each corner.
Leave a few inches of space for airflow and set your drying tower out of the way. Simply dismantle for each storage!
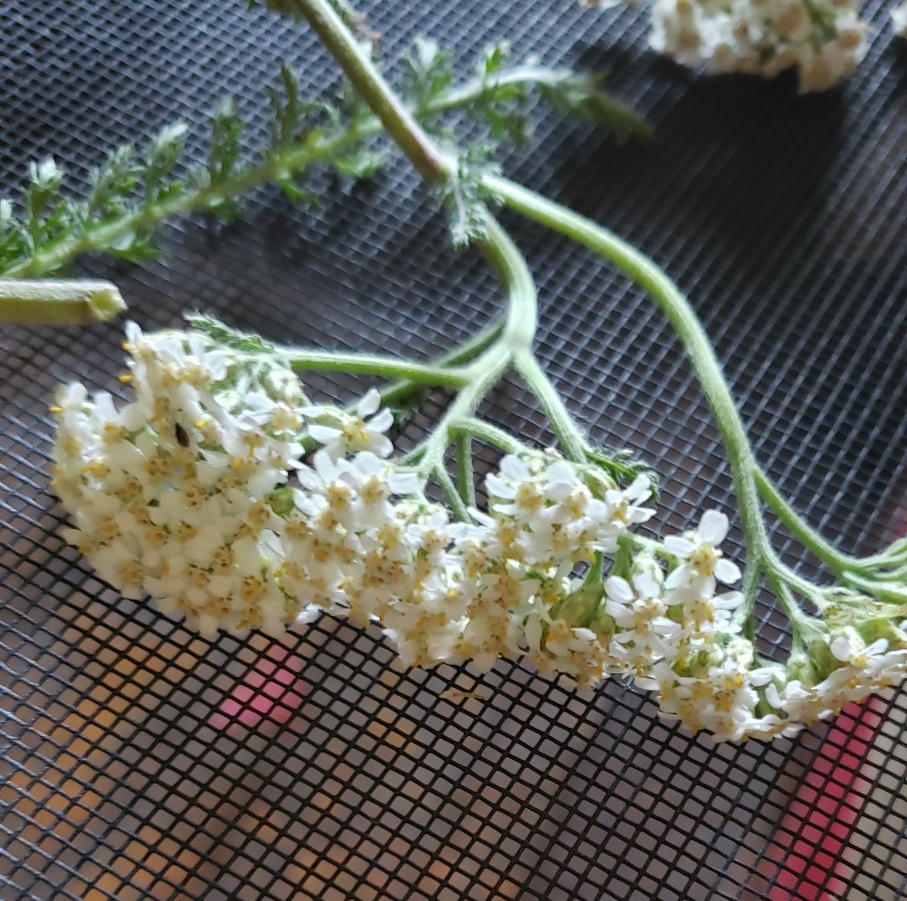
How to Dry Your Plants
Comb over your plants and remove any debris, grass, or moldy or damaged bits.
Make sure you label your plants before you start drying them because dried plants tend look quite similar after a while!
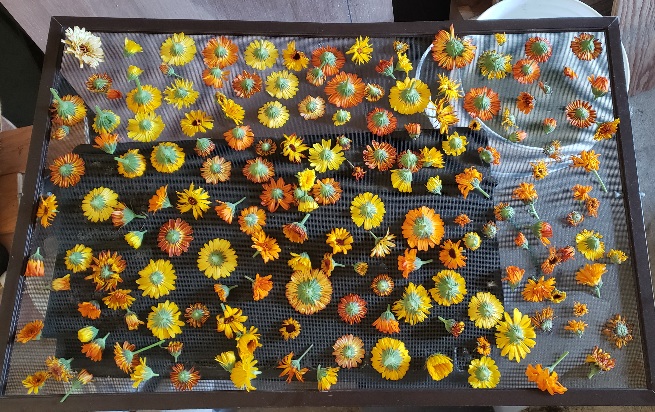
Lay them flat, not touching if you can help it, on your drying rack and put it in a cool, dark place. In a pinch, on top of your fridge is fine.
I like to set mine in the shade outdoors on a dry day.
It can take about 3-6 days to fully dry, depending on your humidity levels. If you’re drying indoors you can use a fan or dehumidifier to help out. You know the plant is ready when it easily crumbles upon touch.
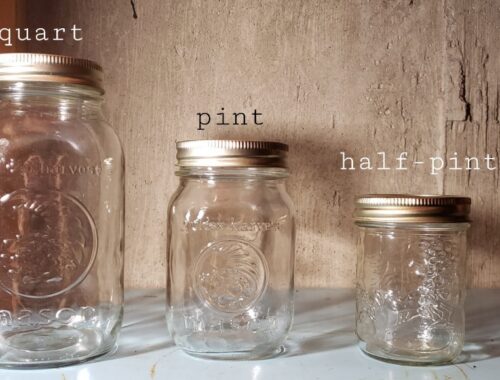
Storing Dried Herbs and Plants
After all of the moisture has left your plants they will crumble readily. Be careful to discard any stems or pieces you don’t want.
Store them in an airtight jar and label with the date and plant part. Keep them in a dark place like a cupboard or pantry.
Next, plan out what herbal concoctions to make!
PIN FOR LATER
How to Make Calendula Body Oil

You May Also Like
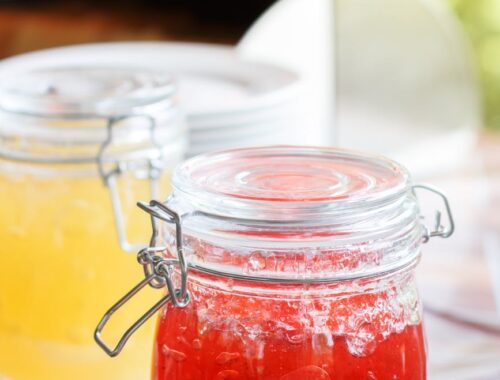
How to Make Crab Apple Jelly: From Apple to Can
Delicious Fresh Garden Salsa: How to Water Bath Can