The Ultimate Guide to Water Bath Canning
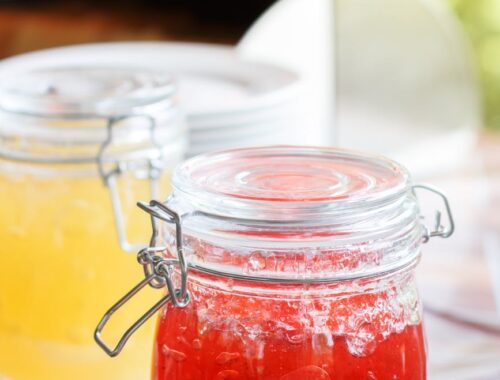
A cellar lined with canned jars of homemade, homegrown foods. The food security of our great-grandmothers that is making a comeback! Don’t let water bath canning scare you. This Ultimate Guide to Water Bath Canning will have you filling your shelves in no time! You can rest easy, Mama, and know that your family will have delicious and nutritious meals for years to come.
What is Canning?
Canning is the process of heating jars filled with food in order to kill bacteria and make the food shelf stable.
This means that you can leave foods on shelves, unrefrigerated or frozen, for 1-3 years (sometimes longer!) just like canned goods from the grocery store.
Drying and salting food were the main ways of preserving until a French baker named Nicholas Appert started experimenting with cooling food in glass bottles sealed with corks.
This was 1809. You see, Napoleon wanted food that could make long voyages, better than the dry, hard usual travel foods. So, he requested for Nicholas to create a way to preserve food.
He used glass bottles stopped with corks and boiling them for hours at a time.
15 years of experimenting led to the use of preserving food using the heat treatment of a sealed container.
Why Should You Can
Canning allows you to preserve your fresh garden harvest, avoid processed foods and unwanted preservatives, in favour of homegrown, healthy foods.
Preserving your harvest via canning cuts down on the cost of food, allows you to use all of the produce you produce (including unwanted parts that get turned into compost to nourish your soil), and saves you time – you only have to walk into your cellar to grab a jar. Its like having your own personal grocery store!
Other preservation methods you can use to preserve your harvest are dehydrating, freezing, pressure canning, medicinal tinctures and fermenting. All with their own fun level and source of beneficial health attributes!
What About Botulism?
Botulism is the main concern when it comes to canning. You can’t see it, smell it or taste it. And it thrives in moist conditions with no oxygen. Basically a canned jar is the ideal growing location and you wouldn’t have a clue until you suffered symptoms of botulism.
And botulism spores are literally EVERYWHERE! In the air, soil, countertops, our skin – there’s no getting away from them.
In fact, the main cause of botulism is home canning. And the main cause of that is not following proper canning directions.
The good news is that as long as you follow proper canning procedures, botulism isn’t a concern.
Botulism spores are killed with either high acidity (fruits + some tomatoes or pickled vegetables) or high temperatures (meats, stock, soup, vegetables, some tomatoes).
What You Can Water Bath Can
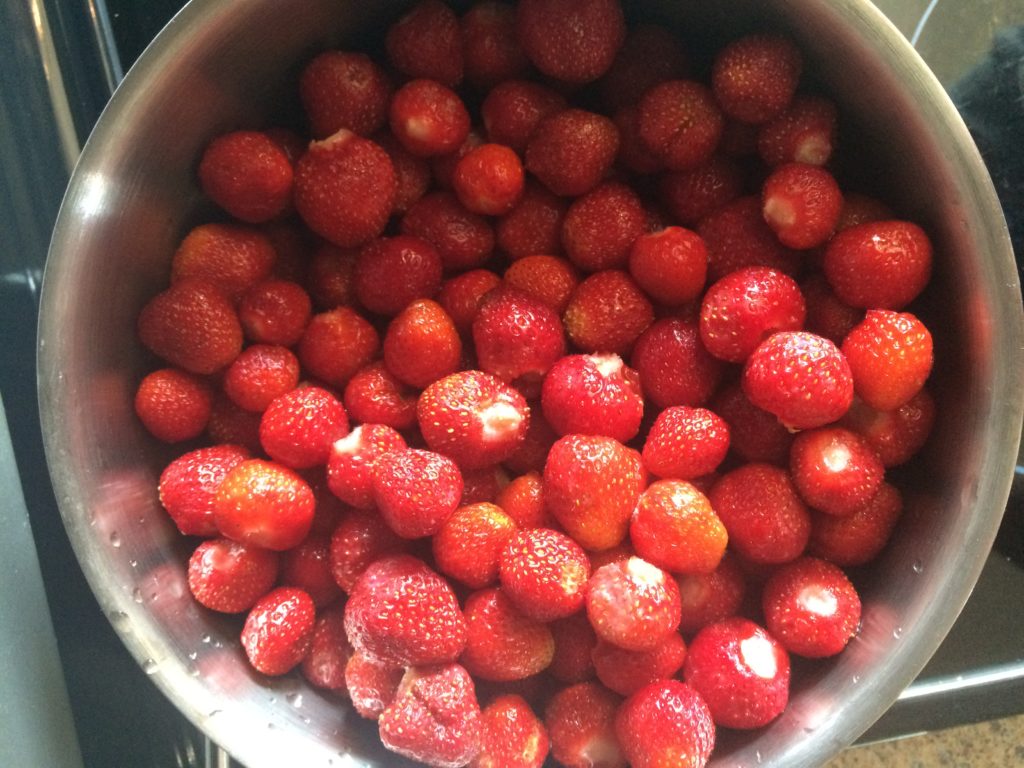
Water bath canning is used for high acidic foods. Foods such as fruits like apples, plums, strawberries, and tomatoes.
Each food has a pH value which is the measure of their acidity.
The higher the acidity, the easier it is to kill the bacteria. The lower the acidity, the hotter the temperature needed.
Lower acidity foods require a pressure canner to safely can. A pressure canner reaches 240F and above which is the temperature botulism dies at. You cannot process them in a water bath canner for a longer period so please don’t even try. Use a pressure canner.
Here is a list of various foods and their pH. You can see that tomatoes are on the cusp. They have such a range of pH which is why tomatoes recipes in a water bath will have an acid added to them, and canning straight tomatoes requires a pressure canner.
Some lower acidity foods can be processed by adding acidity to them – such as through pickling. The process of adding vinegar or lemon juice creates a high enough acidic environment to kill the bacteria.
There are others you wouldn’t exactly want to pickle… like meat or potatoes. So to retain the flavkur you want and still be safe, pressure can. You can learn all about pressure canning here.
Water bath canning is a great introduction to canning because it is fairly simple and you don’t need many tools – in fact you probably have almost everything you need already. Plus, the risk of botulism is much lower as the food is already acidic.
Can I Make My Own Recipes?
When it comes to canning and safety, you must follow an approved recipe and can with the correct equipment for that recipe (water bath or pressure canner).
To not puts you at extreme risk of botulism and no one wants that!
If you are the exploring type (I love going off-recipe for all of my other cooking and baking) you can submit your recipes to be reviewed and approved for canning.
Otherwise, stick with freezing your favourite recipe or eating it immediately.
Will My Glass Stovetop Work?
Ideally you would want to can on a gas range with open coils. But with modern advancements, you can can on any surface! Just check with your canner manufacturer to be sure.
Canning on glass top stoves are not always recommended but if you canner says it’s ok to use one, be sure to lift the pot rather than slide it so you don’t scratch the glass.
As long as you follow directions and have the correct equipment, with a litte bit of trial and error you can can pretty much can anywhere.
Literally! Just look at all of these options!
- Open fire: this takes practice and watching the fire like a hawk. If your temperatures go down at any point during the canning time, you need to restart everything.
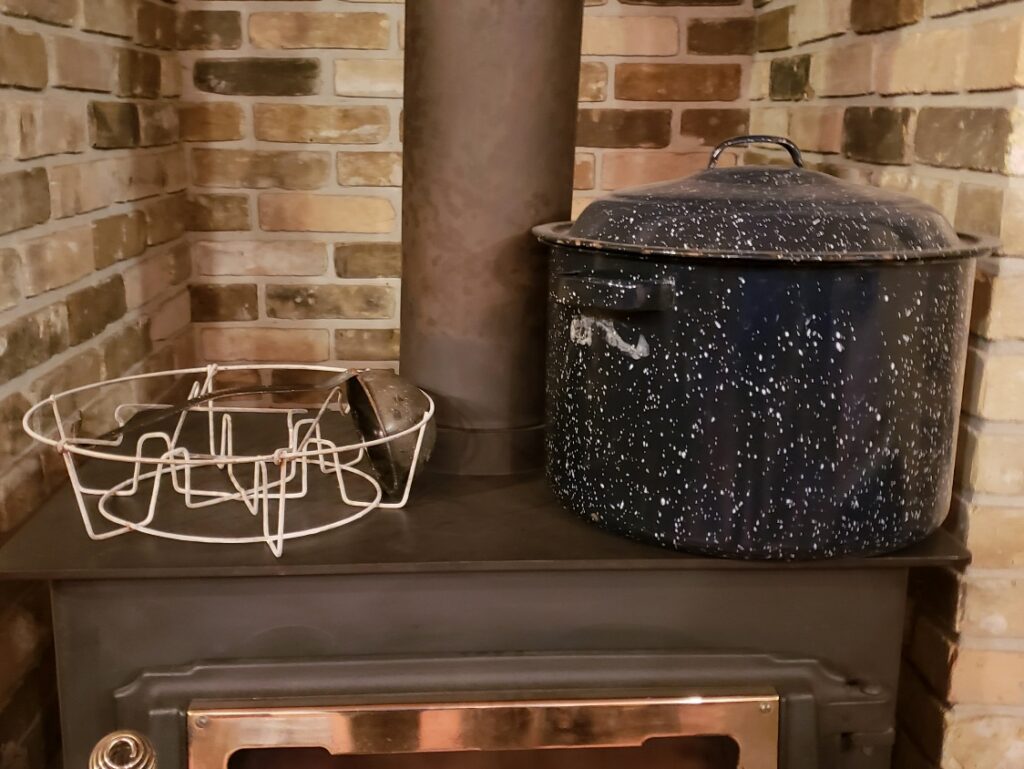
- Wood stove top: same thing as an open fire. The heat is contained and controlled a little easier but you do still need to watch your temperatures. It is very possible to do, and many people successfully can this old fashioned way!
- Plug-in electric burner: perfect for an outdoor kitchen or canning on the go. Imagine driving cross-country and canning the local produce as you go. Annual trip anyone?
- Gas range: a delight to cook upon as you can get a more even heat and control it easier.
- Electric range: typical style of stove in the modern kitchen. Electric ranges are ideal for canning.
- Open coils: most old canners are designed for open coils with the way their bottoms are. They are designed this way to distribute the heat evenly.
- Glass top: glass can crack under intense heat and pressure. Its also easily scratched. Check with the manufacturer that you can use your canner on a glass top stove.
Supplies for Water Bath Canning
Water bath canning can be very inexpensive. In fact you most likely have everything you need and if you score some free mason jars with rings, tour only cost will be new lids!
Below I’ve listed out the basic and optional canning equipment you’ll need for water bath canning and how to find it in your own kitchen.
Basic equipment
Your basic equipment for water bath canning involves a water bath canner, canning tongs, and a few extra pots.
Water bath canner: as a substitute, you can use a stockpot as long as the water level can safely reach 3” or more above a quart jar.
Jar rack: canners usually come with a jar rack but if you’re DIYing your canner you can simply use an Instant pot rack or a towel at the base of the pot – just make sure your towel is cleaned with non-toxic detergents and no fabric softeners or dryer sheets. You don’t want those toxic chemicals all over your food (or body!).
Jar tongs: jar tongs are amazing as they perfectly fit your jars for safe lifting of hot, hot goods. Now, as much as I don’t recommend it, I did can for 10+ years with just a pair of regular kitchen tongs, some hot mitts and a towel. Its dangerous and nerve-wracking. 0/10 do not recommend. Get the proper tongs!
Kitchen tongs: while jar tongs are great, kitchen tongs also work better for some parts of canning. You’ll see why in the directions.
Damper: this is to knock the airpockets and bubbles out of the food. You need to take as much air out as possible before you start canning as it impacts the headspace in the jar. You can use a wooden or plastic spoon of knife or I like to use the handle of a wooden spoon.
Additional pots: you’ll need a small pot to warm your lids and a larger pot for warming what you’re putting into the jars. I like to warm my jars up in the canner as it heats up so I don’t need an extra pot.
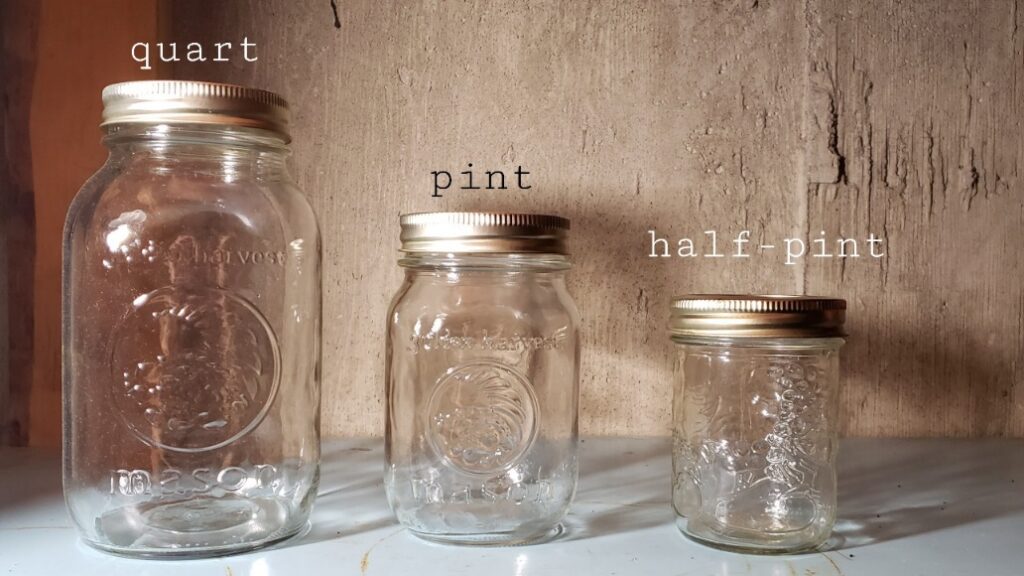
Jars: you can thrift canning jars and rings, just make sure the price is less than what you would pay for new – because you also will need to factor in the cost of new lids. And that they aren’t cracked, chipped or the rings dented. Once you have jars, they will last generations!
Lids: this will be your routine purchase each canning season as you cannot can a lid twice. You need a fresh lid each time. But don’t throw out the old ones – you can use mason jars for anything! I love organizing my pantry with them or keeping chopped veggies fresh for meals and snacks.
Towel/cloth: you will need to wipe off the top of the jar if you spill anything on it in order to get a proper seal. Use these easy DIY cloth paper towels.
Ladle: use this to scoop your jar filling into the jar, easily and cleanly.
Optional Supplies
These tools are optional but do make the canning process easier. The only thing I debated putting in the necessary list was the funnel. It just makes filling the jars that much faster and cleaner.
Headspace measure: this tool allows you to accurately measure the headspace. The rings of a traditional canning jar will also give you an accurate enough reading of headspace so this tool is nice, but optional
Lid lifter: this magnetic wand is a convienence but often comes in a canning accessories package. It is very handy to pick up and release warmed canning lids, but you can also do the same with kitchen tongs.
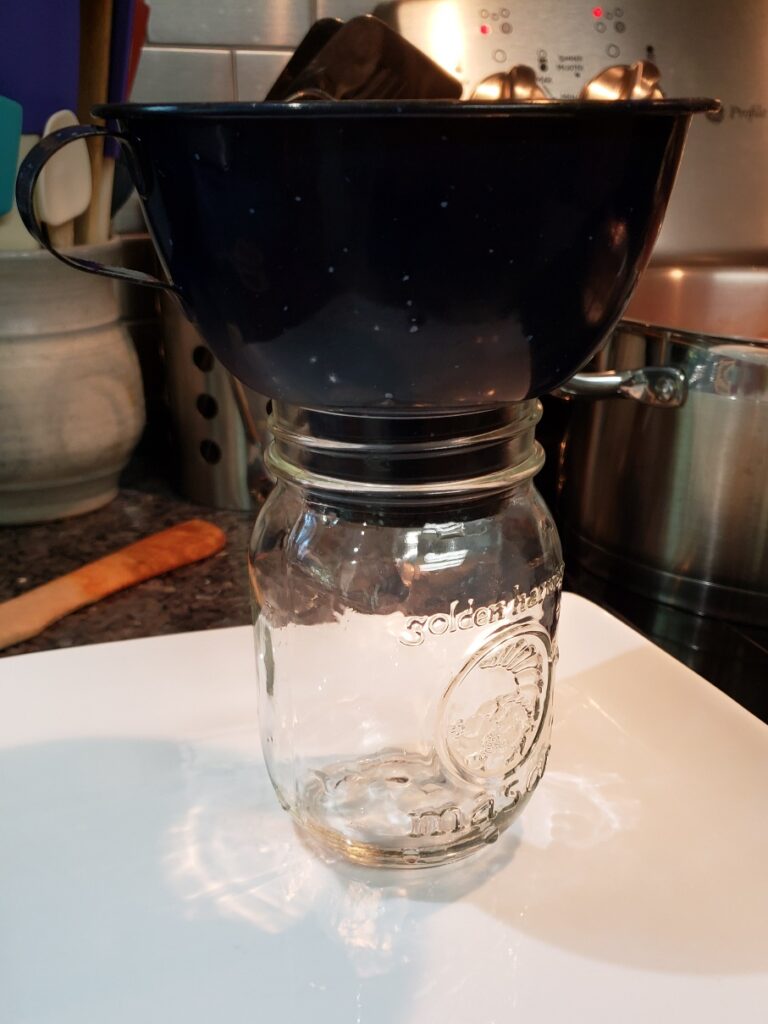
Funnel: you can use a label or large spoon to put your food into the jar. A funnel does make it easier in some cases and comes in the canning accessories set, but it is optional.
How to Water Bath Can
Alright, now that you have your supplies for water bath canning, it’s time to start the prep work!
If you have young kids, I find it easier to prepare the recipe I’m going to be canning, a day ahead. That way its split up into two chunks and I can manage the kids and accomplishing canning without too much stress.
A clean kitchen makes a huge difference with canning. Organizing your space into zones can be very useful.
To Start Out
- Wash your jars and rings thoroughly with hot water and soap.
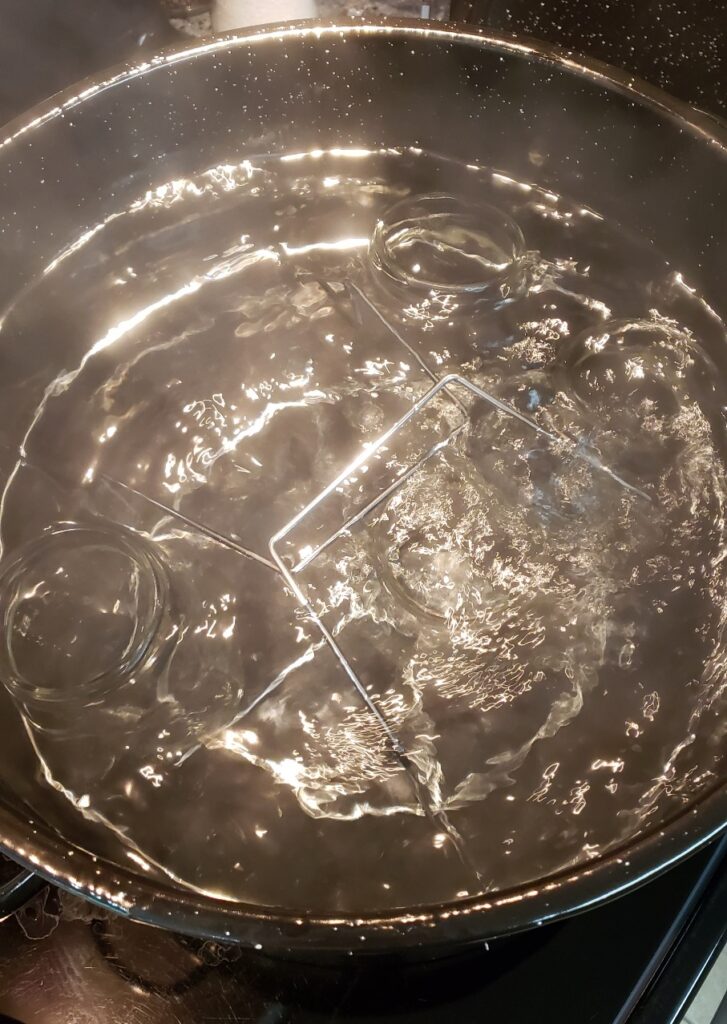
- Place your jar rack into the water canner with your jars. Add water to the jars so they don’t float. This will heat up and keep your jars hot until you’re ready to fill them.
- Fill your water canner about ¾” above the top of the jars. If you have hard water, add a tablespoon of vinegar to prevent the white build up.
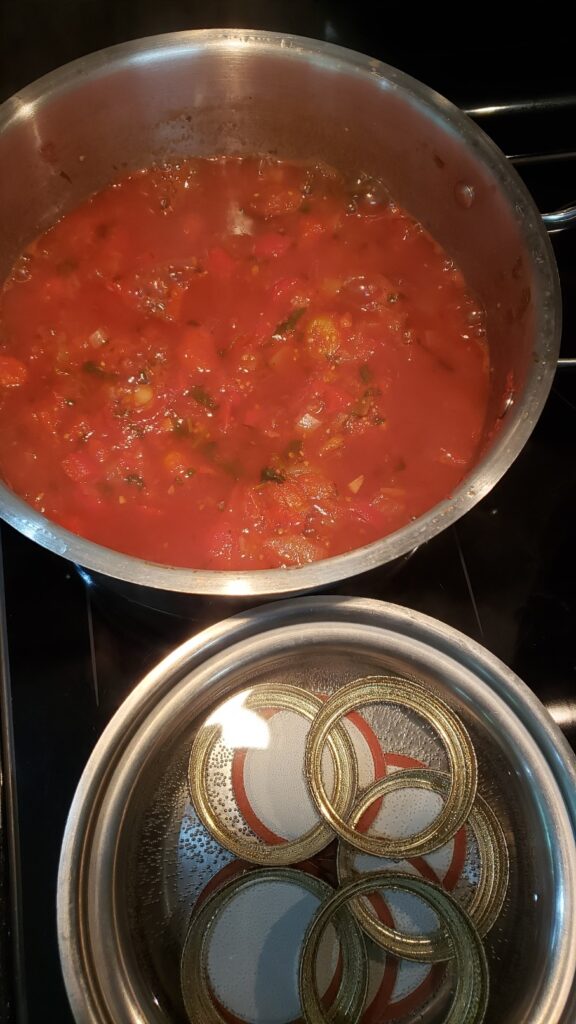
- Add your lids and rings to a saucepan of water, enough to cover them.
- Once your pot is almost boiling, warm up the saucepan water so it produces small bubbles on the bottom of the pan, but isn’t boiling. Don’t let it boil!
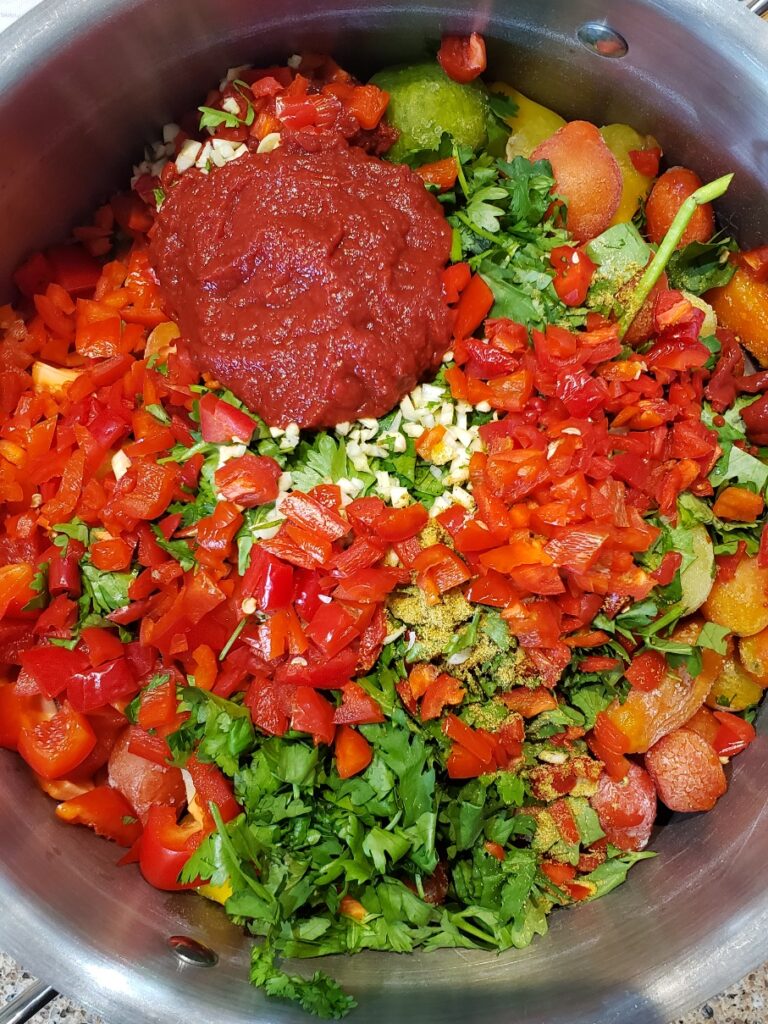
Prepare Your Filling
While your canner water is heating up, prepare your food to can. The water will take a long time to heat so you’ve got a while to prep your food.
I like to prepare my food a day or two ahead of when I will can, just because its easier with young kids to break it into batches.
Set Up Your Stations
Now that your food to can is thickening up, and your canner is working on boiling, set up a station to fill your jars.
You want it close to your stove so you can easily grab a hot jar, fill it with food, top with the lid and put it back in the pot.
At this station you will need your funnel, a plate to rest and fill your jar, a ladle and your damper and a clean cloth to wipe the rims.
Tip: have a kettle filled with water or an extra pot set to boil so you have enough boiling water to top off your canner once the jars are in. The water must be at least 1” above the jars. You’ll add your saucepan water but it may not be enough.
Once your filled jars are in the canner, turn this area (or another closely area) into the cooling station.
It will need a place for your jars to cool for 24 hours, with a few inches between them. On a cooling rack, a towel, cutting board – something other than a cold, stone countertop as you don’t want a temperature shock to break the glass.
Filling Your Jars
Once your food is at the thickness you want and it hot, make sure your water bath canner is at a rolling boil. The saucepan with the rings and lids must also be warm with bubbles along the bottom of the pan.
When everything is hot and ready to go, its time to put it all together!
Use kitchen tongs to lift your jars out of the boiling water and dump the water back into the pot.
Place the jar on the plate, add your funnel to the top and start filling to the headspace level required by your recipe. The headspace is the space from the top.of the filling to the top of the jar.
Incorrect headspace can make the jars not seal properly so be mindful of this step.
Once your jar is filled to the correct spot (use a spoon to add or remove), use the damper and push it down the sides of the jar to remove trapped air.
Wipe the rim of the jar with a cloth to remove any food that may have gotten there. This impacts the seal.
Once your filling is properly set, its time to add the rings and lids.
Applying Lids + Rings
Use your kitchen tongs to pick up and place the lids on the jars.
Apply the rings to finger tight. Do not over tighten.

Processing Your Jars
Using your jar tongs, carefully lift each jar as its filled and place it back in the canner.
Stagger the jars so they are evenly spaced. You can stack the jars, if necessary. Follow the directions of your canner.
Once all of your jars are back in the canner, allow the water to reach a rolling boil again.
Once boiling is reached, start your timer according to your recipe.
Cooling
Each recipe calls for a “cooling period” where the lid comes off the canner or the heat is turned off. After this time has elapsed, use your jar tongs to remove the jars.
Place them in your cooling area for 24 hours.
DO NOT TOUCH THEM.
Do not tighten the rings as this can mess up the seal. Do not push on the lid until 24 hours has elapsed.
Set them a little bit apart so air can flow and cool them.
You should start to hear a satisfying “ping” sound as all of the air is forced out of the jars. Exciting!!!
Test + Store
Once 24 hours is done, there are a few ways to test that your jars sealed properly.
- Push on the centre of the lid. It should have no give and be completely sucked in.
- Tap on the lid, it should have a nice thunk sound.
- Gently try to pry the lid off. Not too hard or you might actually pry it off! If it comes off, you’ll have to re-can your jar with a new lid. Of it doesn’t come off or move, yay!
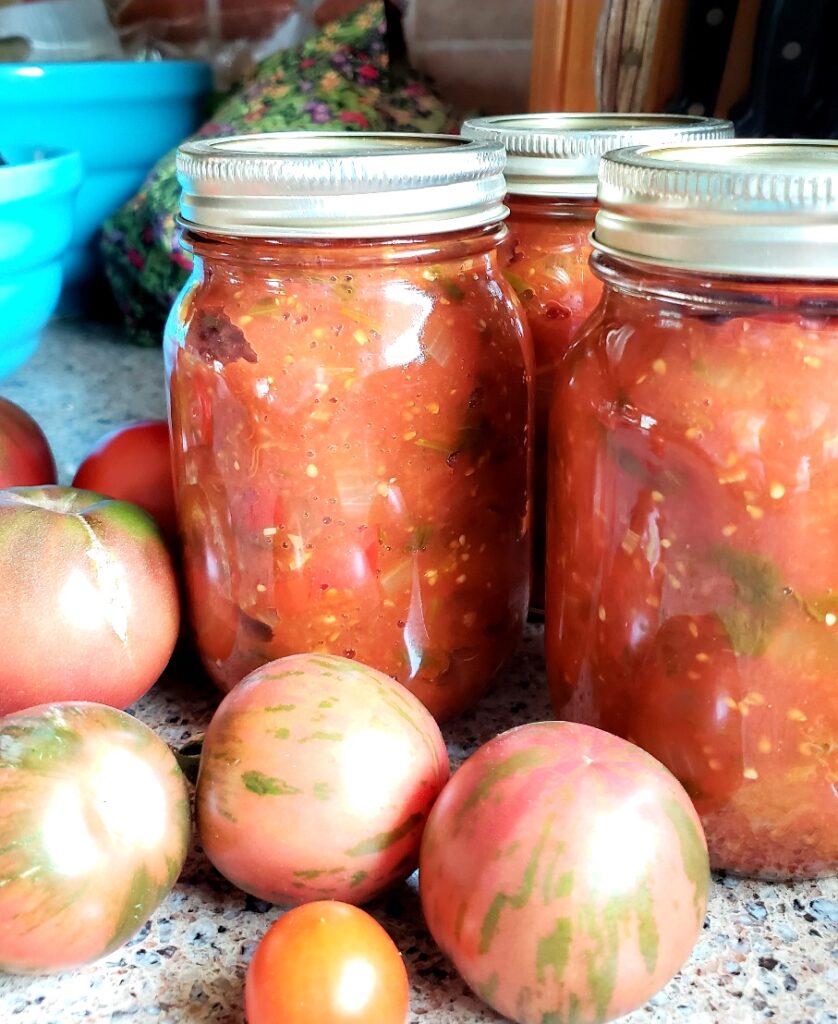
Once your confident your jars are sealed you can wipe them down and store them in your cellar, basement, pantry – wherever you would like.
The rings are not necessary for storing but you can, just leave them loose or you could break the seal if you tighten them.
Your canned goods are now good for 1+ years.
There you have it!
Canning can seem complex but it doesn’t need to be. Having a mentor walk you through it is all you need. Grab the Canning Made Simple eBook to get started!
With a little bit of know-how you’ll be putting up enough food to feed your family for a year. Enjoy building that rainbow of a grocery store in your basement!
Tips + Resource Books
When first starting out canning, it can seem overwhelming. You don’t want to kill your family and waste all of that good food!
Having good resources and tips from someone who’s canned many times before can help you go from newbie to confident canner.
Canning Tips To Put Up Enough Food For A Year
- Can a little bit each day. When you put up food a little bit at a time, it adds up. Even if it’s just 4-6 quarts a day.
- Don’t have a garden, or not enough of one, hit up farmers markets at the end of the day to buy produce they would rather sell than bring back home.
- Get discount, about-to-go-bad food from the grocery store and can a few jars, or freeze until you have enough.
- Order bulk from a local farm.
Canning Resources
- BerNARdin Canning Book
- Ball Blue Book of Canning
PIN FOR LATER

You May Also Like
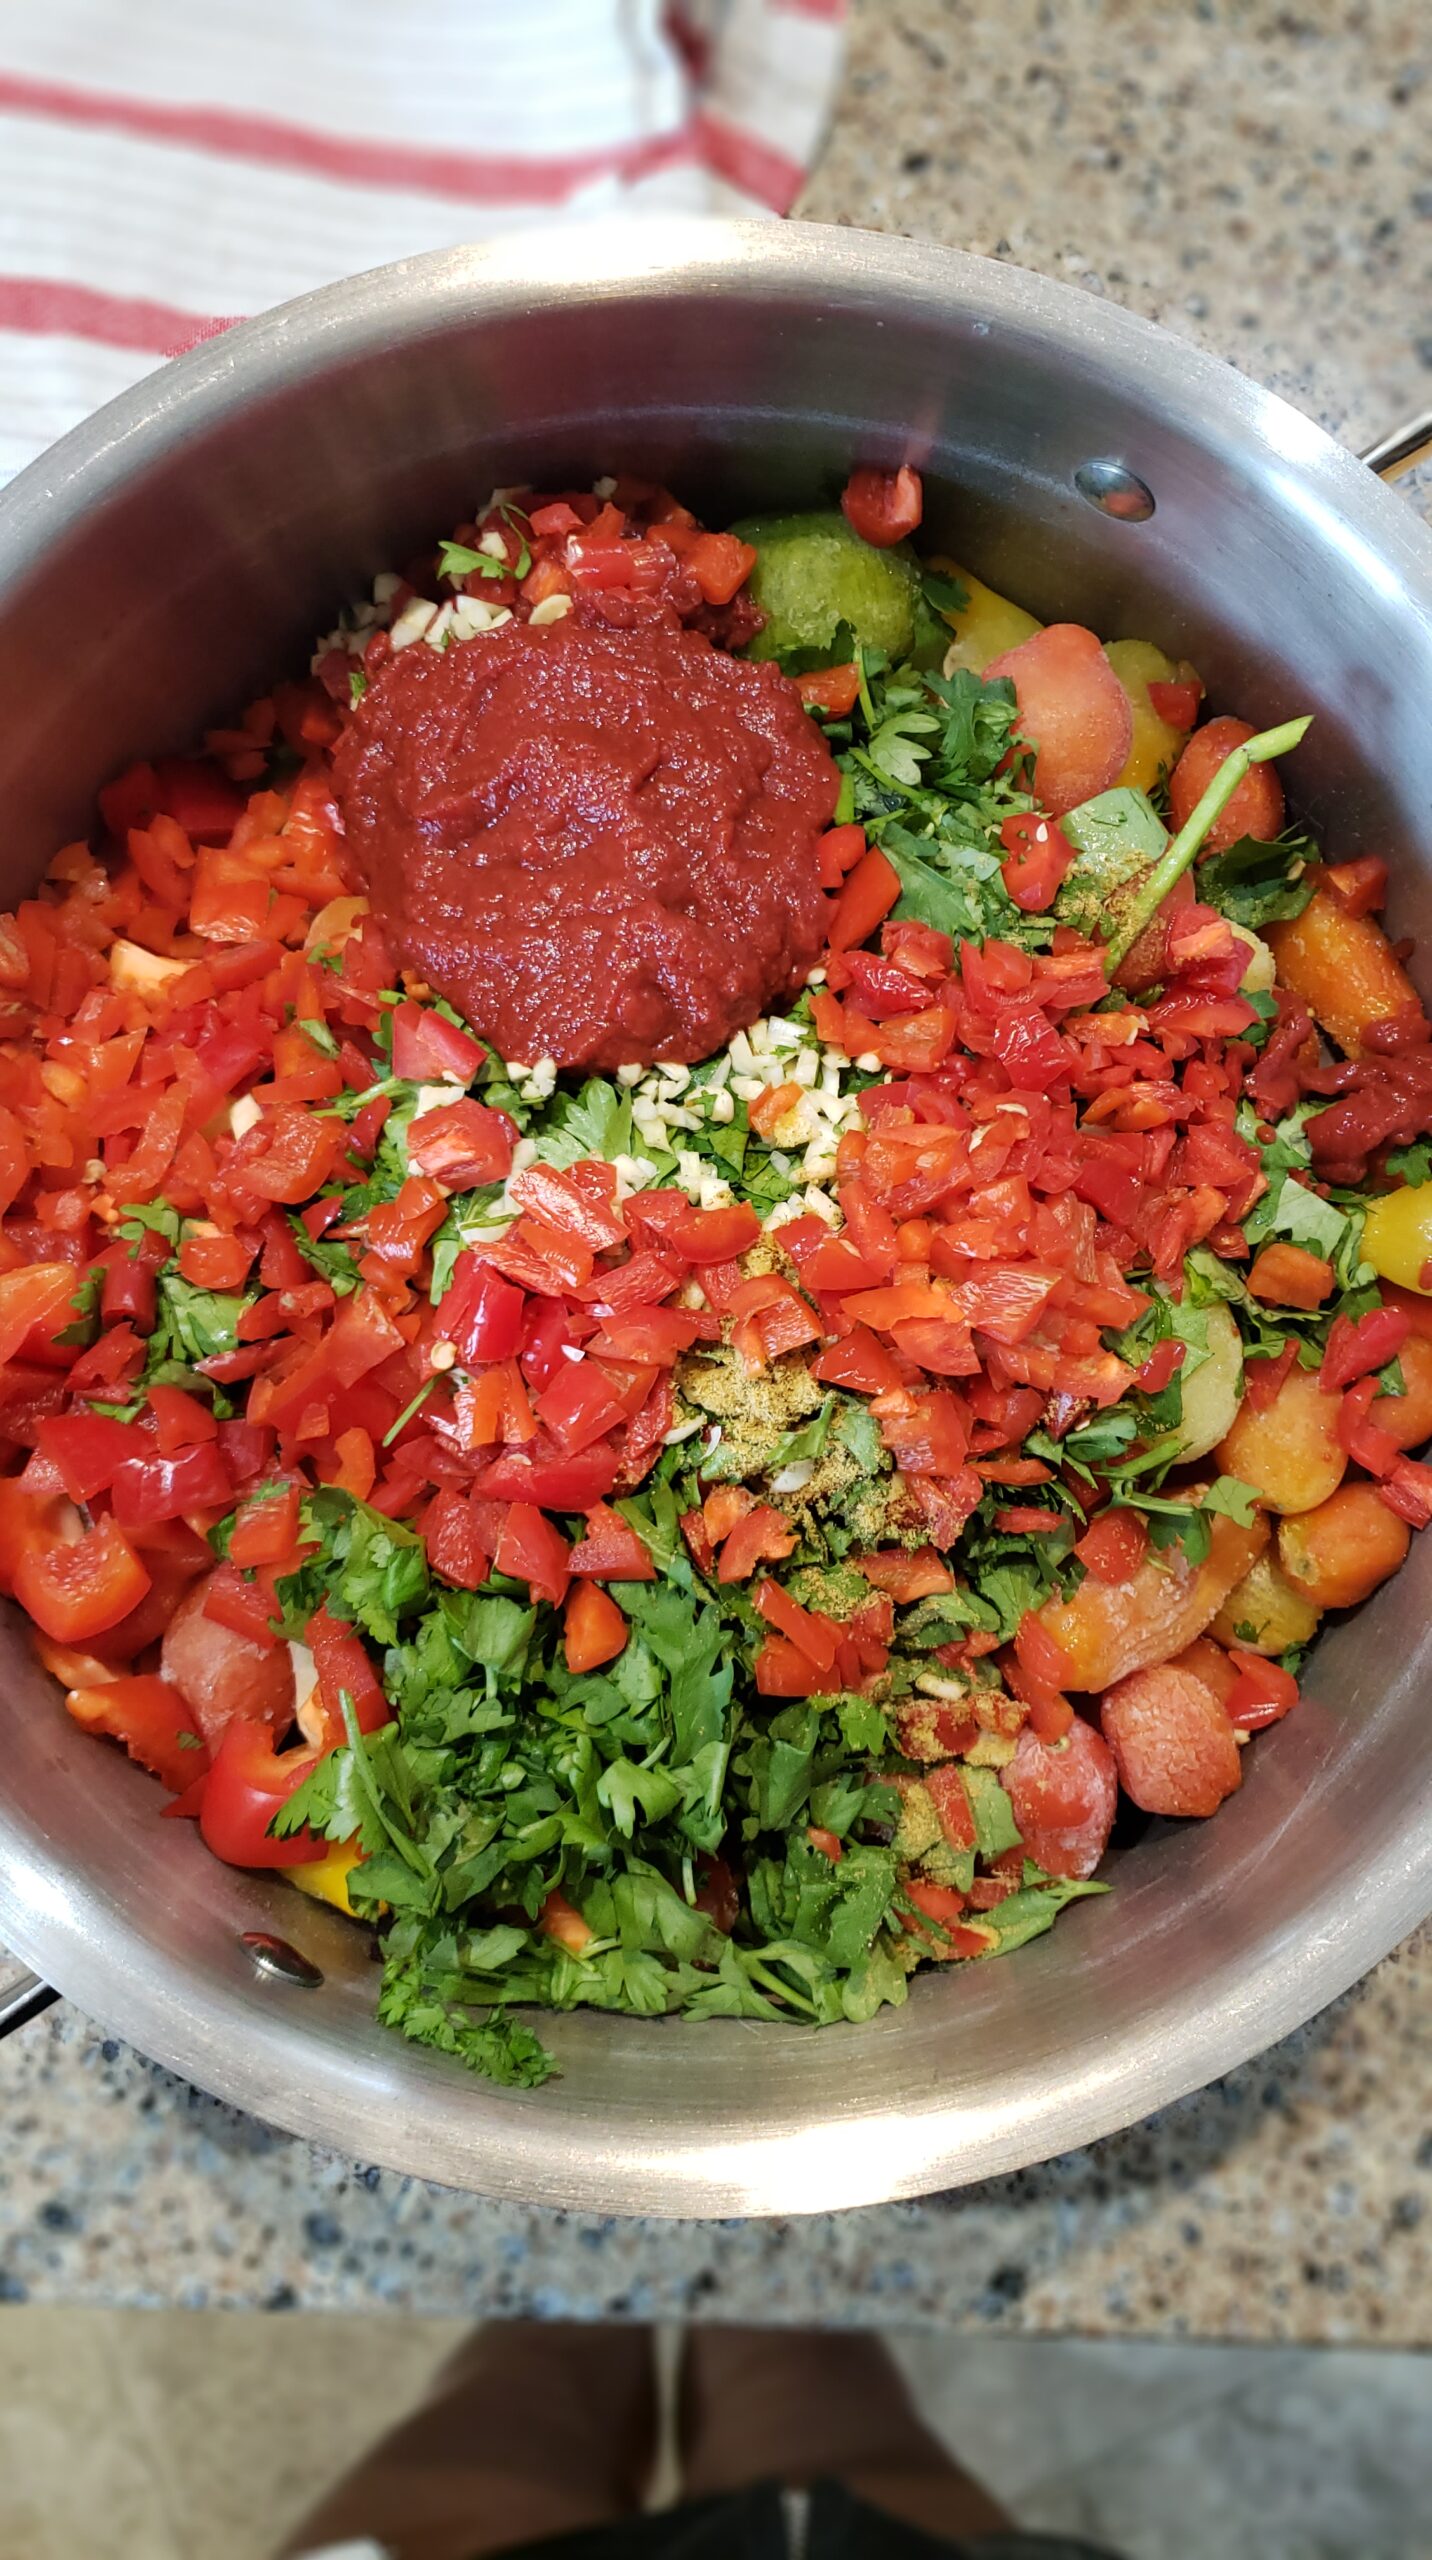
Delicious Fresh Garden Salsa: How to Water Bath Can
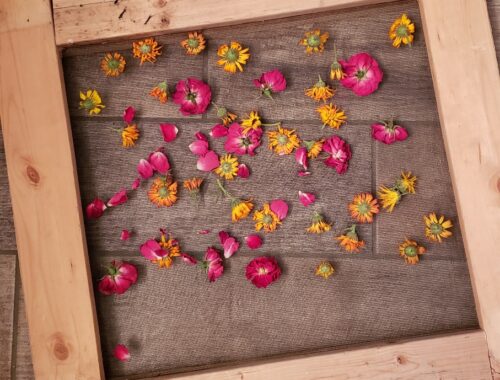
How to Make an Herb Drying Rack (that won’t break the bank!)