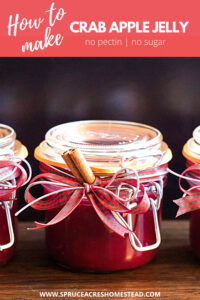
How to Make Crab Apple Jelly: From Apple to Can
Have you ever had fruit leather? Yes, I know this is a post about making crab apple jelly but the leftover pulp can be made into a delicious fruit leather. Of course, in order to get that you need to make this first and *swoon* its so freaking good you’ll be more than happy to collect apples from anyone!

Making crab apple jelly is an easy beginner water bath canning recipe that has a perfect sweet/tart apple flavour.
The best thing? You don’t have to add any sugar or pectin!
Yes, canning like your great grandmother would have and its perfectly safe and shelf stable. That’s as long as you follow directions, of course!
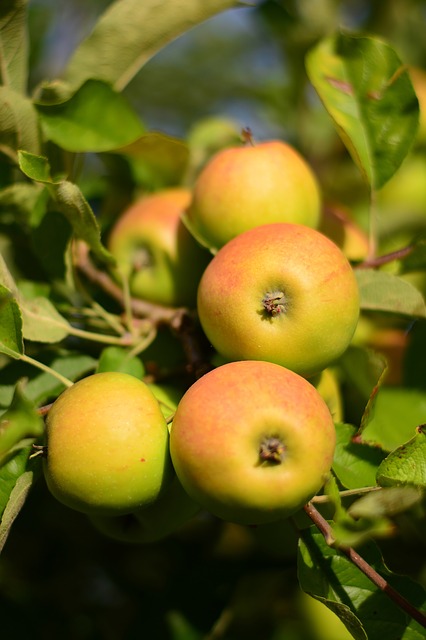
What Kind of Apples to Use
Any apple works for making apple jelly. I love using the bruised or “ugly” apples so they never go to waste.
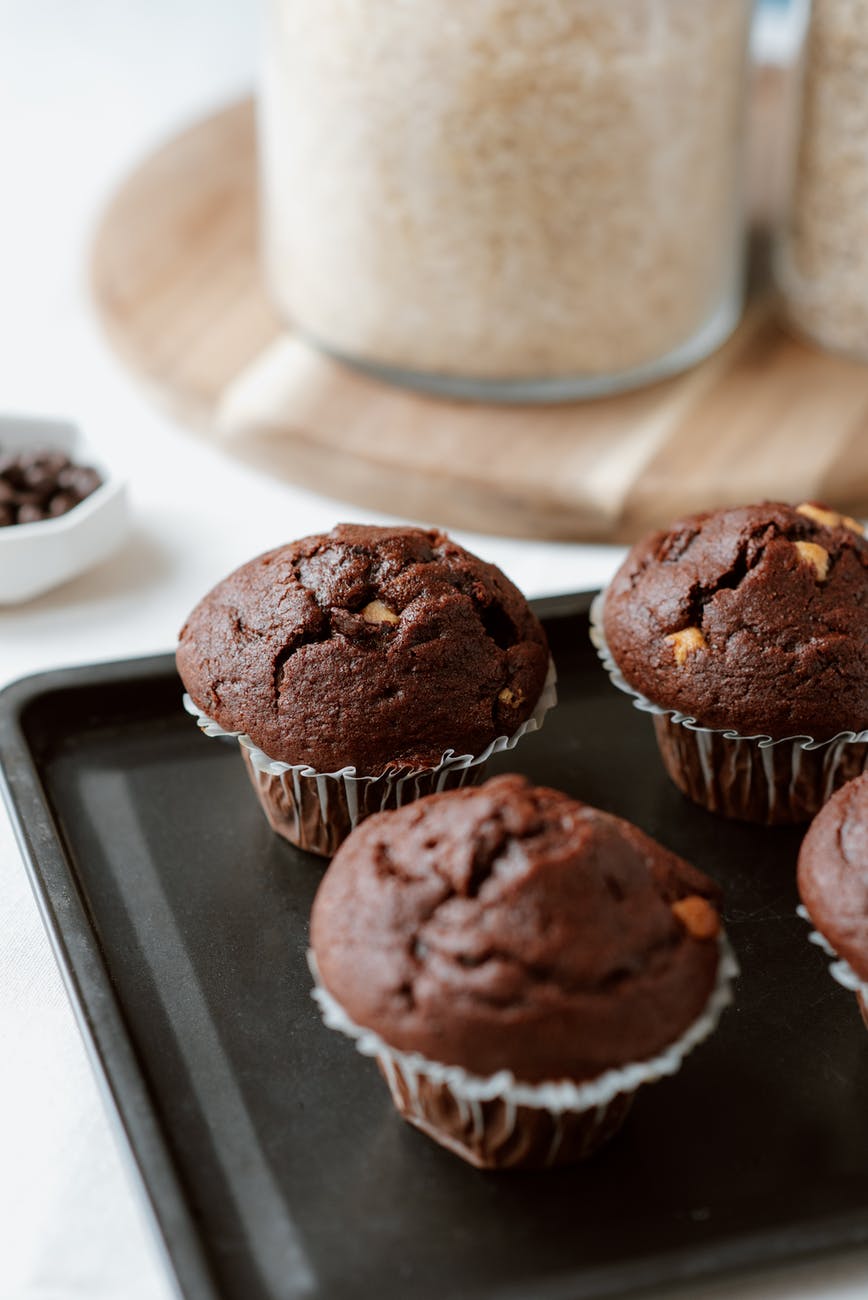
Crab apples are abundant and have such an incredible rich flavour that blends so decadent with these to-die-for chocolate zucchini muffins.
Apples are one fruit that has a lot of pectin. Natural pectin is found in the seeds and stem and is what firms up the fruit into a gel.
The less ripe your fruit is, or more bitter, the higher in pectin.
When canning and using natural pectin its good to have a combination of ripe and under ripe apples.
Many fruits have natural pectin, which (as a cool note!) means you can blend them together for uniquely flavoured preserves and jams, and never have to worry about using store bought pectin or high-sugar jam again.
With using the natural pectin from the apples your cook times will be a little longer depending on how much pectin is in the apples.
And it’s so worth it!
How Is It Safe?
All food, soil, water, air has bacteria, viruses and fungi in it. Our bodies are literally made up of them. With canning, one of the biggest bacteria of concern is botulism.
You cannot see, smell or taste botulism spores which makes it very difficult to know when they are about. Botulism thrives in damp locations without oxygen aka your canned jars.
That’s why its very important to follow proper canning procedures. If you do, you don’t have to worry about botulism!
Water bath canning is for high acidic foods (4.6 pH or lower) of which apples are one. Acidic foods means you can safely can them in a water bath canner without adding additional acid (vinegar, lemon juice, citric acid).
This recipe calls for just apples. Yup, no sugar or pectin or lemon juice, unless you want to adjust the flavour, of course, but I’ll show you how to do that.
Step 1: Preparing to Make Apple Jelly
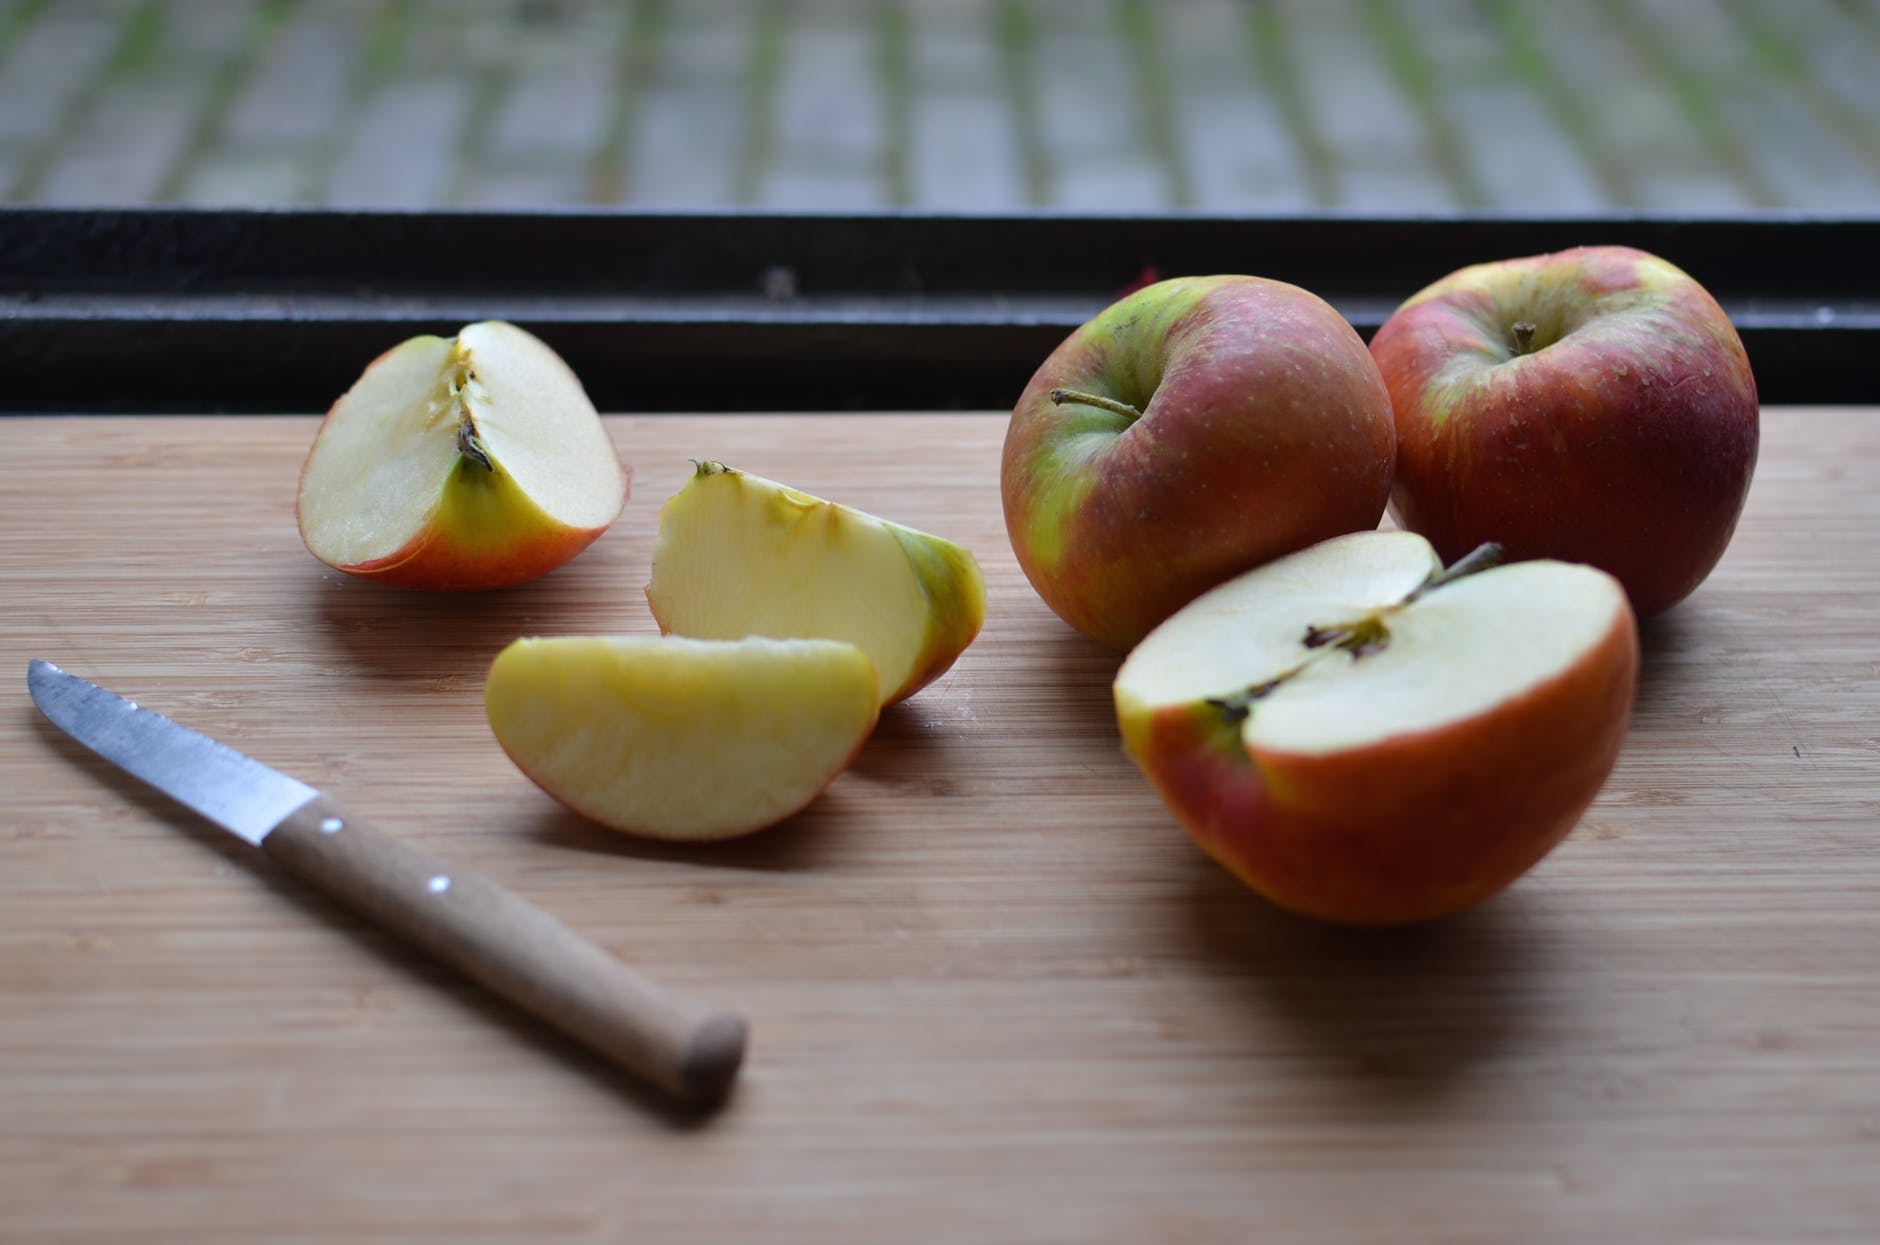
Wash your apples thoroughly and discard any bruised or rotten parts.
Chop your apples into quarters or 8ths, depending on the size of the apple.
If you’re canning your jelly or remaining apple sauce, review Step 3: the canning section first so that you are ready to can when your apples are ready. First time canning >> read this Ultimate Guide to Water Bath Canning
Step 2: Making Your Apple Jelly
- Add your chopped apples to a pot.
- Add 1 cup of water for every cup of apples. Your water level should end of somewhere just below the top of the apples.
- Feel free to add any spices you like -nutmeg, cinnamon, clove, ginger. Add ¼ tsp of ginger, nutmeg and clove to 1 tsp of cinnamon per 4 cups of apples.
- Bring to a boil and simmer for 30 minutes.
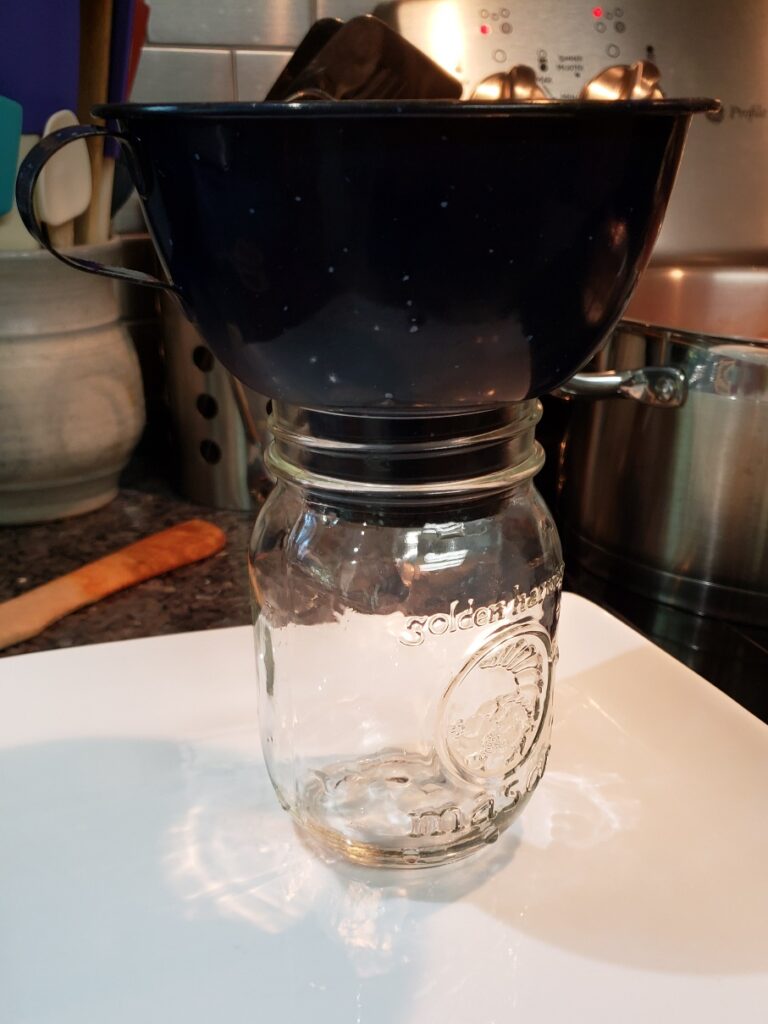
- Strain off and reserve the liquid – this will make your jelly!
- For the rest, don’t let it go to waste! Use a ricer or food mill to remove the stems and seeds and you have apple sauce.
- With the liquid, add it back to your pot *ensure your pot doesn’t have debris.
- Adjust spices as necessary.
- Bring the liquid to a boil and then keep it on medium heat.
- Cook for about 30 minutes or longer. *cook times may vary depending on the amount of pectin in the apples.
- Once you dip a spoon and it jells as it cools, you’re ready to pour it into jars. You can speed up the cooling by placing it in the fridge.
- If you like a stronger flavour, boil it down at least half.
As you boil, keep noting the flavour. If its too tart for your liking, simply add a small amount of honey. Sugar does nothing for gelling or preserving, its merely for flavour. Using honey, especially local honey, adds additional health benefits and a rich sweet fflavour.
But try it without! It may surprise you how delicious apples are on their own.

Step 3: Canning Your Apple Jelly
Ensure your canning pot is approved for your kind of stove. Some canners cannot be used on popular glass tops (although most modern ones are). Simply check the instruction manual or contact the manufacturer.
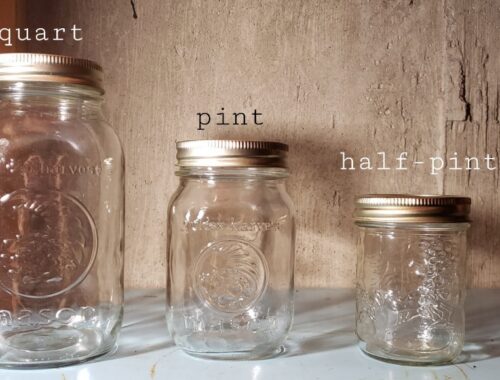
For this recipe you’ll need 125ml or half pint jars.
- Ensure your jars and rings have been cleaned. Use new lids.
- Place your jars (without rings or lids) in the canning rack in the pot.
- Fill your pot with water to ½ inch above your jars.《pro tip: add water to your jars first so they don’t start floating!》
- Now your canning pot is going to take a long time to boil so get this going ASAP.
Sealer lids: set up a separate pot. Warm your water (do not boil or it could damage the rubber seal) and place your lids rubber side up. You must use new sealer lids to ensure a proper seal.
Your goal is to bring the jars, the lids, and the filling to boiling so they are all the same temperature right before you fill them. This will take a bit of practice.
Filling the jars: use a funnel and leave ½” headroom. Headroom is from the top of the jar.
Once they are done, use a non metallic item to insert into the bottom of the jars to allow air out.
Why non metallic? So you don’t risk breaking the glass. (I use the bottom end of a wooden spoon.)
- Wipe off the rim to remove any food. You need to create a tight seal
- Remove your sealer lid from the warmed water and place on the jar. Finger tighten the ring – do not force it hard.
- Place all the jars in the pot once the water is at a rolling boil. Space them out evenly.
- Make sure the water is 1” above the jar tops. If its not, add your sealer lid water to the pot, ensuring you pour it around the jars, not onto them.
- Cover and bring it back to a boil. Once it’s there your start your timer!
Applesauce: 20 minutes at <1000ft above sea level
Apple jelly: 30 minutes at >1000ft above sea level
For locations above sea level, go here for your timing conversion
- Once it’s done, turn off the heat, remove the lid. Set your timer for 10 minutes.
- Once 10 minutes is done, remove the jars carefully to a towel on the counter. You don’t want them on a cold surface.
- DO NOT touch the jars for 24 hours.
- As they cool you’ll hear the nice ping sound.
- After 24hrs press down on the centre of each lid. If it bounces back, it’s not sealed and you’ll have to do it again or eat it right away.
- For the good ones you can remove the rings and wipe down the jars and lids. You can replace the rims to a loose fit or keep them off entirely.
Lastly, badger someone else to clean up because you just did some hardass work. Even more if you picked the apples yourself!
Using Your Apple Jelly
Your jelly will last on the shelf for 1-3 years, potentially more but I guarantee you it won’t last the year – it’s too good!
Apple jelly makes a really easy gift for any occasion.
Crab apple jelly cooked down to half is perfection with chocolate zucchini cake, in my humble opinion.
What about you? Are you team tart jelly with chocolate or do you prefer a sweeter jelly?
PIN FOR LATER


You May Also Like
The Ultimate Guide to Water Bath Canning
Delicious Fresh Garden Salsa: How to Water Bath Can