How To Build a Garden Planter in 10 Minutes
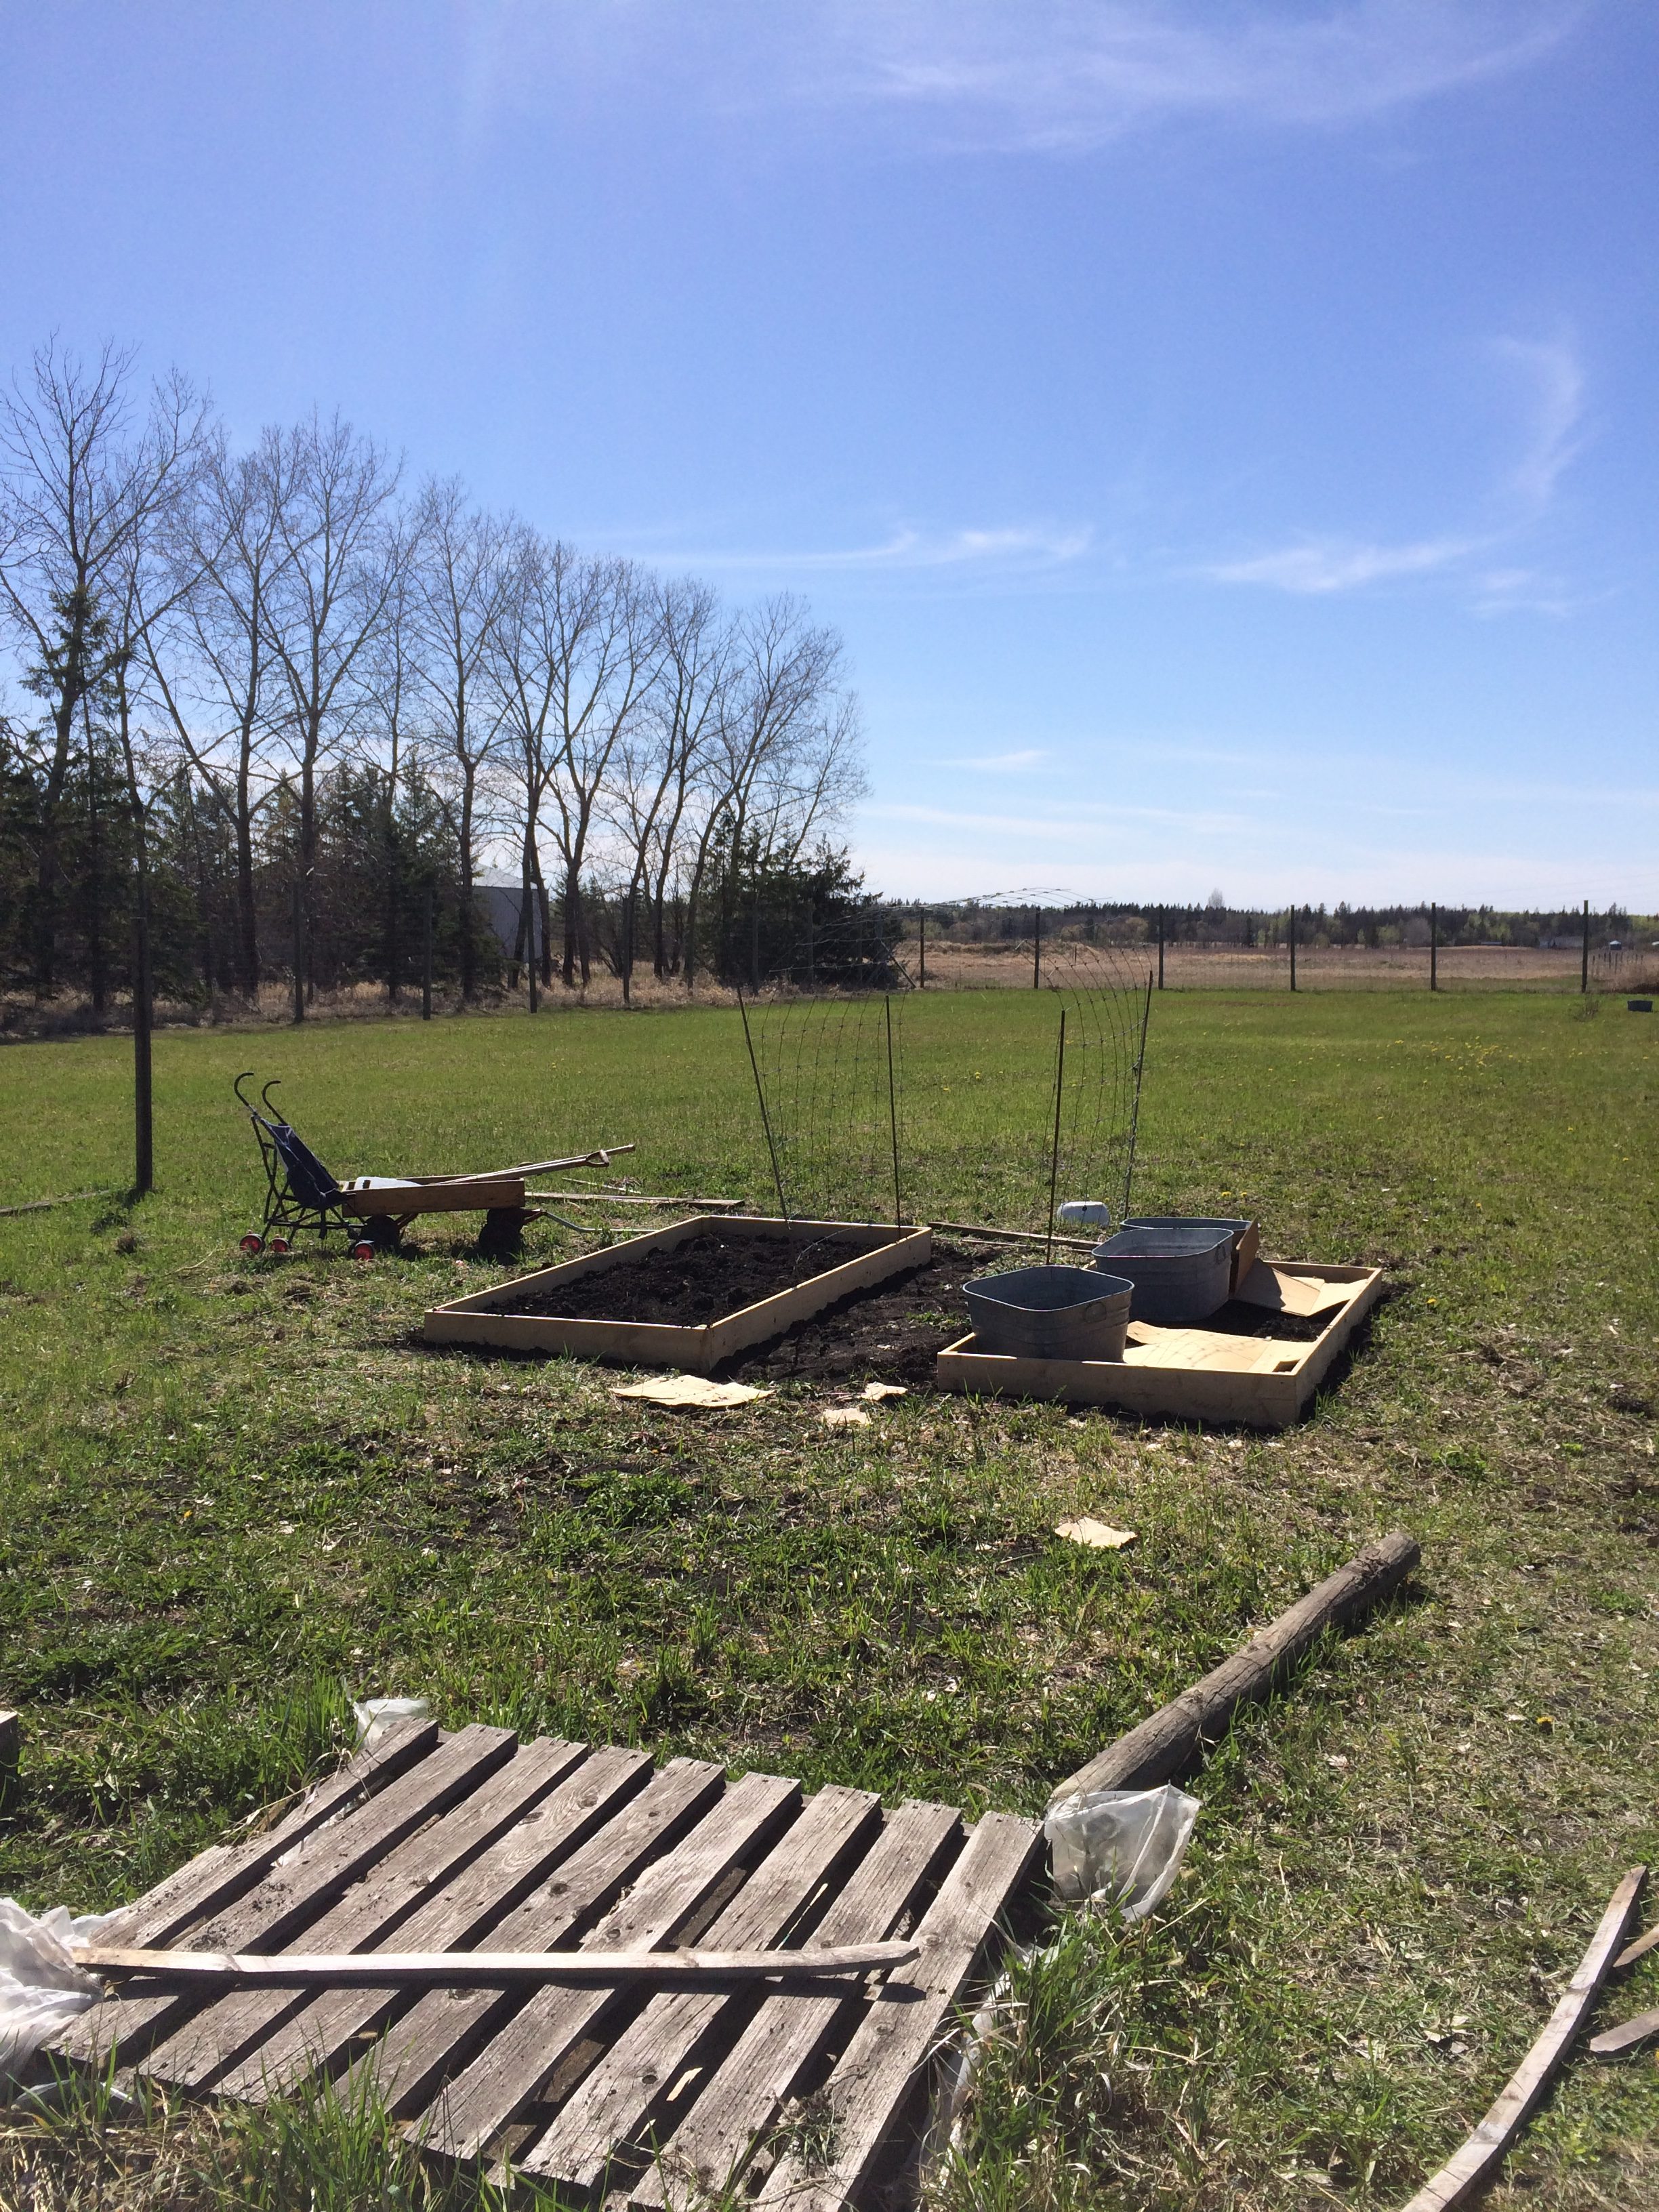
See those two bright new “weed-this” planters? We had some extra boards from redoing the siding on our front porch area so I used the boards to make a new garden planter for the season.
Creating garden planters is relatively simple. You are creating a box. Once you know how to create a box, you can create almost anything. In other words, it’s a super useful (and necessary) homesteader skill to have!
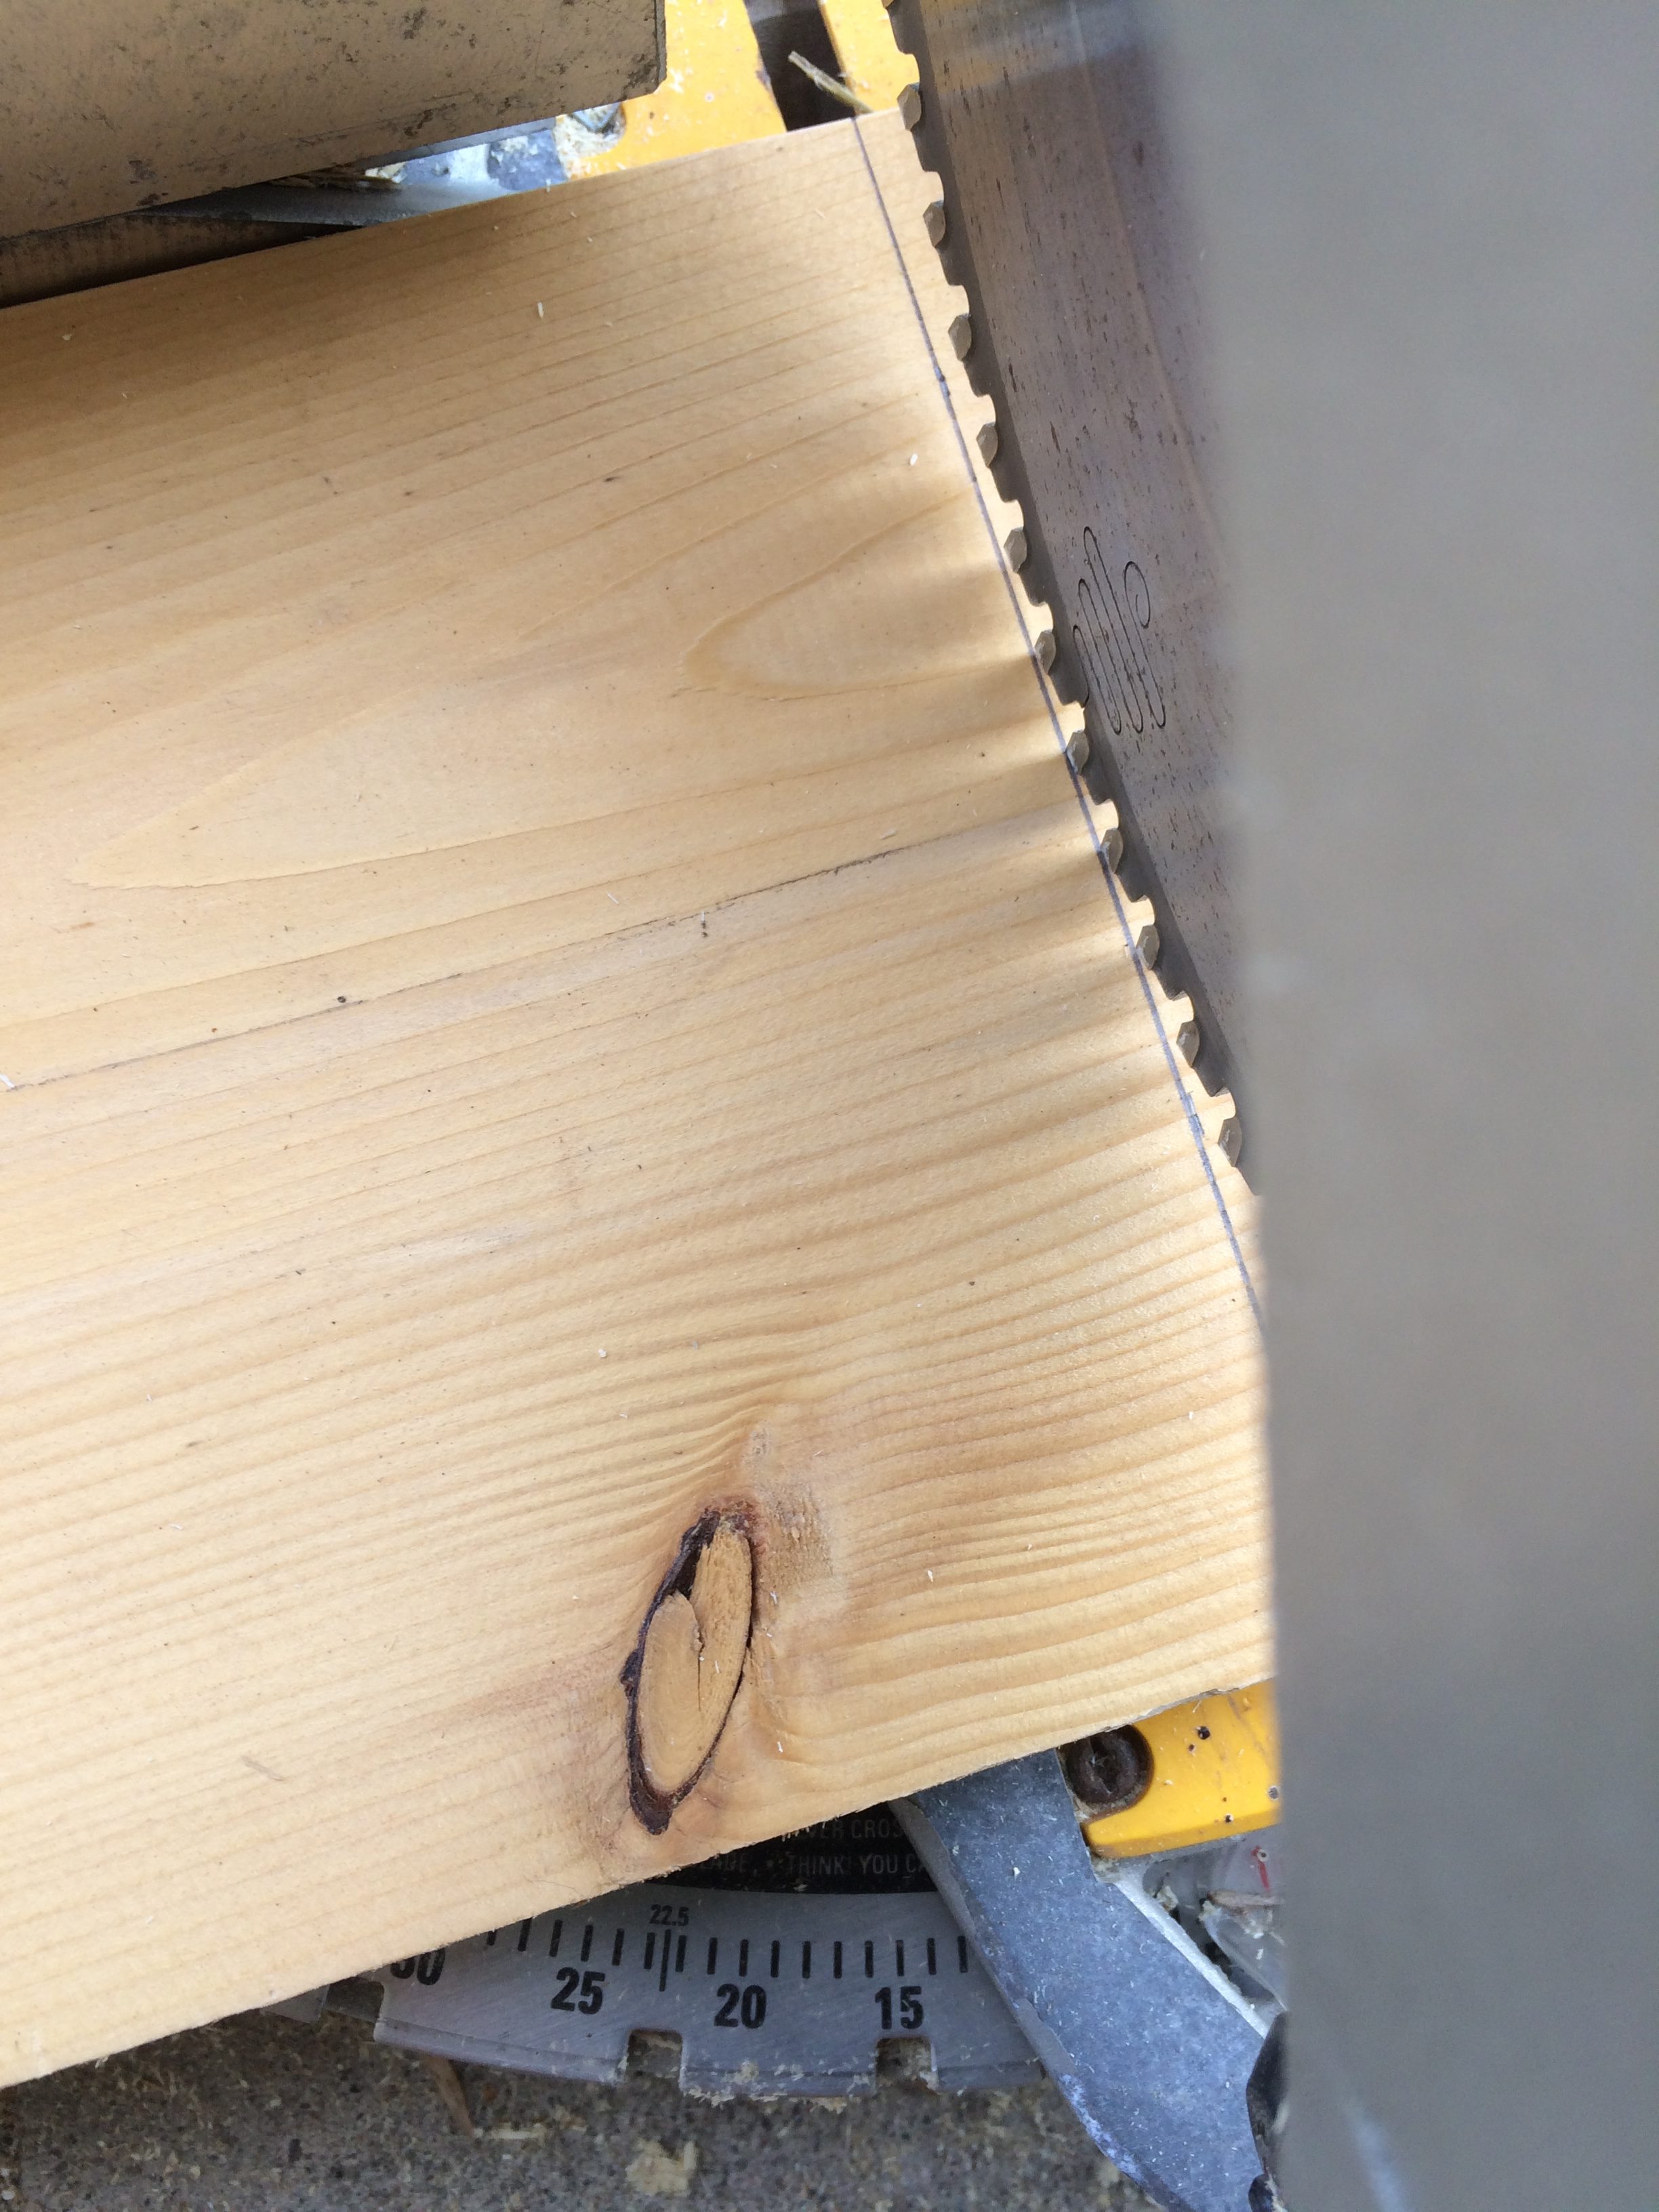
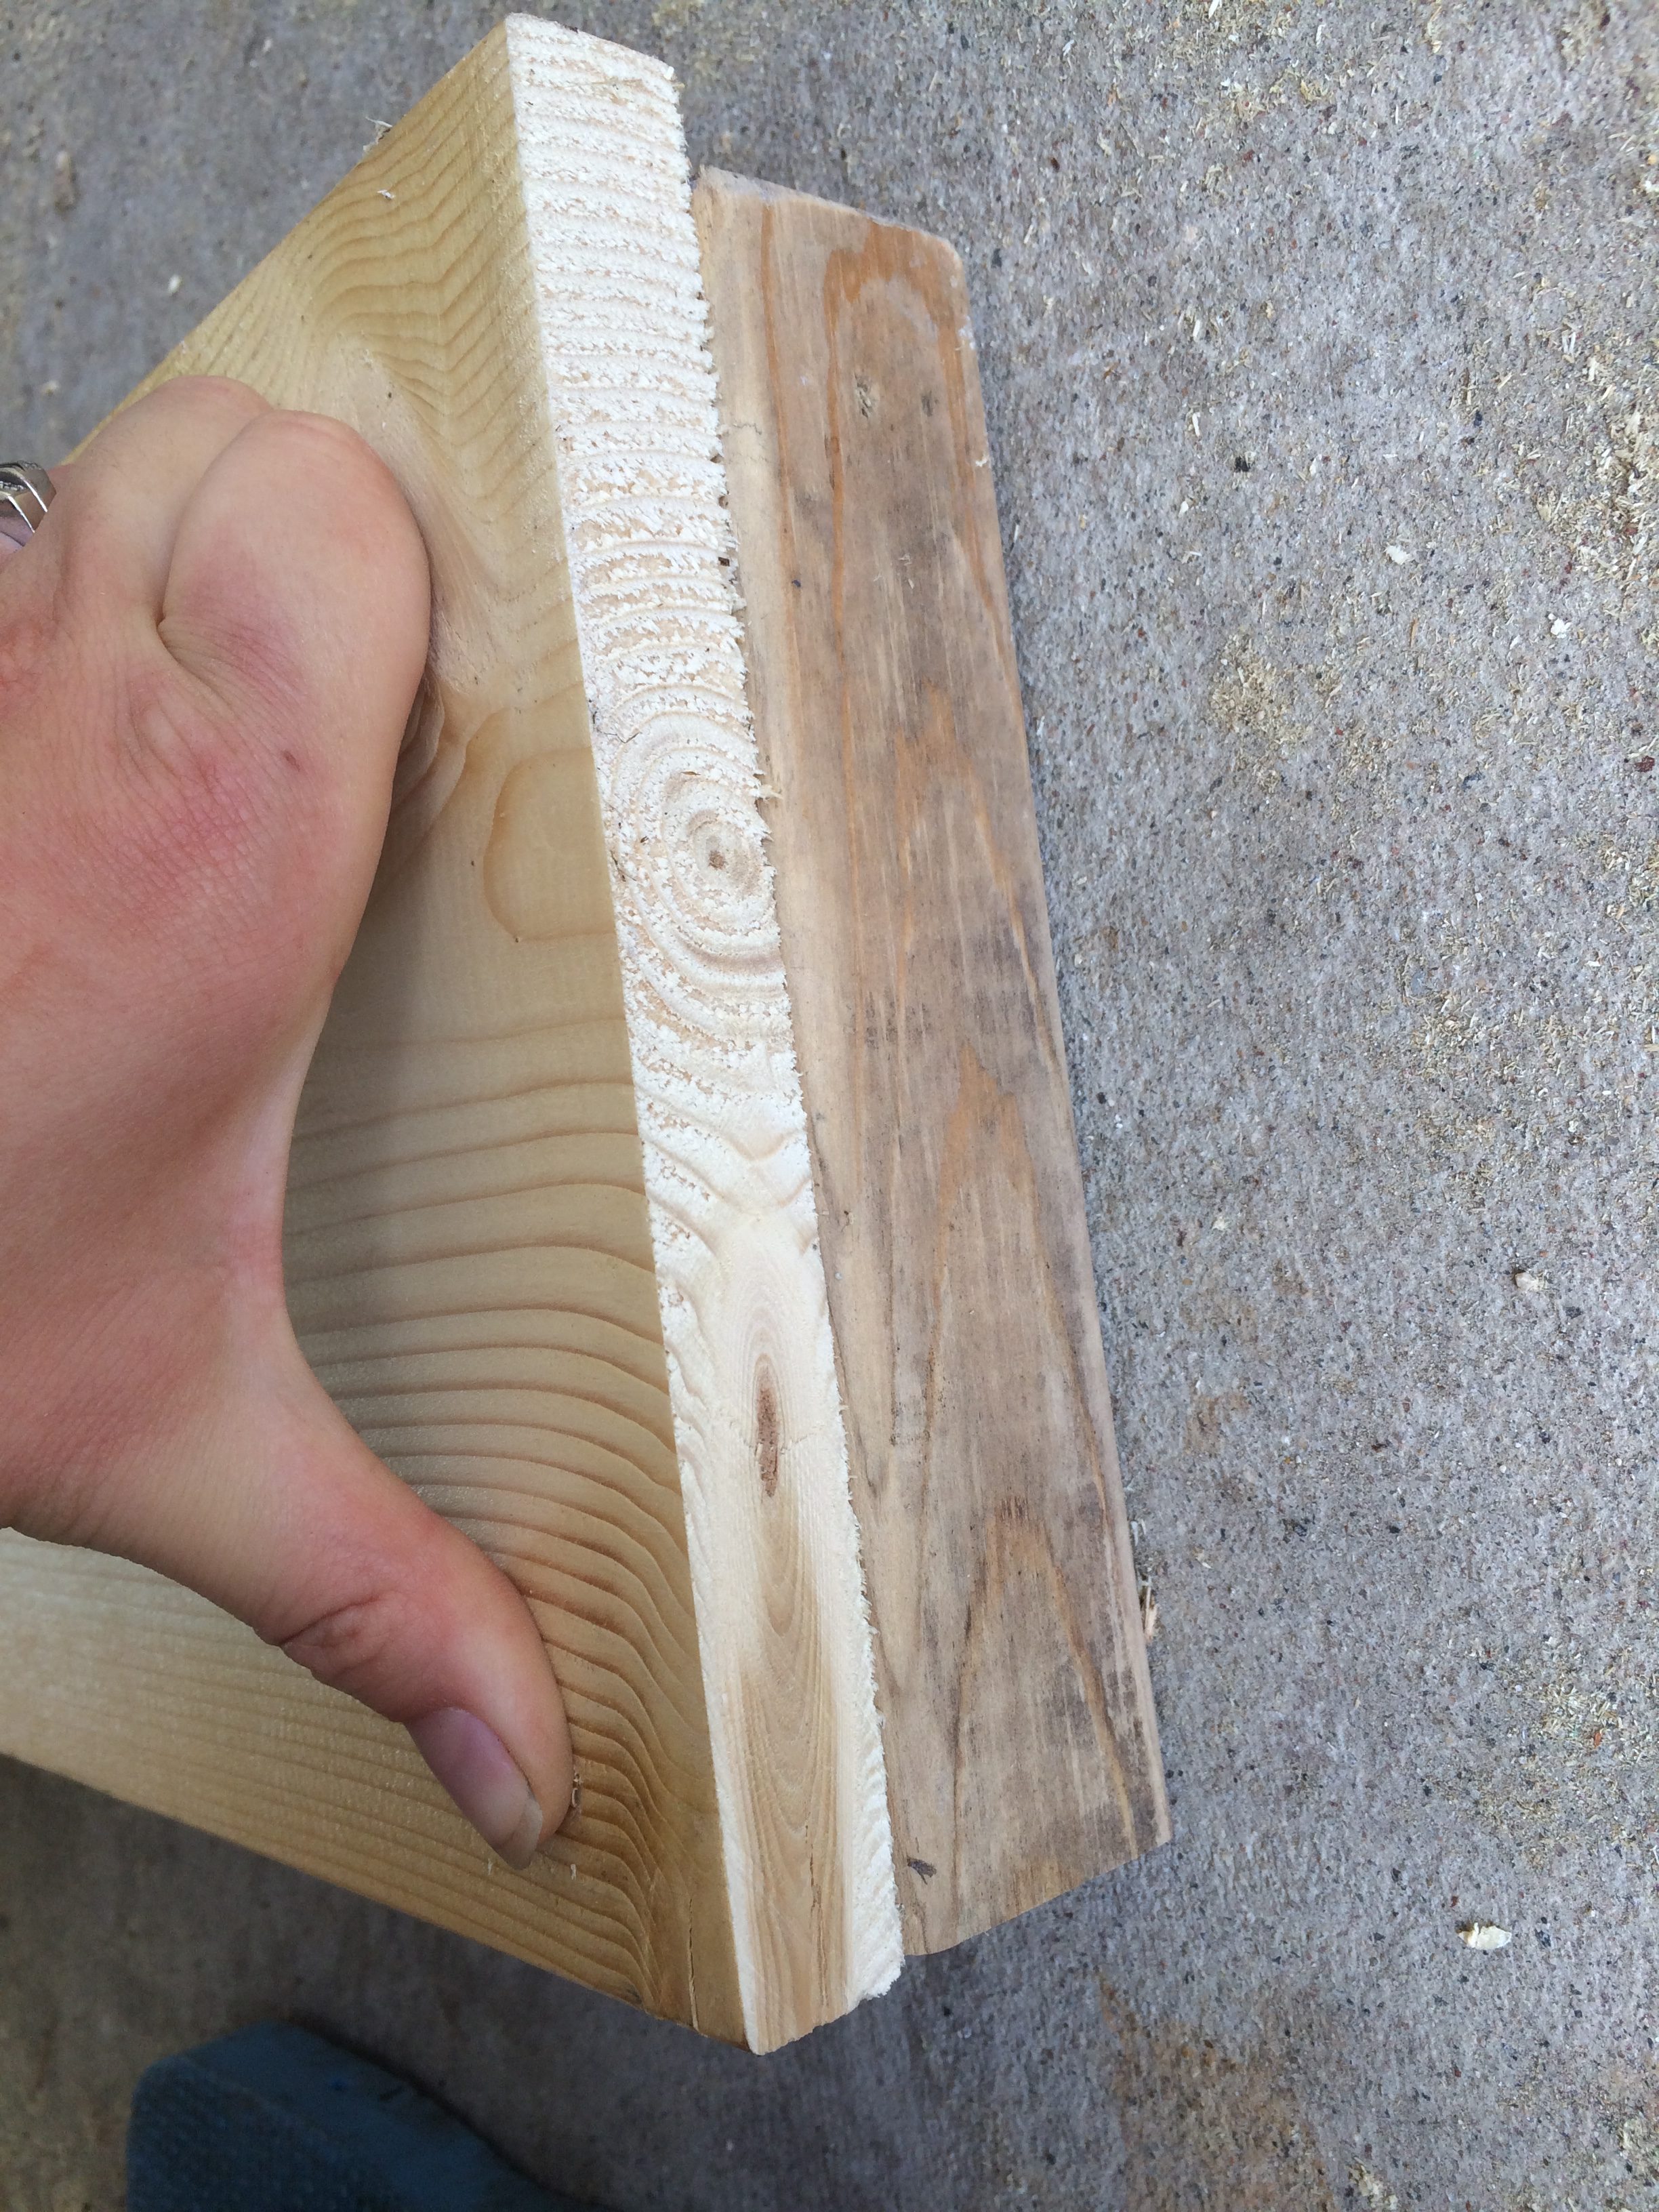
The boards we had were 1×8”. However, and most importantly, keep in mind that what you actually get is ¾ x 7 ¾”. because 1/4″ is shaved off of each board. Always. You’ll want to remember that as it’ll remove a lot of cursing from your builds.
Here’s the tutorial on how to make them yourself.
Garden Planter Supplies:
- 1x8x8 solid wood board (3)
- 2x2x8 solid wood board (1)
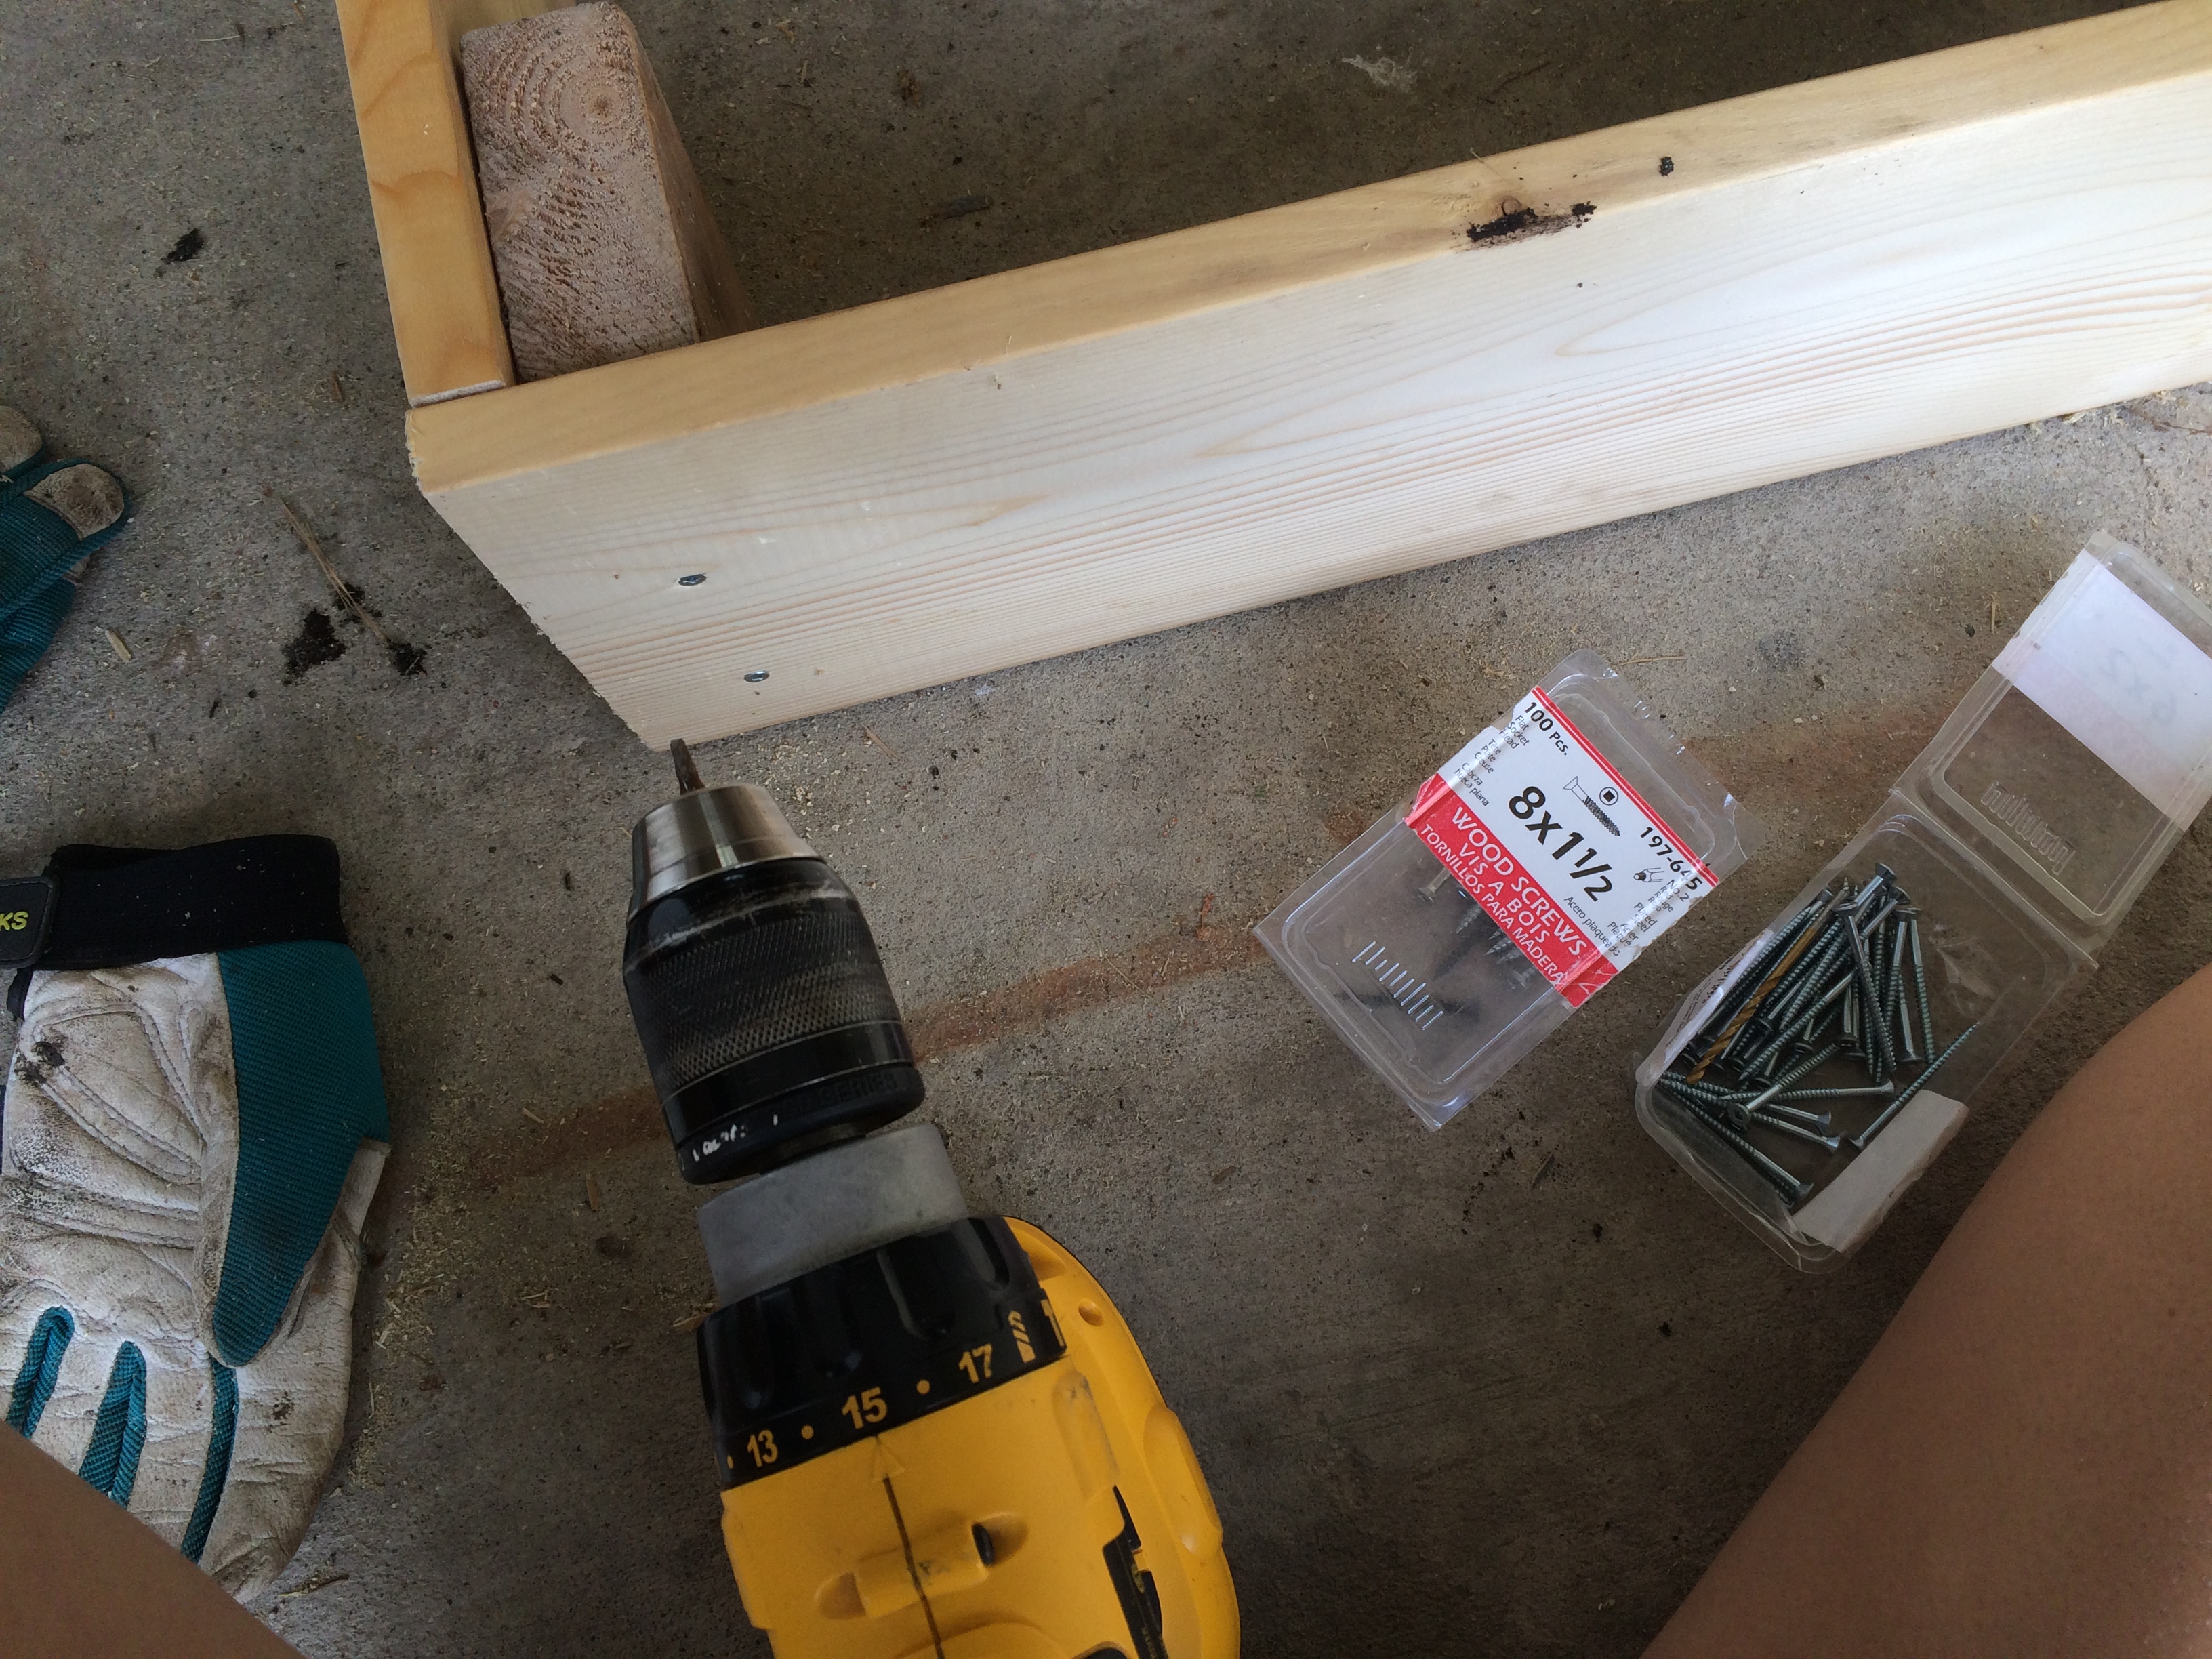
- 1 ½” wood screws
- Drill or screwdriver
- Mitre saw or circular saw
Cuts:
- Cut one of the 1x8s in half. OR 3’6″ each. (It’s an easier reach in the garden)
- Cut the 2×2 into four 7 ¼” pieces (roughly the height of the 1×8).
Building Your Garden Planter
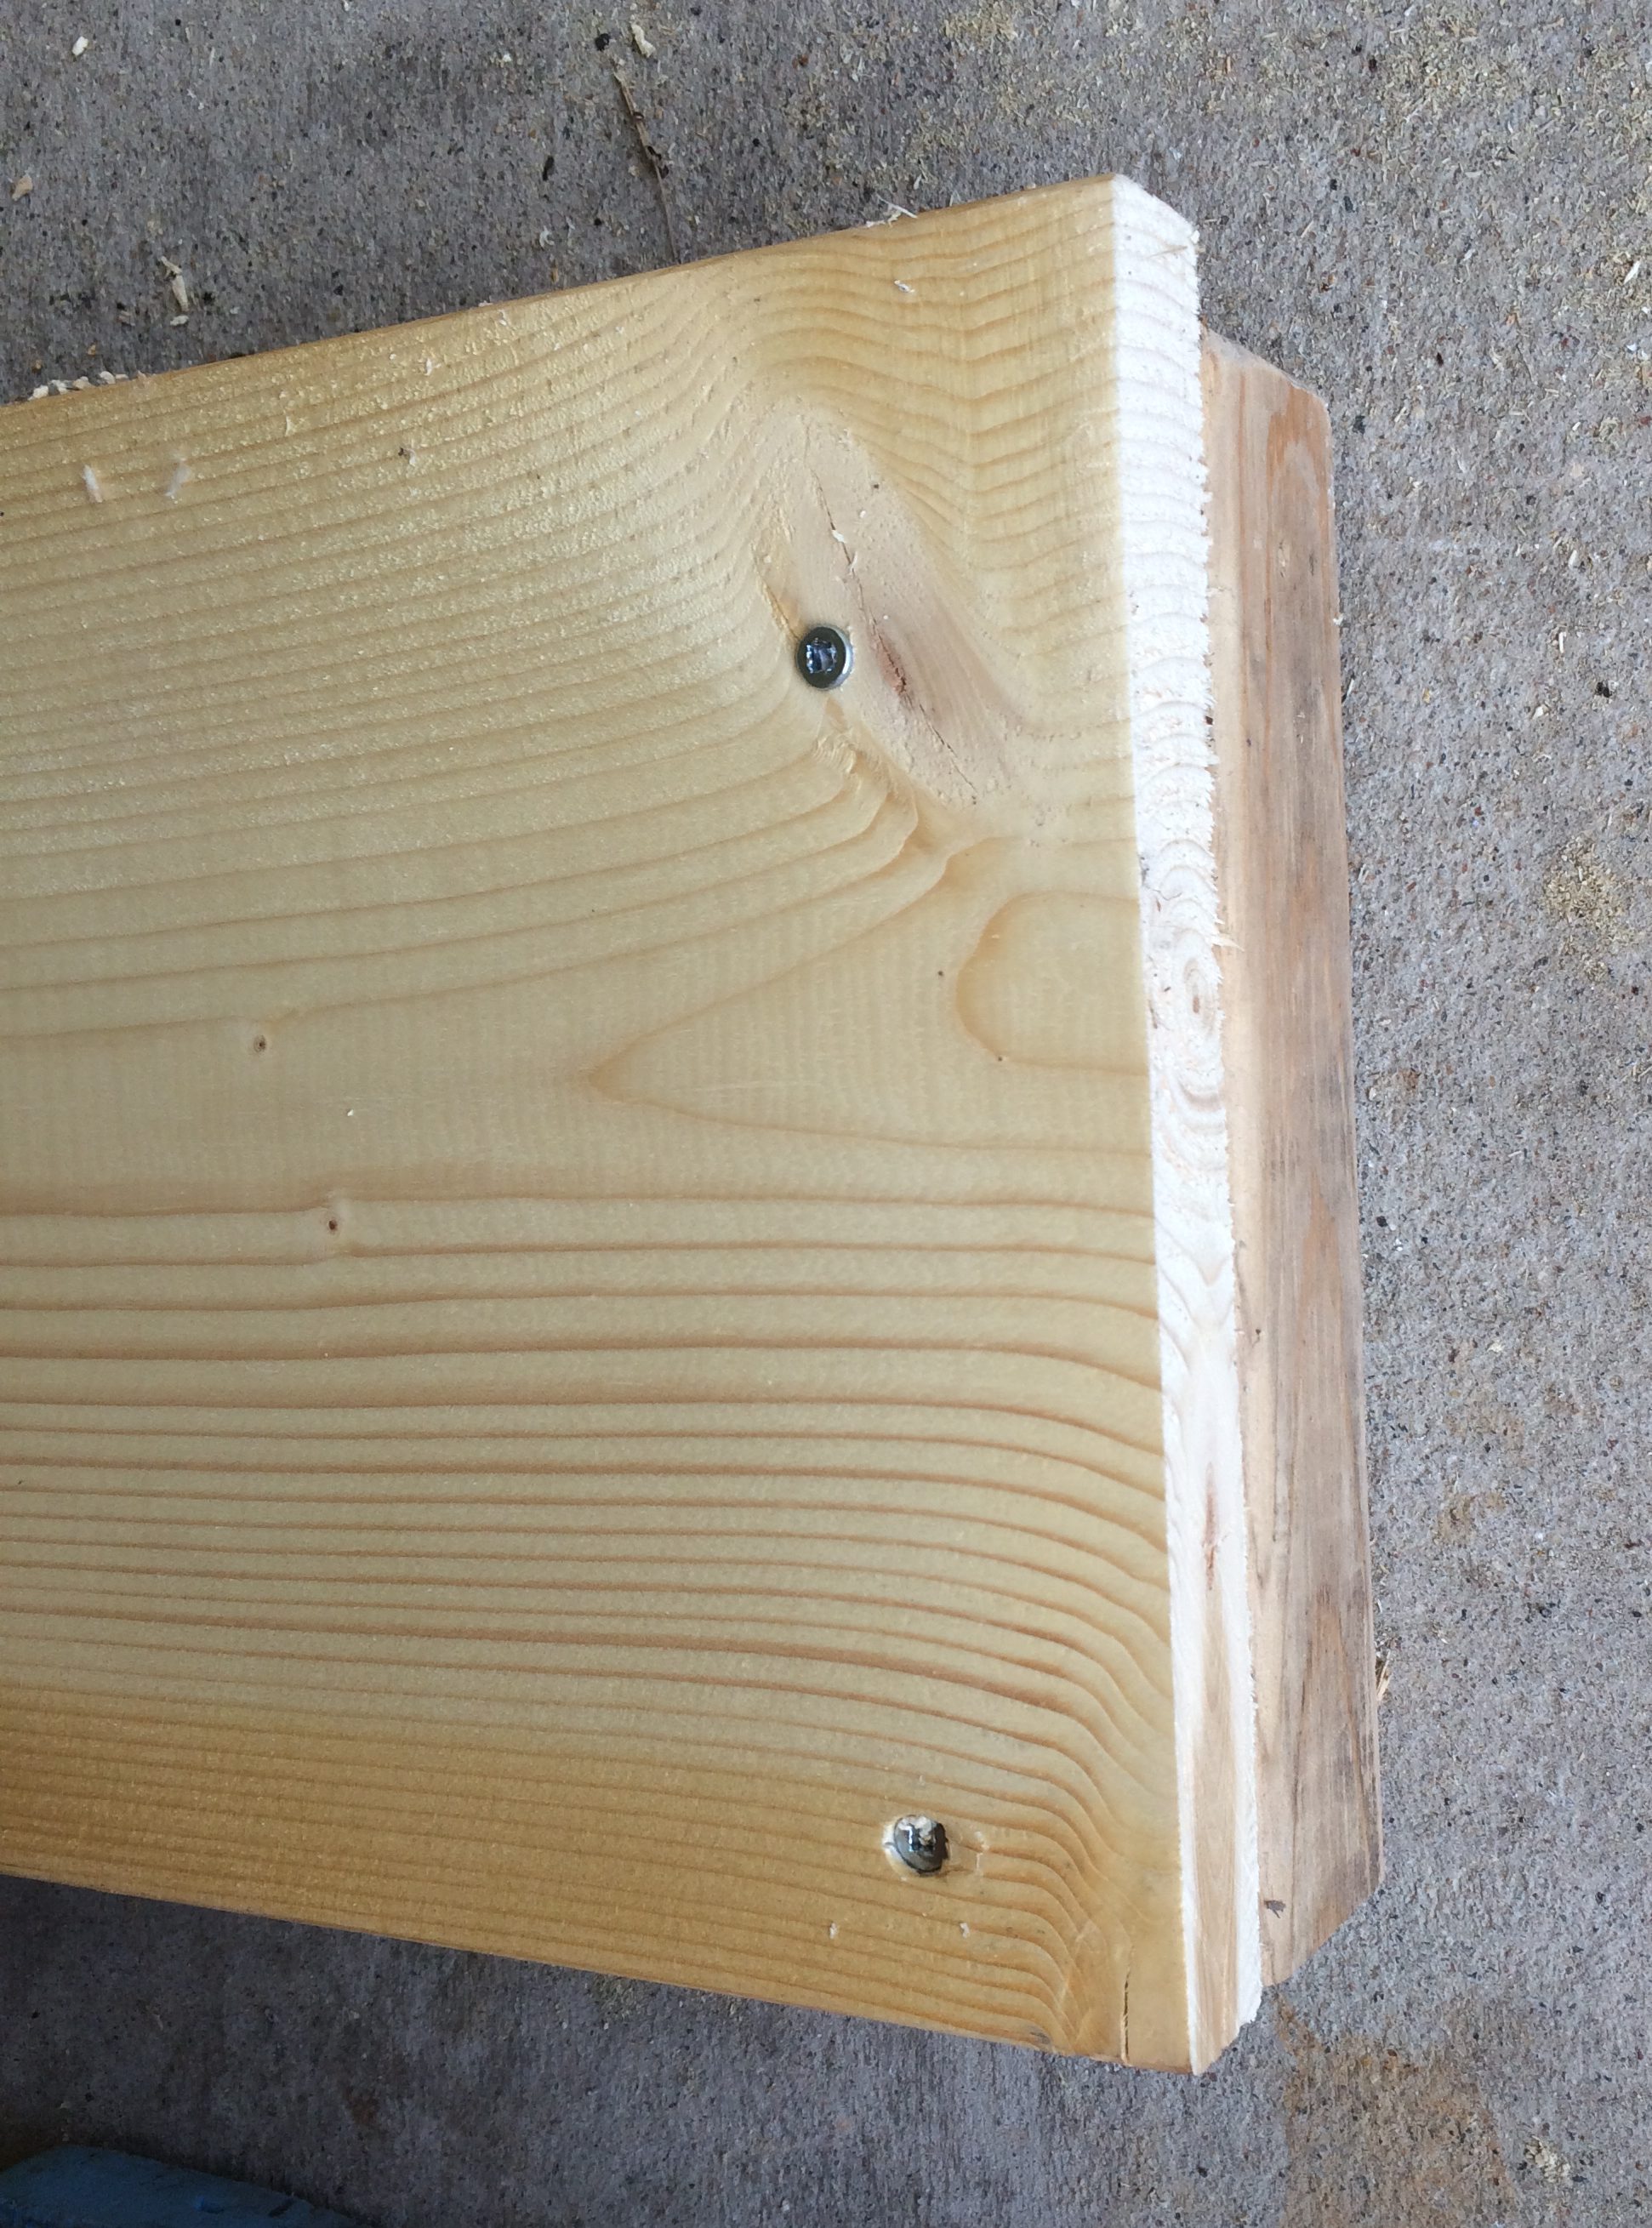
1. Lay the 1x8x8 piece on the ground. Place two 2×2 piece underneath – one flush at each end. Screw the boards together using two screws, with each screw about 1” from the top and bottom.
*If your boards are really dried out they may crack. If that’s the case, pre-drill the hole in the 1×8.
2. Repeat for the second 1x8x8 board.
3. To attach the ends, lay all of the boards upright and dry-fit them together in your box shape. The ends should lay flush. Screw two screws in about 1” from the top/bottom.
Pro Tip: hold the 1x8x8 and press it towards you. Your boards are going to want to separate as you screw them together so you need that counterweight.
Diligent Pro Tip: if you’re extra, you can pre-drill and then you won’t get the separation… I’m not someone who wants to take that time. I’d rather swear over separated boards.
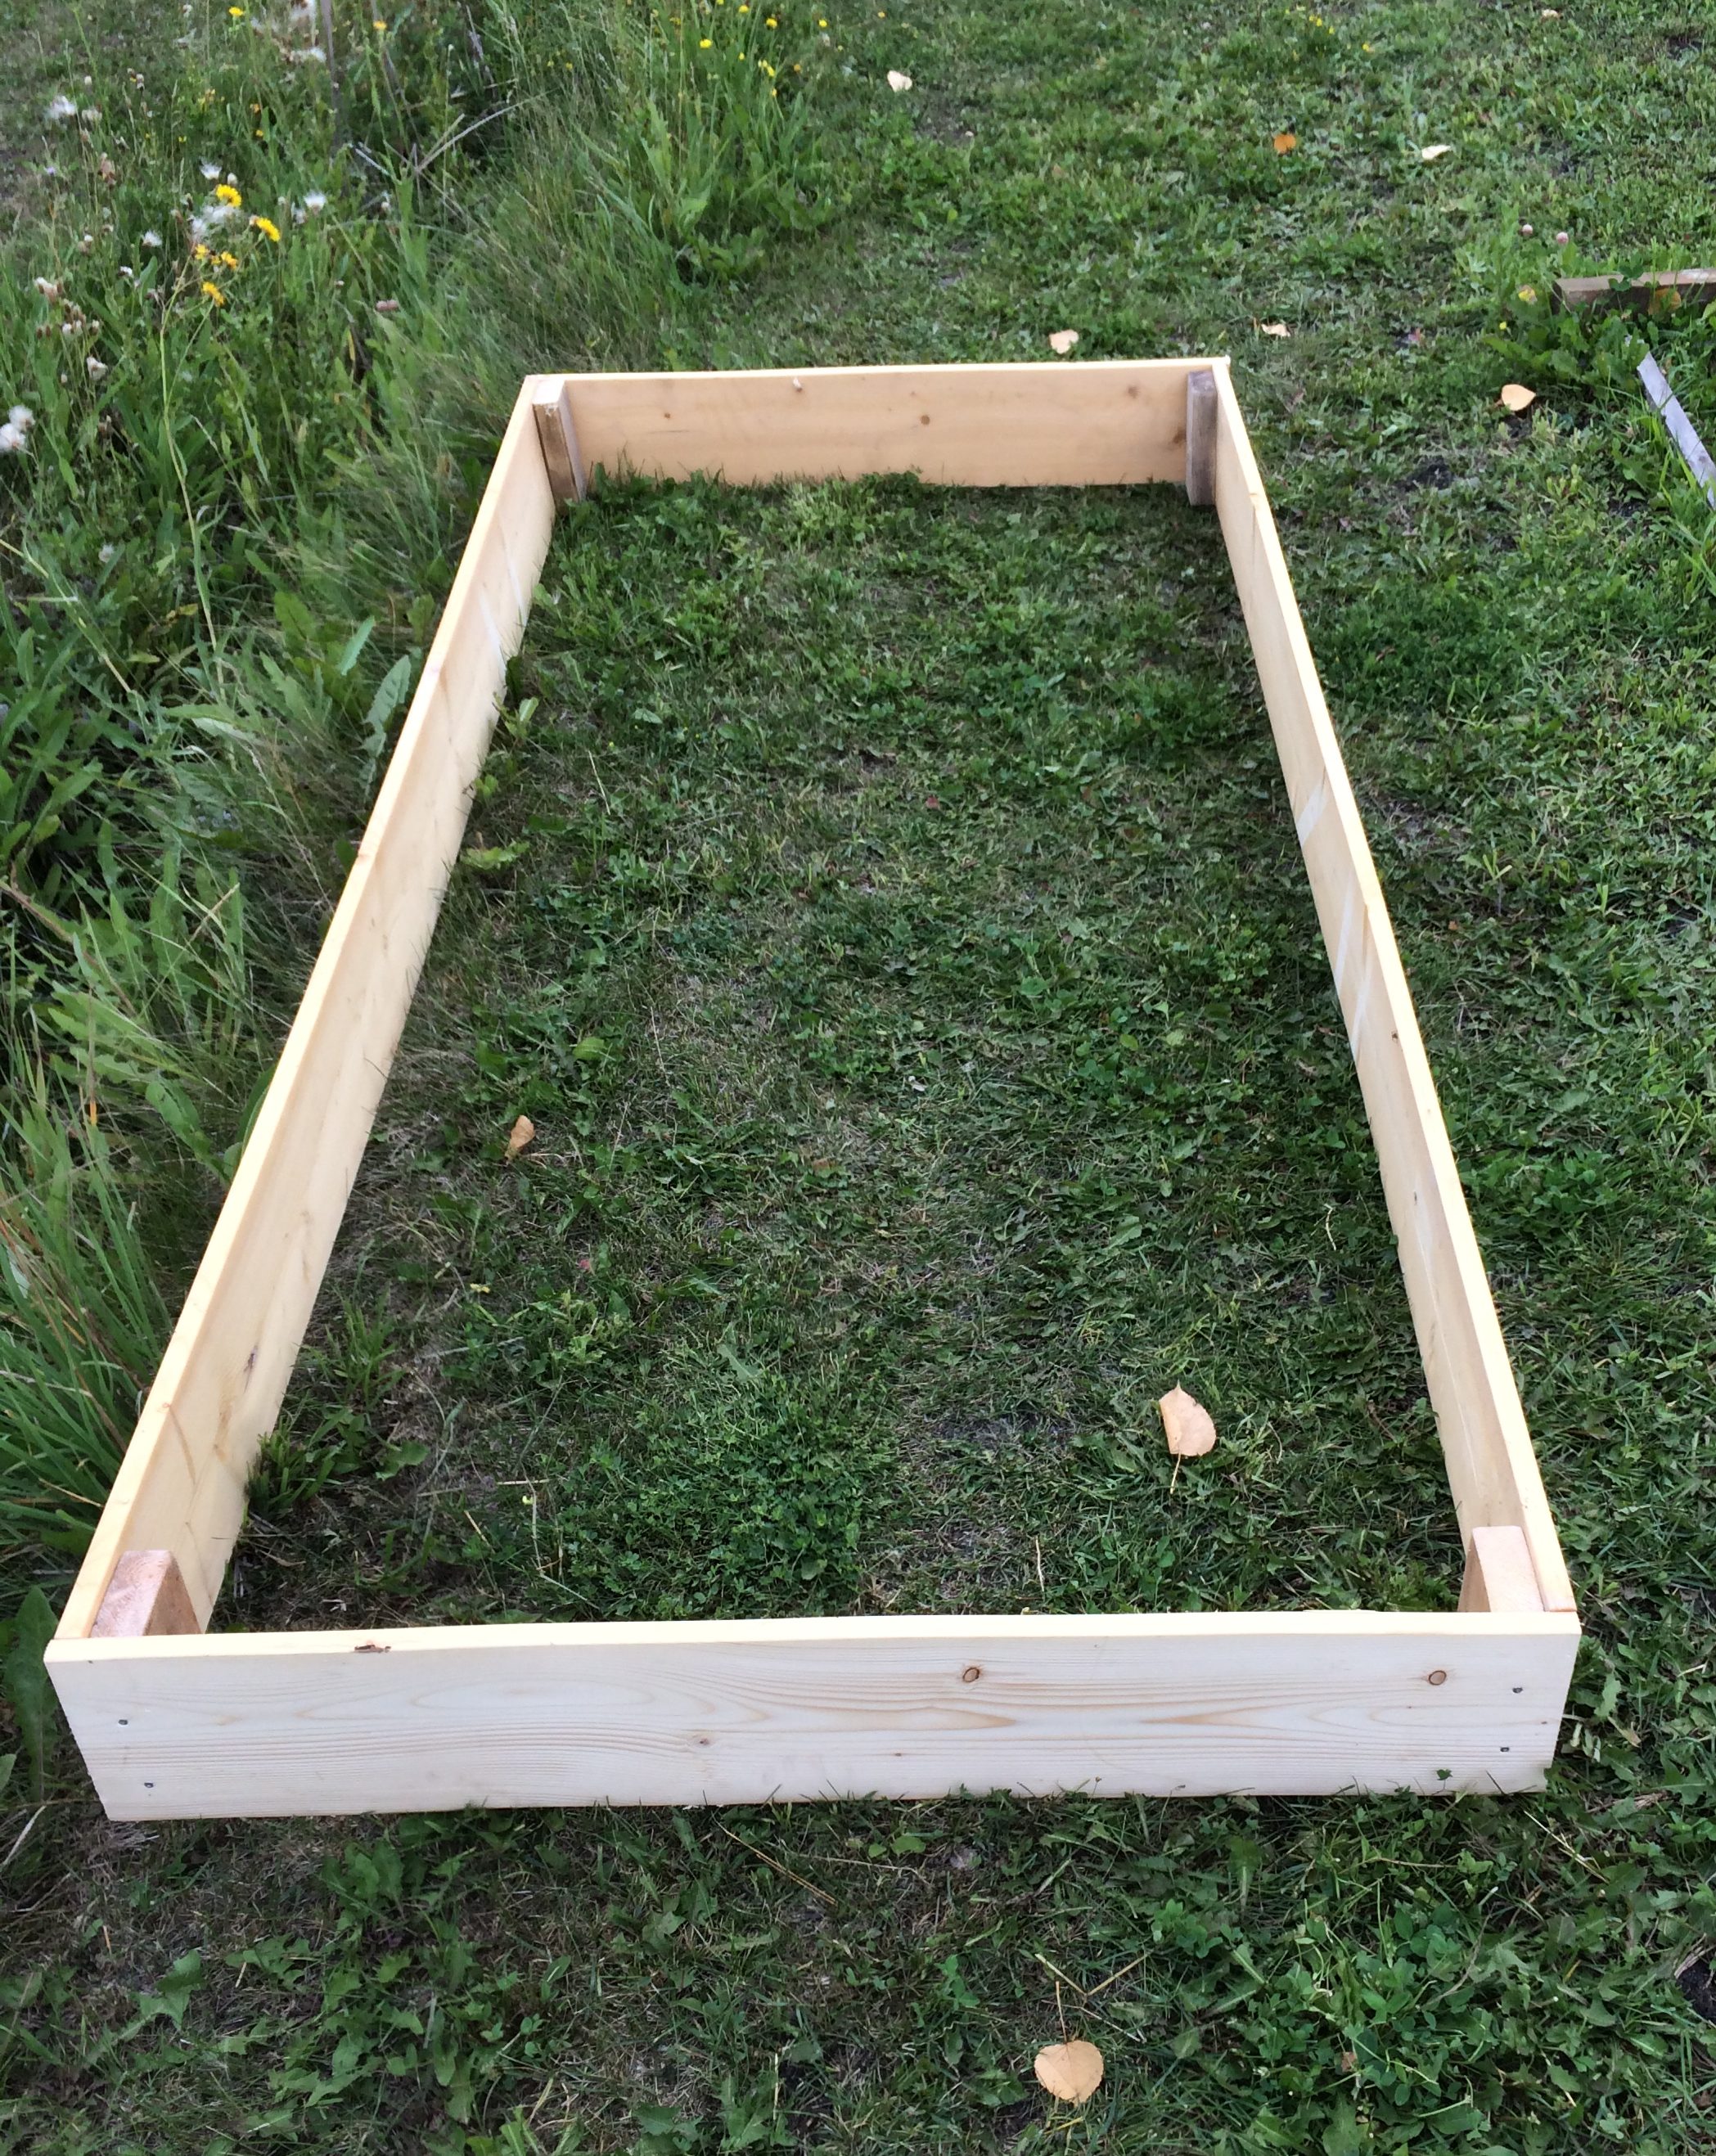
4. Repeat until both ends are attached and your planter box is made!
If you want a raised planter, simply stack 2 1x8x8 on top of each other and cut the 2×2 to 14 ¾”. You’ll want to add additional 2×2 supports (at least 2-3 along each long side). You can keep stacking to the height you want and simply adjust how long to cut your 2x2s.
Building Tips
Let’s get real here. I am not a finicky builder by any means. I want it done and I want it done with the least amount of planning and prep work. Some, but I’m totally a “well, as long as it functions!” kind of person when it comes to my builds.
Now, plunk the box into your garden or wherever you want it. If you’re working with existing soil you can dig a trench about 3” deep and place the box within it.
If you’re putting it on the grass and adding soil then start by placing cardboard and damp newspaper down along with a nice layer of thick weed cloth. You can staple this up the sides or allow the soil to hold it in place.
Check out How to Build a Hugelkultur Garden and use the layers in your new garden planter!
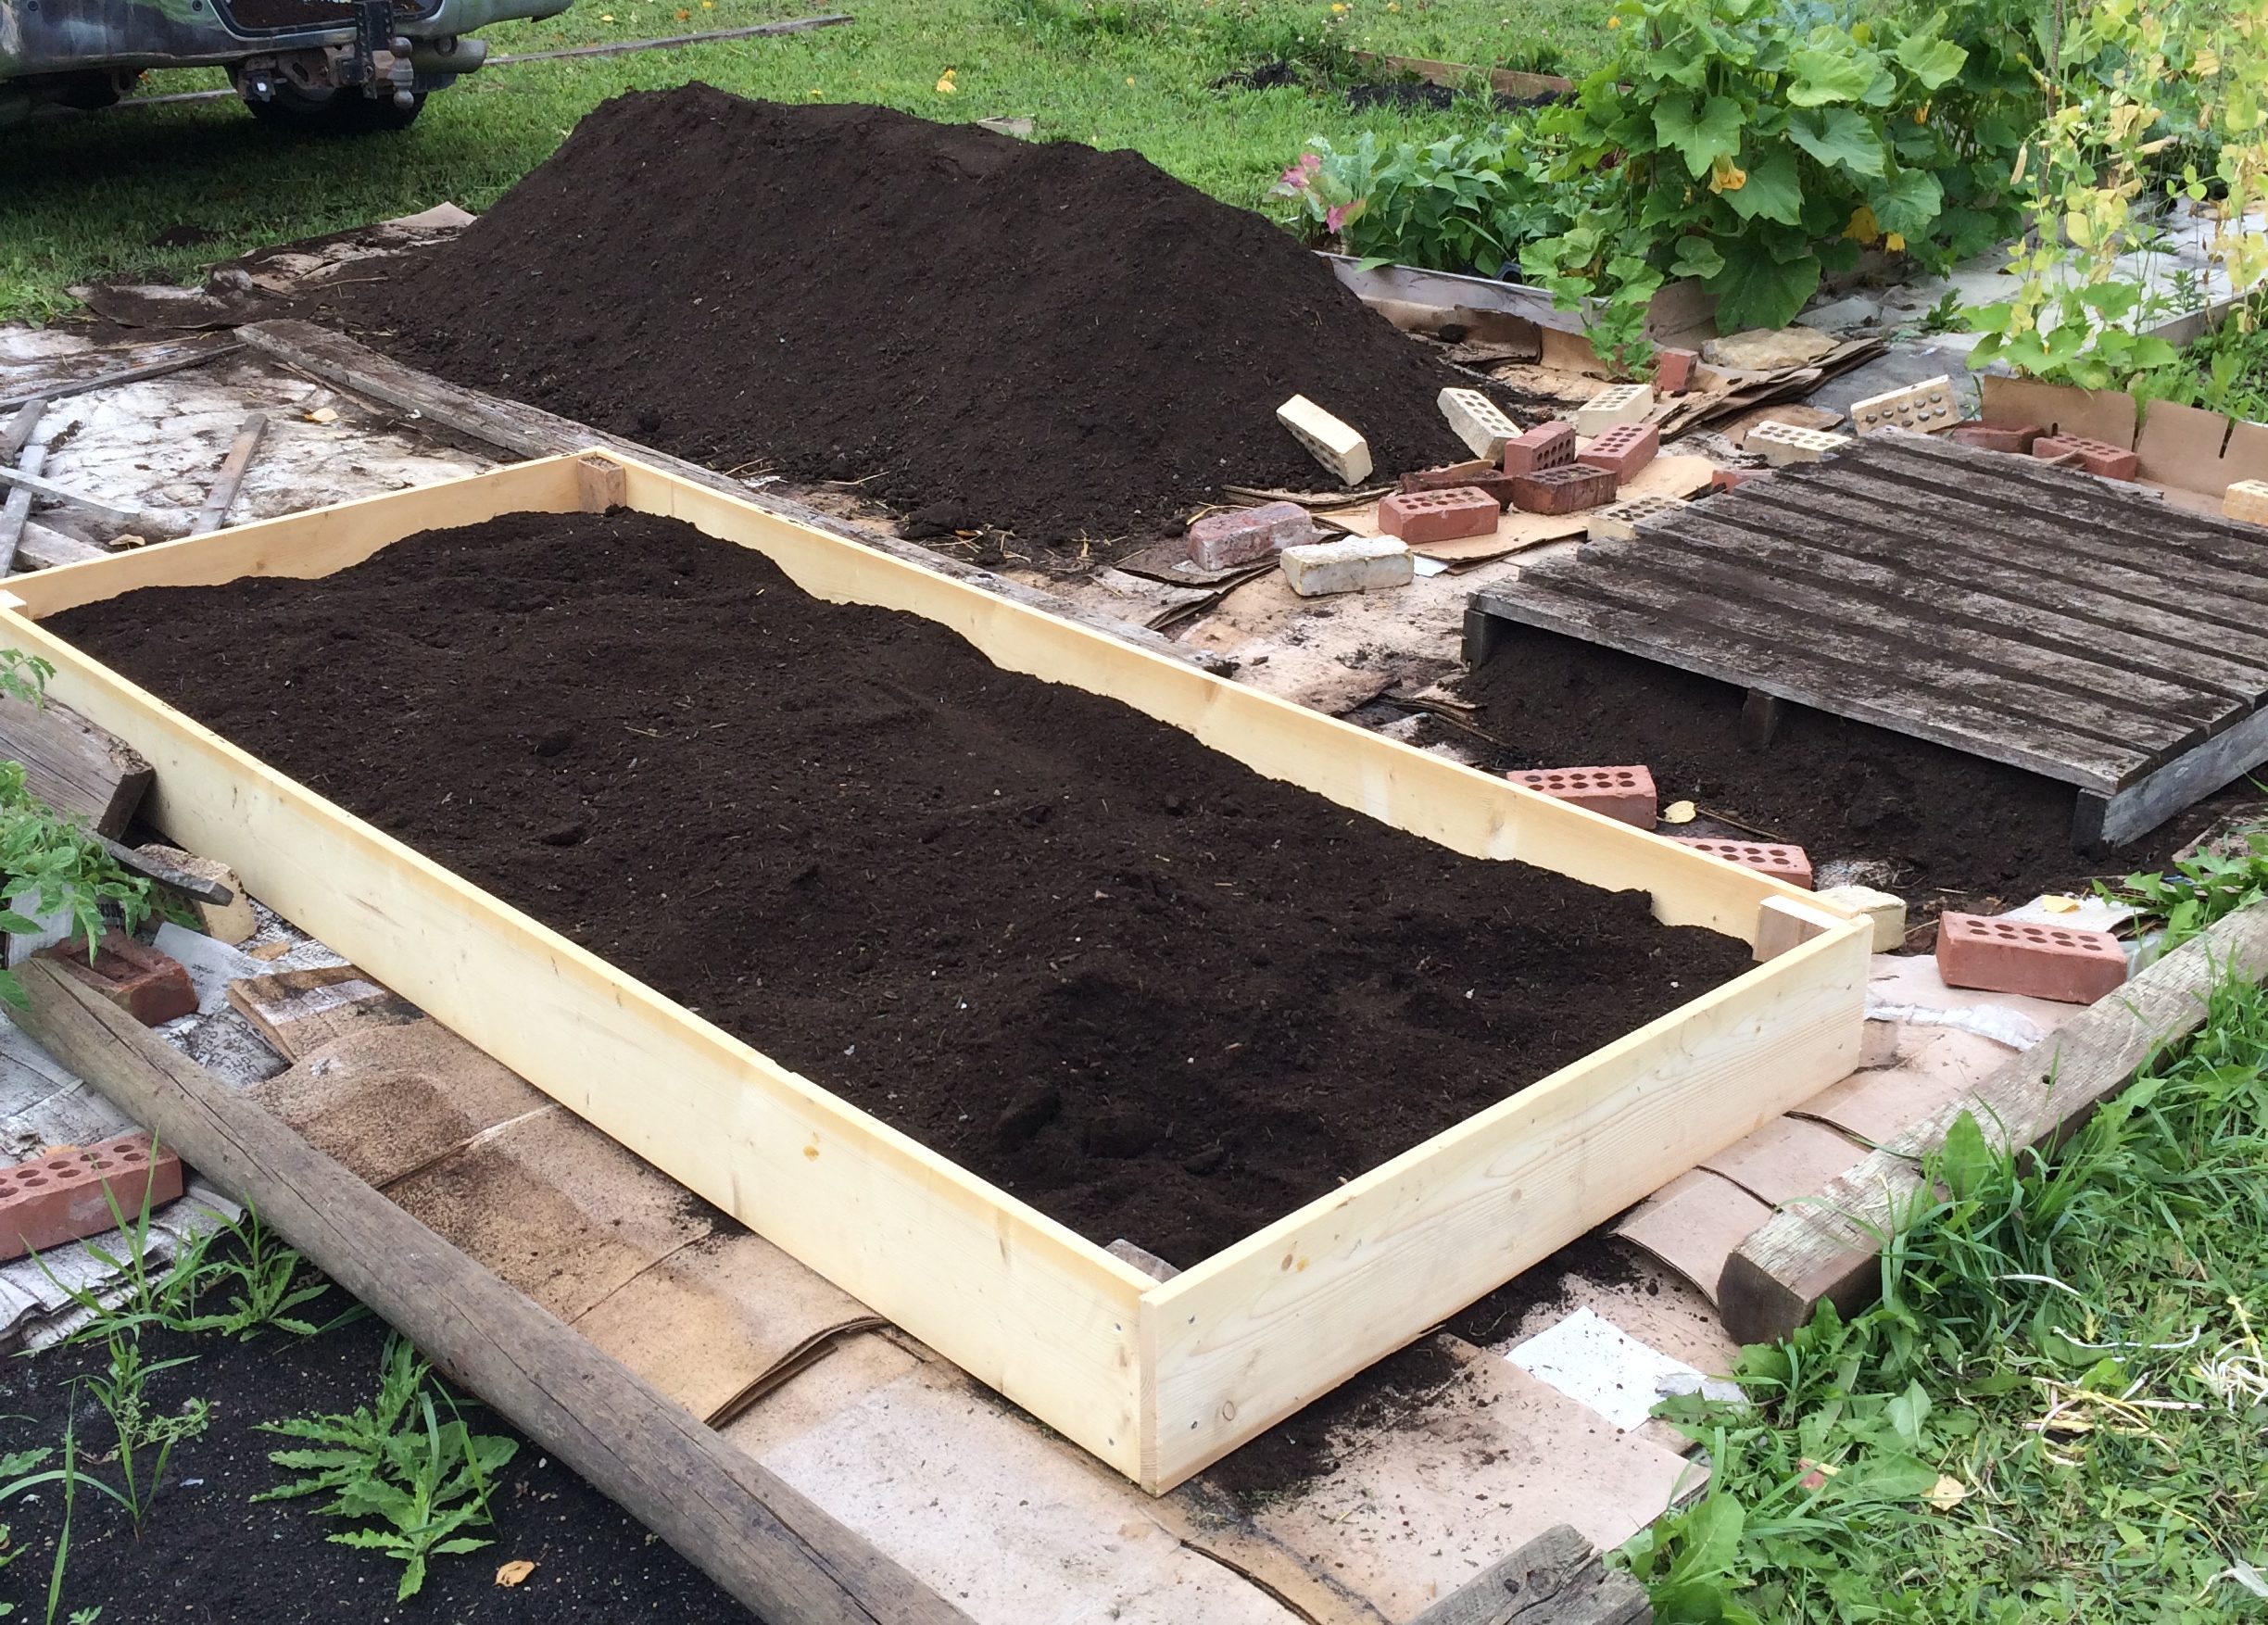
Once your garden planter is in and secured you can get to planting!
Keep Reading
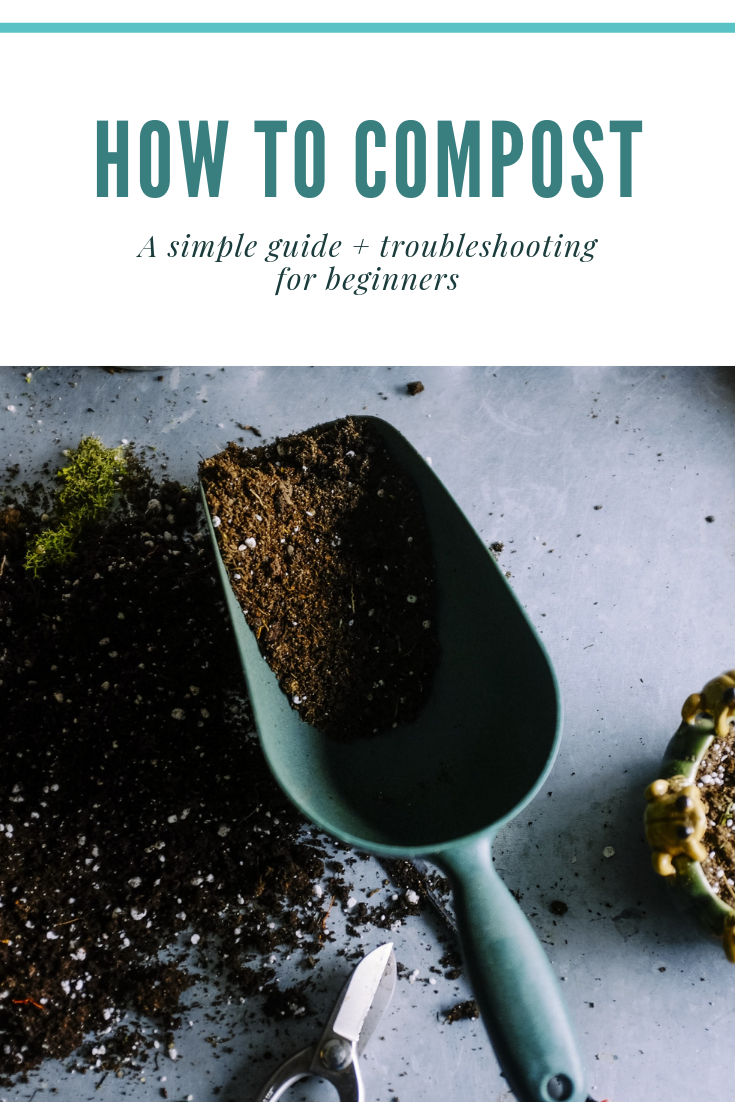
Composting 101 For Beginners
You May Also Like
9 Steps to Choosing The Best Vegetable Garden Location
Mulch 101: Everything You Need To Know About Mulch