8 Must-Do Fall Garden Tasks
“It takes half a millenia to build two centimeters of living soil and only a second to destroy it.” ~ Anne Glover, Chief Scentific Adviser, European Commission
Winter is a break for soil and gardener. If you prepare garden right in the fall, your spring will be easier and your harvest better. Everything a gardener wants to hear!
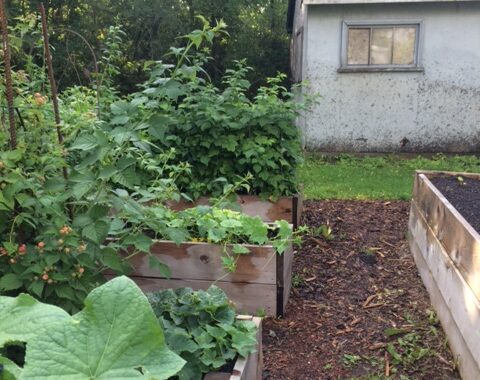
You can use this method regardless of the size or type of garden. Raised or in-ground.
By following all of the steps below, over winter the soil will rest and the nutrients will be replenished. It will attract beneficial worms and bugs so your soil is soft, and fertile.
Step 1: Remove Old Crops
Remove any crops that are still lingering. Save all of the seeds you can! Little man and I went around with baggies today and collected nasturtium, strawflower and calendula seeds.
We also have lettuce and spinach that was left to bolt and flower, and peas and beans drying out on the vine.
Check out our How to Grow Guides
It’s a time honoured tradition to save seeds, and to pass them on to increase the diversity of plants, and to bring the rights of the seed back to the farmers.
Step 2: Weed
Remove everything you can and as much of the root system as you can. Anything left in has a head start on next year so do your best.
If you’ve used mulch, container gardening, or square foot gardening you probably won’t have much to pull!
It’s important to invest in a good weeder. This is my absolute favourite weeder. It gets deep down along the root so you can get as much of the root as possible.
The more you take care of your soil and prepare your garden in the winter, the looser your soil will be and the less weeds you’ll have. An ounce of prevention is worth it!
Step 3: Lightly Rake Beds
Any large chunks of soil, you can break them apart or bury them and they’ll breakdown later. You don’t want to disturb much of the soil. When you do it can change the soil composition and raise new weed seeds.
Step 4: Add Compost
Add about 3″ of compost but don’t dig it in. Just layer it on top.
Compost can be anything from animal manure, compost from your home to bags purchased from the greenhouse. It costs a lot if you have to but it but it’s worth it.
Check with your neighbours or local farms to see if that have any composted manure you can take away.
Step 5: Mulch
Layer mulch about 4″. Fallen leaves are a great option for kids to help out with.
Who doesn’t love taking the piles and jumping in them? Don’t use wood chips as mulch as they can be toxic to your plants. They’re great for walkways instead.
If you don’t have enough leafy trees in your yard, get family or friends to donate theirs. I’m sure they would love the free cleanup! You can also use an unexpected resource you already have as a perfect free mulch!
Step 6: Cover the Beds
This is totally optional but if you can, it would help extend your growing season. Very important when you only have a few months!
A cover heats up the soil earlier, and it can help break down the mulch. You can use anything from a traditional row cover, tarps, or black gardening plastic. Just lay and tack it into your beds with bricks, rocks or fabric staples.
When you take the covers off next year you’ll find an abundance of happy, warm worms. Again, this is an optional step. The worms will come because of all of the nutrients you’re adding in.
Step 7: Tend to Walkways
If you have a raised garden, you probably already have added woodchip mulch. Now is a good time to add more.
If you have a larger in-ground garden, you can lay cardboard down and mulch on top. That way you can change your walkways when you rotate your crops. You can also use straw or hay for walkways.
Step 8: Plan for Next Season
In fall its important not only to follow the steps above, but also have a rough idea of where next year’s crops are going to go.
Foods like garlic are best planted in the fall due to our short growing season.
If you have new beds you’d like to add, now is the time to do it so the soil can percolate over winter. They will ne printed and ready for you come spring. One more way to make the spring rush that much easier.
Pruning Fruit Trees
If you have fruit trees on your property, it can sometimes be difficult to tell which branches need to be pruned or are dead, come spring. Tie a string on the spot you’ll cut so that you’re not guessing.
Bonus
There you have it. I’m not the best at cleaning up my beds and tend to leave it until spring but an ounce of prevention is worth a pound of a cure.
A little bit of work in the fall could make the success of your harvest next year.
Its certainly noticeable when I take the extra time, so learn from me and prep your beds right this fall!


You May Also Like
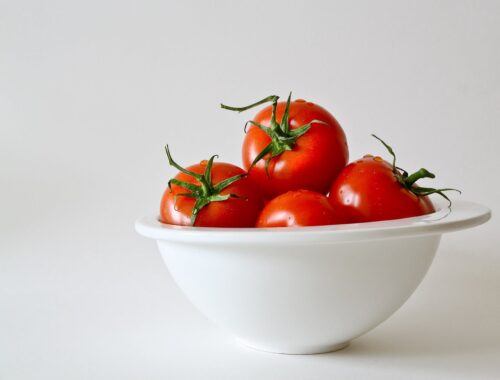
How to Save Tomato Seeds: and grow food for free!
9 Steps to Choosing The Best Vegetable Garden Location