How to Build a Hugelkultur Garden Bed
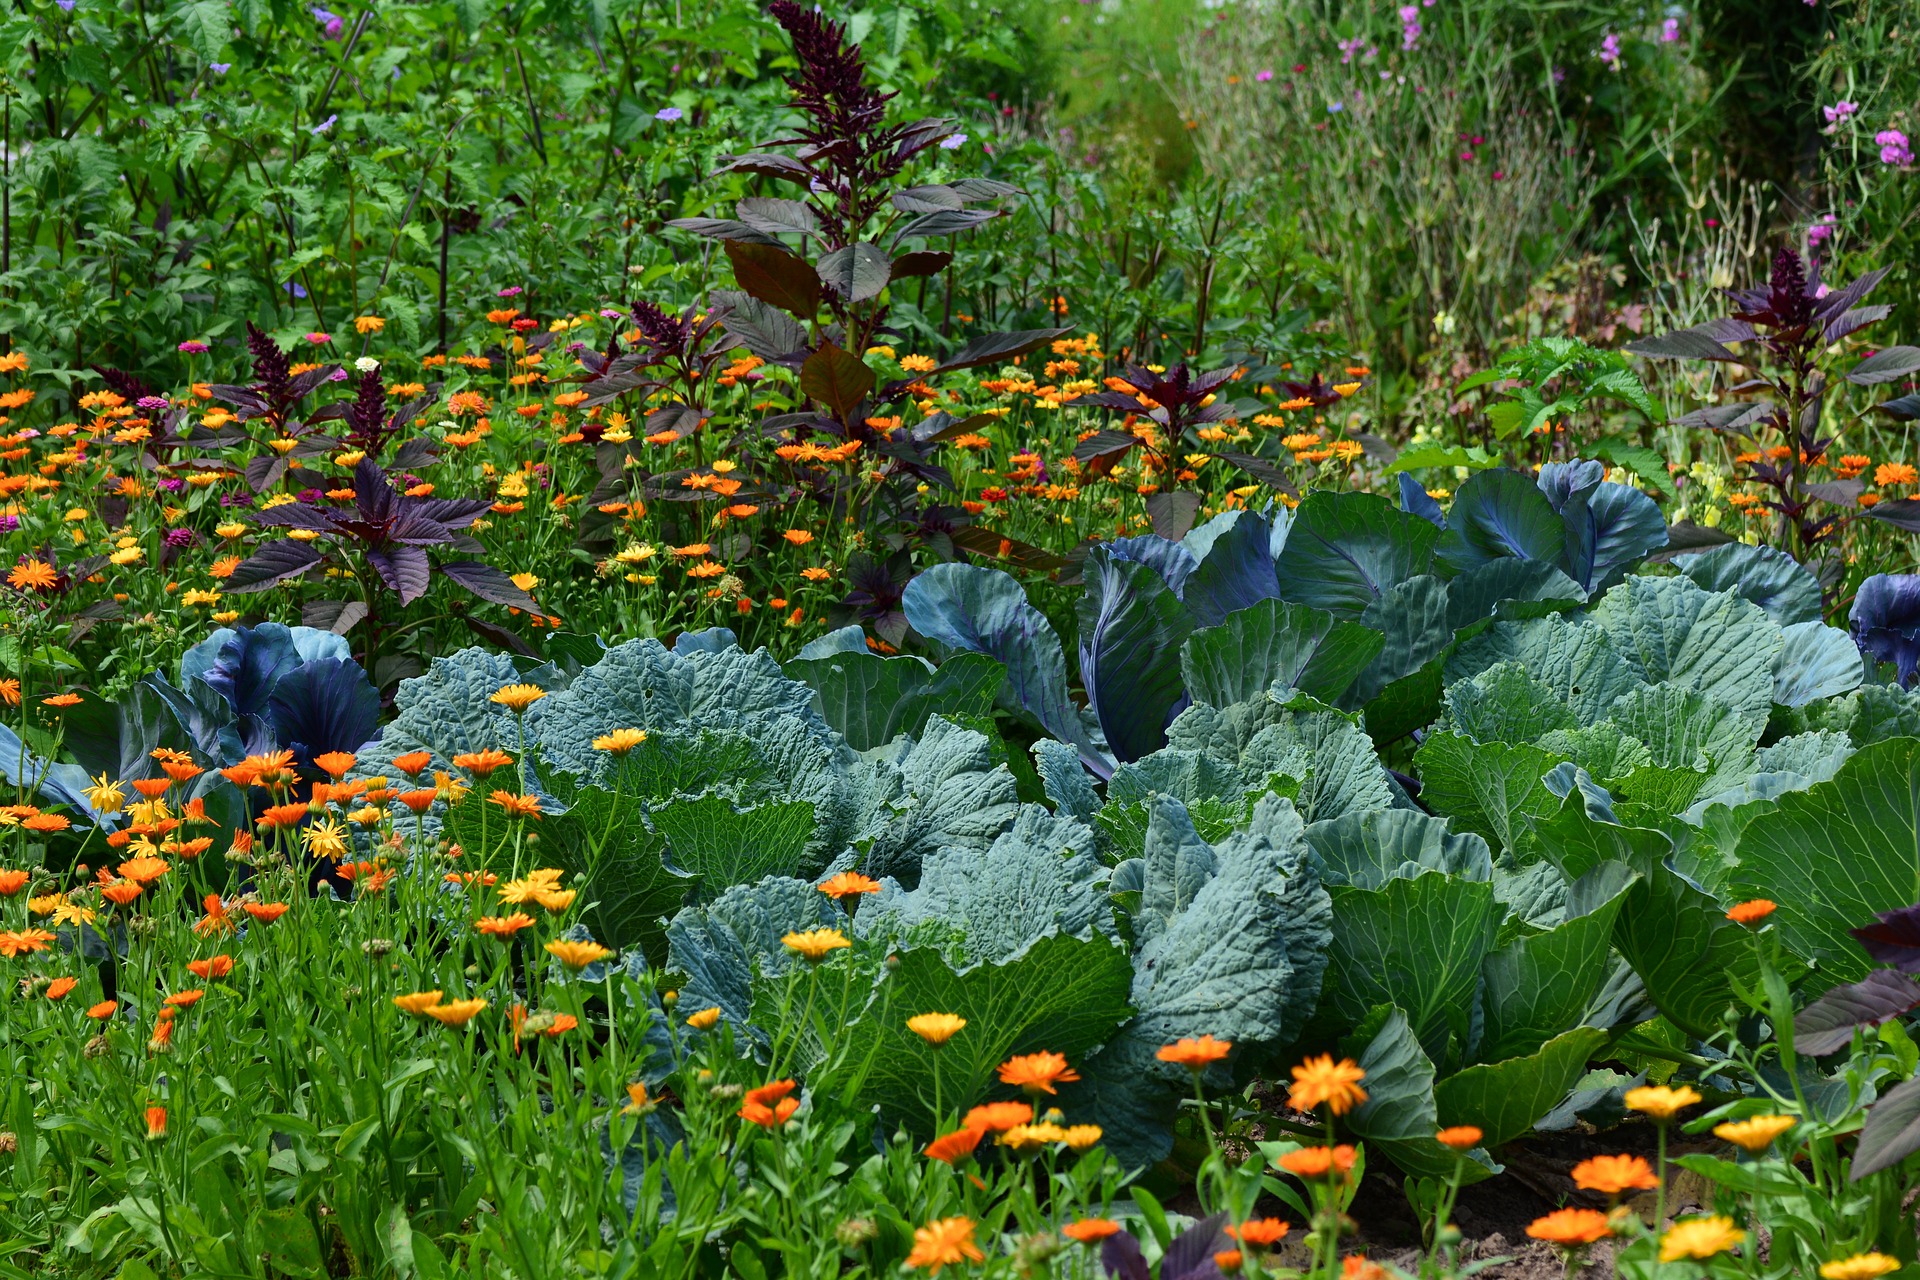
One thing I absolutely love about gardening is the ability to get creative. This Hugelkultur garden gives me all the feels!
Fall is drawing near but there are still many ways you can work your garden so that the following year is even more productive.
What is a ‘Hugelkultur’?
Hugelkultur gardening is a technique that’s been used in Germany and Eastern Europe for centuries. It translates into “mound culture” which is exactly what it is – a large, layered compost pile covered with a growing medium into which a garden is planted.
A Hügelkultur garden bed models itself after nature’s cycle of composting in a forest.

[convertkit form=1988122]
As wood debris falls to the ground floor, it begins to break down and acts as a sponge in soaking up moisture from rain.
It then passes this moisture onto nearby plants as it breaks down, also releasing pockets of oxygen and nutrients back into the soil. The Hugelkultur utilizes all of these benefits to create a local permaculture.
This makes a Hügelkultur bed an excellent option for anyone dealing with difficult growing conditions such as poor drainage, compacted soil, or limited moisture, etc. Urban gardeners, this could be a great option for you!

The Pros of Hugelkultur
- Keeps moisture
- Wood breaks down and allows air gaps
- Everything provides nutrients to grow as it breaks down
- Low weeds
- Productive even in first year
- Plus, it’s really cool to say
How To Build a Hugelkultur Garden
Building it is actually quite simple which is always a massive bonus! This was probably one of my most fun projects yet. And it only took us an afternoon, even with collecting and hauling supplies around the yard.
Materials
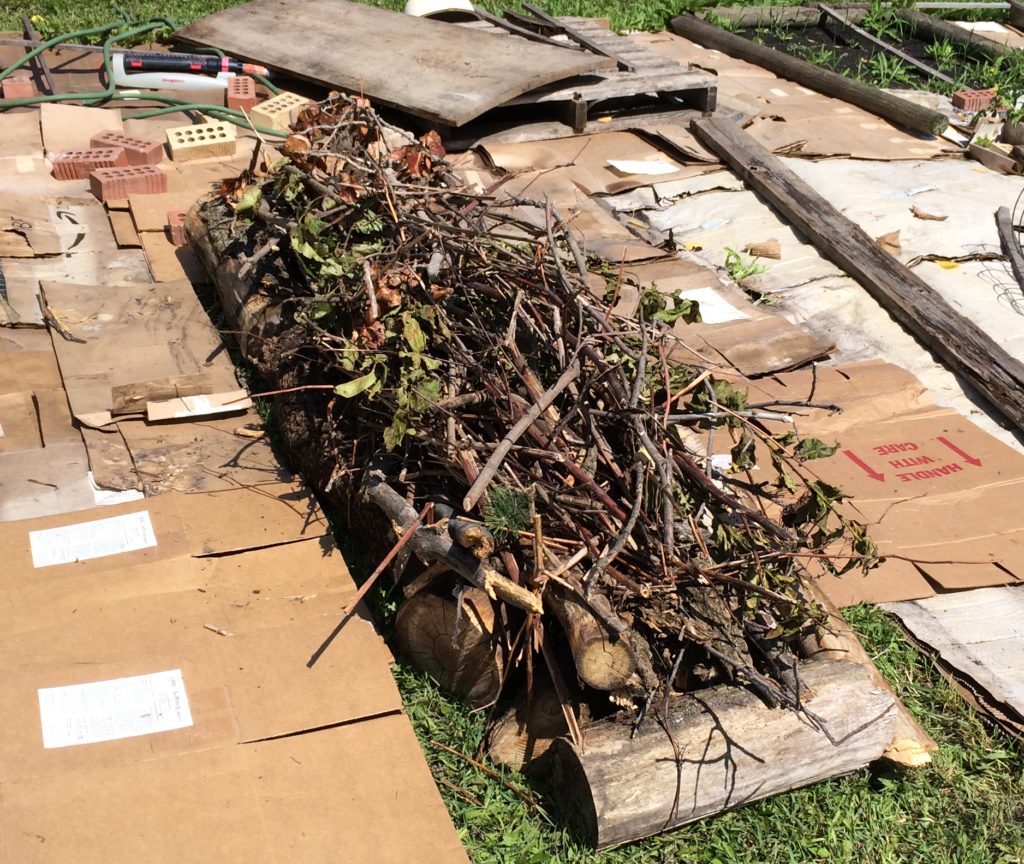
- Fallen logs, branches, twigs, fallen leaves. Avoid using cedar, walnut or other tree species deemed allelopathic.
- Nitrogen rich material (manure or kitchen waste work well and will help to maintain a proper carbon to nitrogen ratio in the decomposing mass within the hugelkulter bed).
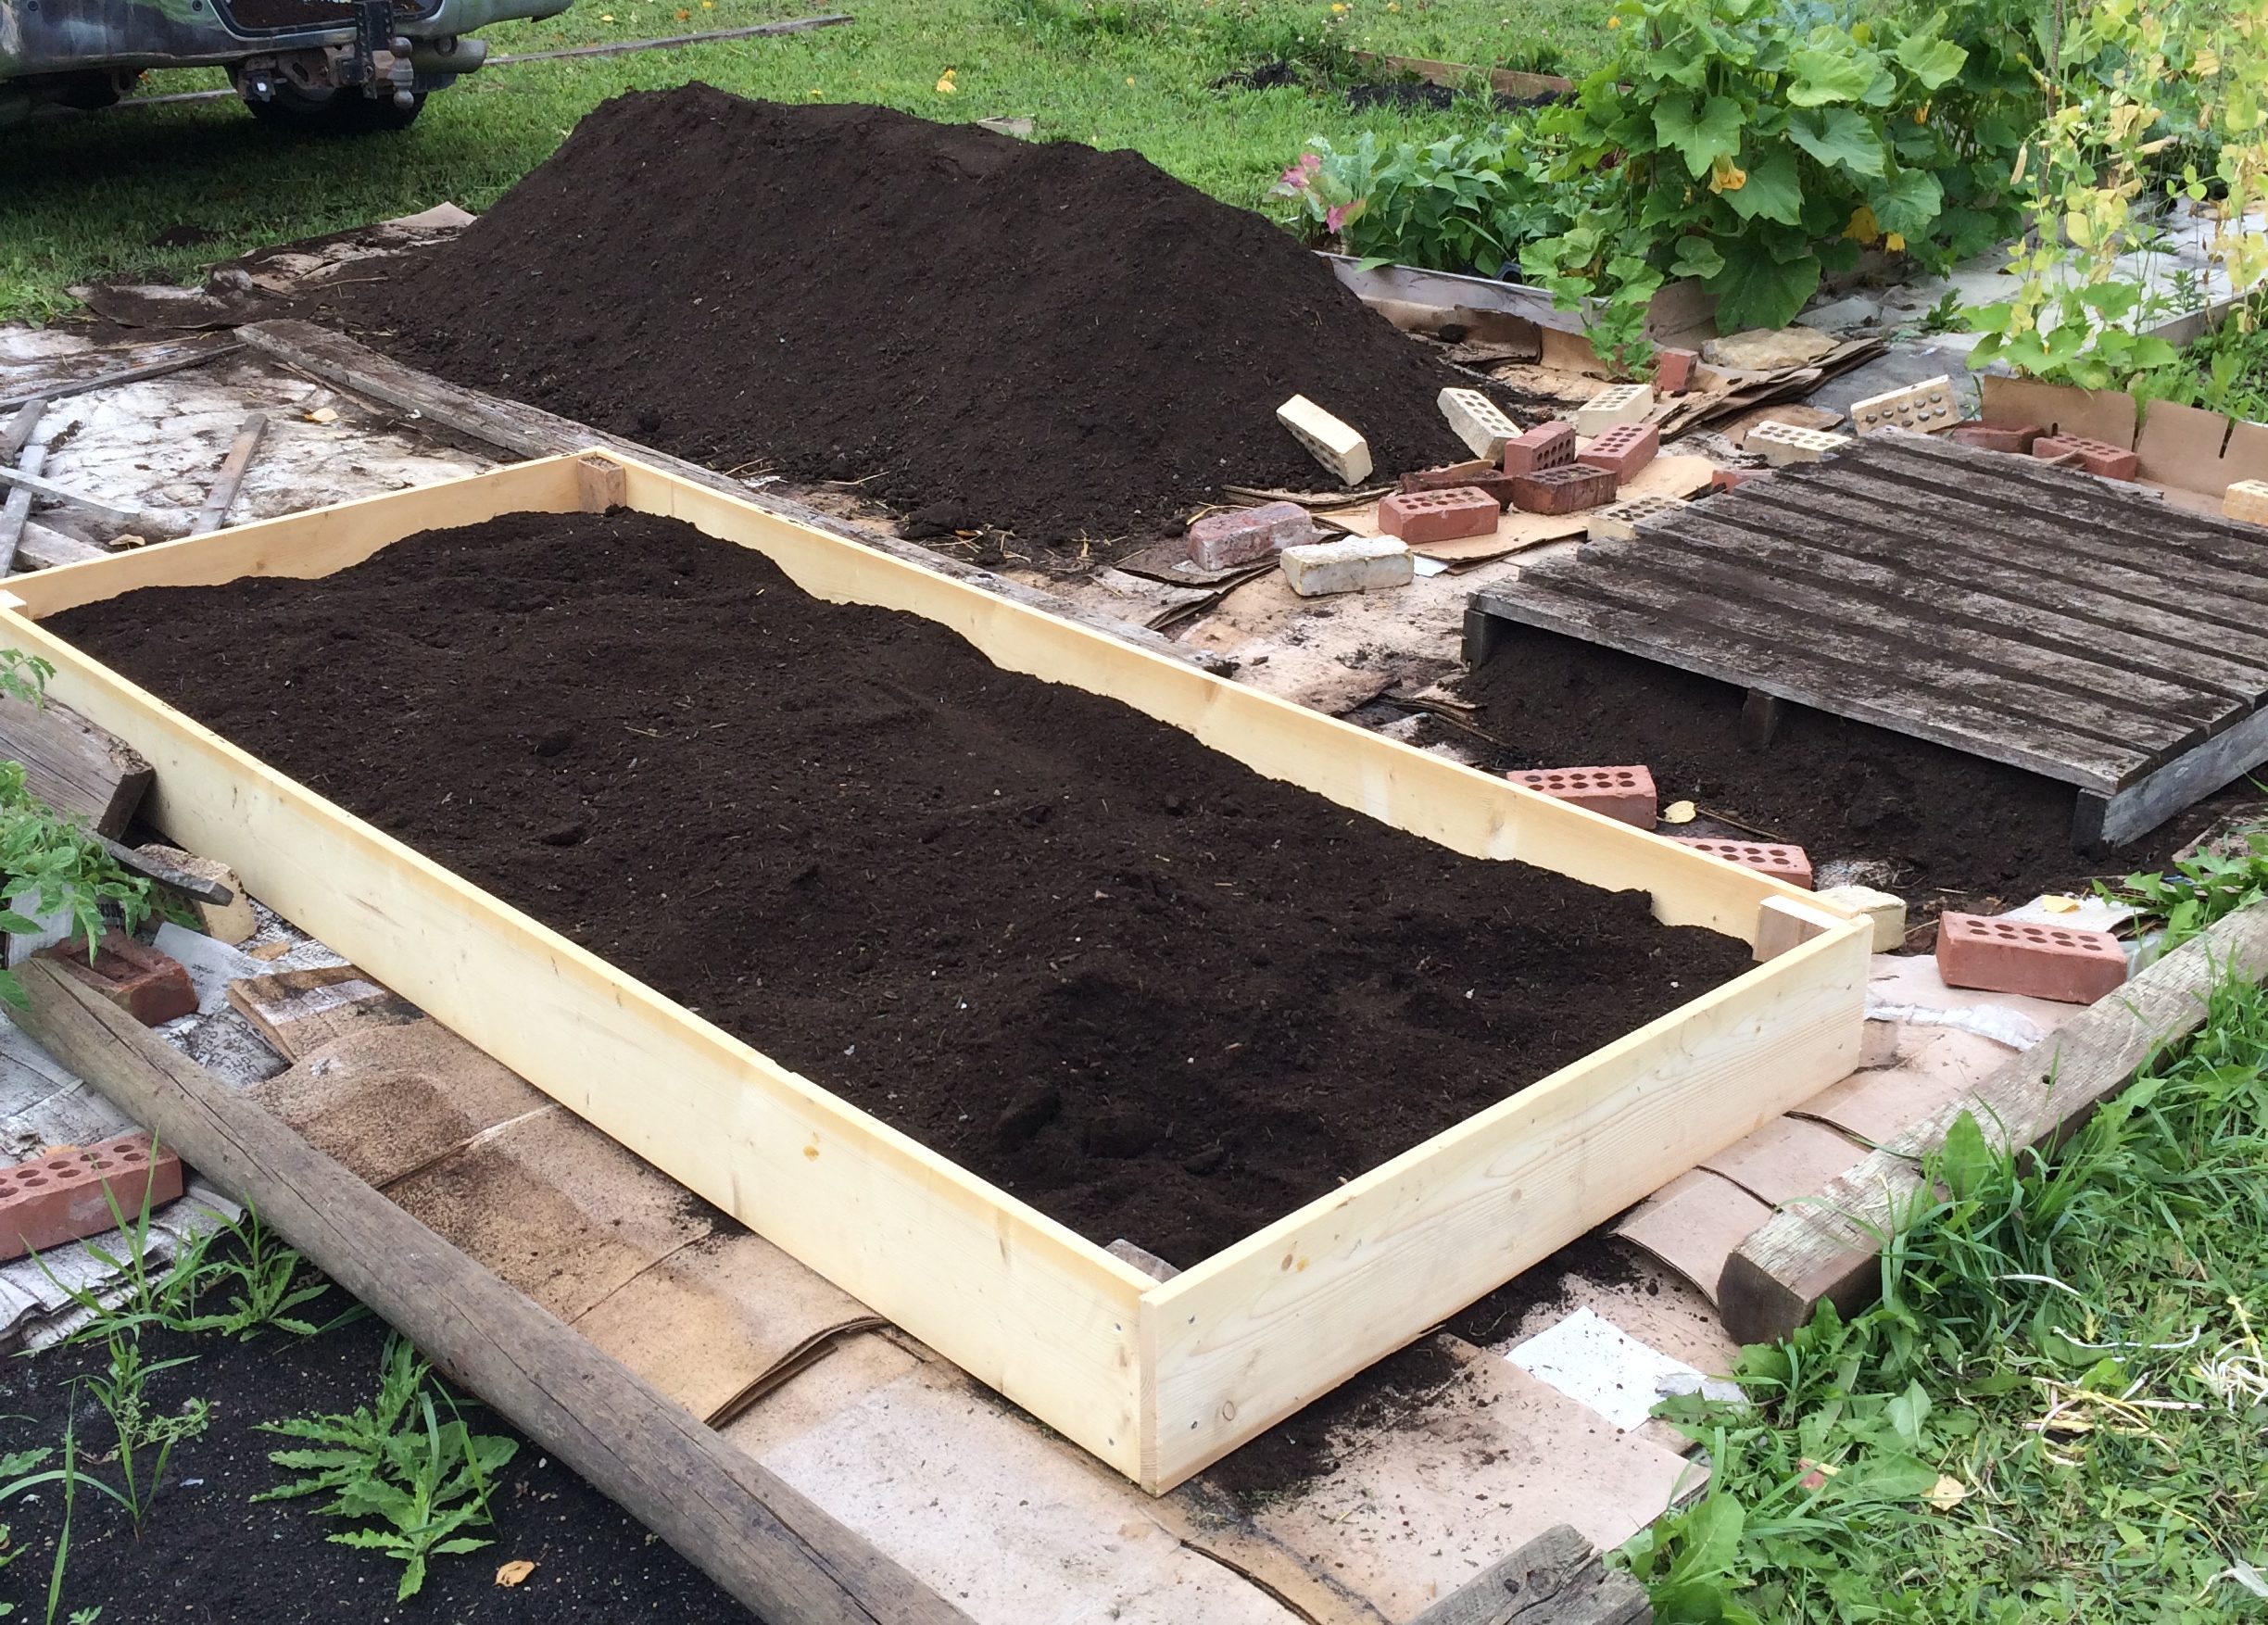
- Top soil (enough to cover the other layers of the bed with a depth of 1 – 2”) and some mulching material (we used free grass mulch).
Build Your Hugelkultur
1. Select an area with approximately these dimensions:
6 feet by 3 feet – this is where you will start laying your bed. Your final bed will be about 8′ x 6′ and 3 feet high.
**Provide ample space as your bed will be bigger than you expect!

2. Lay the logs as the first layer of the hugelkulter bed.
Next, add a layer of branches, then a layer of small sticks and twigs.
Hugelkultur beds work best when they are roughly 3 feet high (there are no hard and fast rules in size, make it work for you!)

3. Water these layers well.
The moisture is going to kickstart the decomposition.
4. Begin filling in spaces between the logs, twigs and branches
Use leaf litter, aged manure or kitchen scraps.
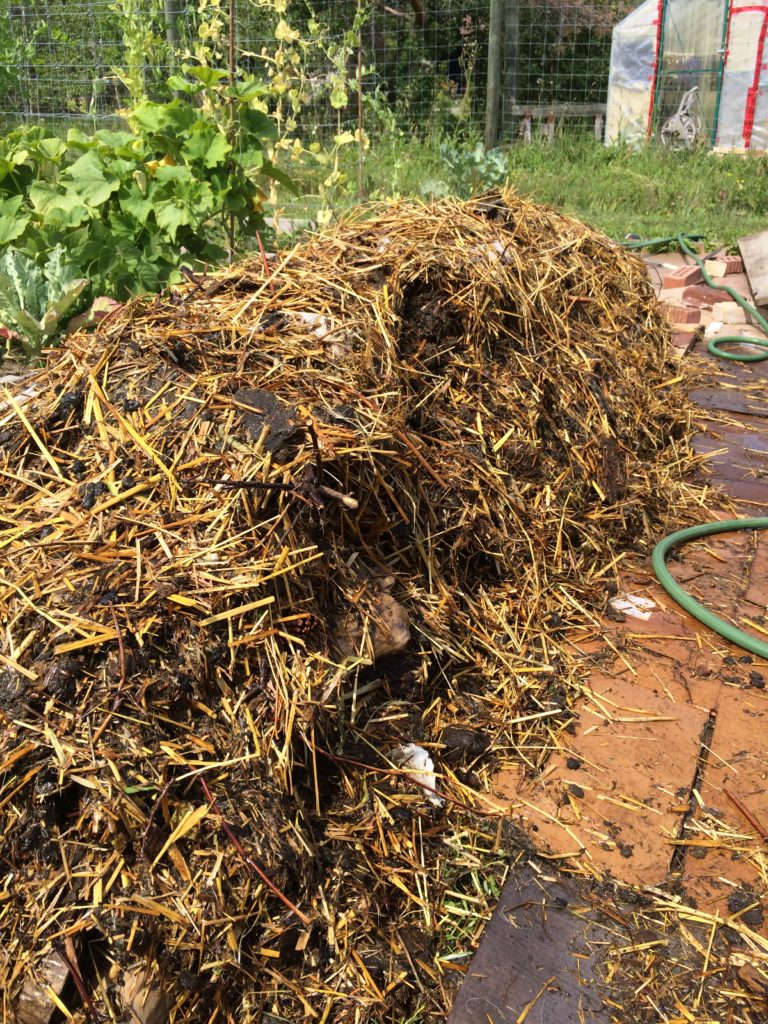
5. Finally, top off the bed with 3-4” layer of top soil or compost and a 2-3″ layer of mulch.
The Hugelkultur bed will benefit from “curing” a bit, so it is best to prepare the bed several months prior to planting time. (prepare the bed in the fall for a spring planting, for example, in Northern climates) But, Hugelkultur beds can be planted immediately.
Plant seeds or transplants into the hugelkulter bed as you would any other garden bed.
[convertkit form=1988122]
Building a Hugelkultur: My Experience
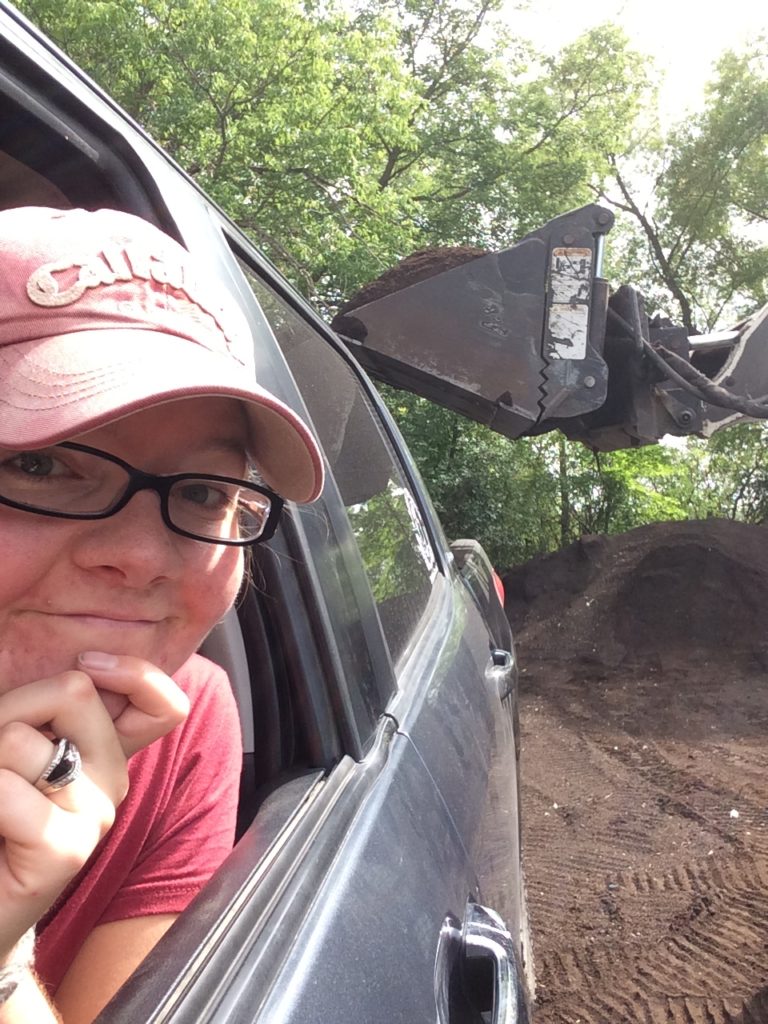
I built my Hugelkultur this past weekend using branches and twigs from my parents’ burn pile and 3-year aged manure mixed with straw from finally cleaning out our barn.
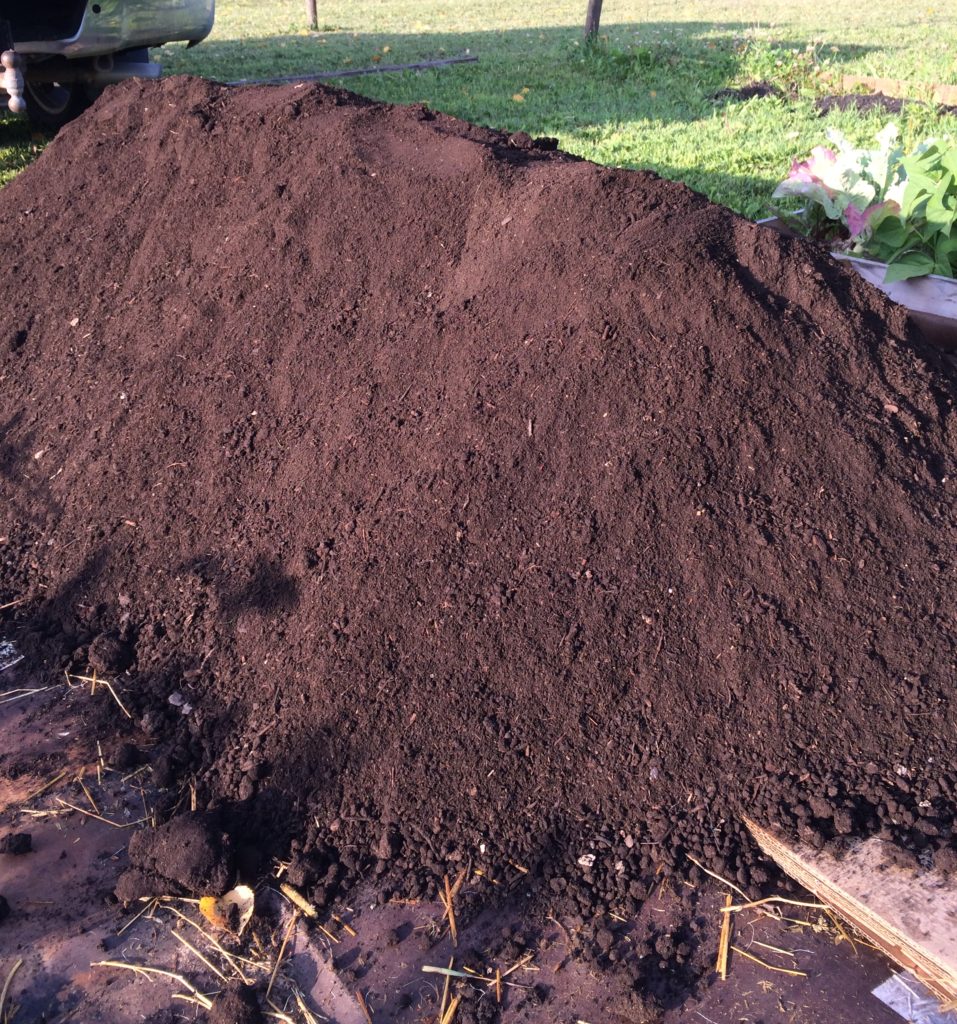
My dad provided the organic top soil/compost that he makes in bulk.
That to say, these items you can easily either source, or plan well and make yourself with minimal financial output. I mean really, what farm isn’t eager to get rid of the abundance of manure if you’re willing to haul it?
Little Man loved helping and he was quite useful, especially with being my wing-man for backing up the truck.
Of course, there’s the ‘get to play in dirt’ factor too!
It only took about 2/3 of a yard of soil to cover our bed which meant we had enough to make a quick pallet planter for lettuce and spinach and such next year (less weeds, yay!). As well as almost filling another planter I put together in 10 minutes.

Hugelkultur Update: 2 Years Later
I am thrilled to say how much I love our Hugelkultur bed! It produces so well with little to no maintenance.
I have barely had to water it except a couple times during really dry spells, and yet it produces more abundantly than any of my other gardens.
Because of the deep, layered nature, weeds are from seeds landing on the surface and are incredibly easy to pull.
Our one bed has been so successful that I am currently curing another, significantly larger one right now. Between the two Hugelkultur beds we are well on our way to producing a years supply of food for our family!
If you haven’t yet started your own Hugelkultur bed, do it! You can easily replicate the layers in a raised garden bed too.
Happy Hügelkulturing!
More Reading

You May Also Like

Crops for a Fall + Winter Harvest
How To Build a Garden Planter in 10 Minutes